There are probably hundreds of painting techniques you can use to create any number of effects when you paint. Use trial and error, and don’t be afraid to fail when you are learning painting.
Table of Contents
Watercolor Techniques
- Wet On Wet: By wetting the paper before applying the pigment, you will get a wash effect that is very soft and implies movement or fog
- Masking with Tape or Masking Fluid: It is essential to practice masking when doing watercolor painting. It will allow you to keep portions of the paper white, which will come in handy when you want to have bright white highlight areas in the painting.
- Flat or Graded Wash: wash techniques allow you to apply your paint with a lot of pigment, and have the pigment be very washed out or watery in other areas. It can help you imply depth and interest to areas that other paints would only create a flat, solid surface of one color.
- Color Blending: The transparent, cloudy quality of watercolor paint allows you to easily blend one color into another by using water to create one wash effect, that blends into another wash effect. This is one of the most fun parts of using watercolors, and one of the qualities that makes watercolor paintings unique in their appearance when compared to other paints.
- Dry Brushing: Cold press watercolor paper is more textured than hot press. By drawing a brush that isn’t highly saturated with pigment over the dry surface of cold pressed paper leaves white areas exposed, which is a great way to express textured surfaces like water or fur.
- Lifting Off Paint: This means that you use a paper towel to remove areas of pigment while it is still wet, to achieve highlight or other textural effects.
- Layering Color: This is just what it sounds like. Since watercolor is so transparent, it is tricky to avoid the colors mixing and becoming “muddy”. It’s a good idea to let one area dry before applying the next when layering, unless you want bleeding effects.
- Salt: By pouring table salt onto wet paint, then allowing it to dry, and brushing off the excess salt, a stippled effect will occur where the pigment has been soaked up by the salt.
- Scumbling: Scumbling is applying a fairly loaded brush with pigment to the surface in a bouncy manner, leaving lots of dappled color to imply foliage or other similarly dappled textures.
- Feathering: If there is a hard edge of color that you want to soften, you apply a brush loaded with water to “feather”, or lighten, that edge and make it into a wash.
Acrylic Techniques
- Underpainting: by putting a layer of a contrast color down first, you can create depth and interest into an acrylic painting. Keep in mind that most acrylic paint is semi-transparent, and the colors you paint first into your underpainting will show through and affect the colors you apply last.
- Masking: you can expose colors in the underpainting by masking off key areas with a stencil, masking tape, or with masking liquid or rubber cement.
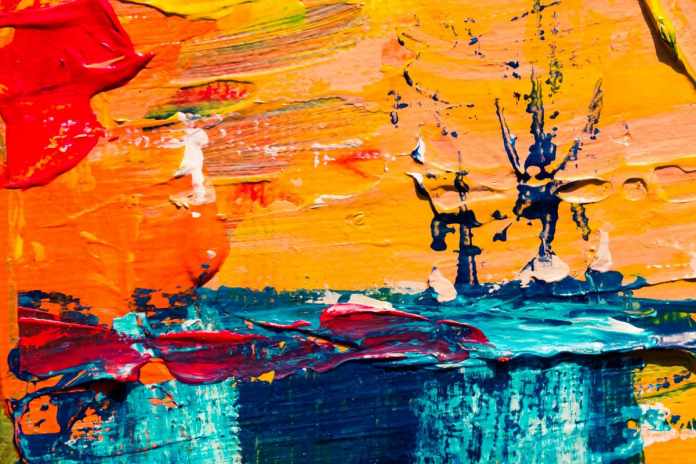
- Texturizing/Impasto: “Impasto” means to apply a thick layer of paint to add depth and interest to the painting. Texturizing, similarly, allows you to use brushstrokes and textural elements to your work.
- Dripping and Spattering: By thinning out acrylic paint until you can spatter it or drip it onto your canvas, you can add textural elements. Also try this with toothbrush bristles for a fine spray of paint across the surface.
- Smudging and Dabbing: using paper towels or other absorbent material, remove paint layers to reveal the layers underneath.
- Rubbing Alcohol: Adding rubbing alcohol to two areas of contrasting colors that are still wet will cause marbling to occur.
Practice your painting and soon you will find that you are making up your own rules, and finding new techniques that will work for you. Painting is a journey and a learning experience, and there are no rules when it comes to making something that comes from your imagination.


