

Last Updated on July 14, 2020
My way of keeping track of things to do, is making lists. I have piles and piles of lists. I had so many I would forget where I put them. I have been looking at planners, but could not find “the one” for me. My boyfriends sister had a planner that resembled my vision and I asked where she got it. She told me that she made it. Made it?! It looked like a cute, professional planner you would find at the store. I asked her how and she told me. It seemed easier than I expected. She sent me the sheets she made on Microsoft Word and I tweaked them to my own liking and printed them out.
I made a trip to Michael’s, picked out 2 sheet of scrapbook paper for the front and back cover and chose some stickers for the year, 2013. My total cost for those items were only $3.00! Once I tweaked the pages on Microsoft Word, I printed out one copy of each different page and organized them in order, to my liking.
I then went to Staples, got the cover laminated, printed enough pages to last me the whole year, had the pages bound and ta da! $23.00 later, I had my own planner! Planners in general are not cheap. When I was searching for one to buy, the least expensive ones were tiny. So why not have some fun and make your own, to your own taste, where you know you will be happy and pleased! I could not love my planner anymore. It helps me so much and I even made a “coupon” page where I glued envelopes to scrapbook paper and organized my coupons into the envelopes I now have everything in my planner. The best part is, NO MORE LISTS! I do not have a huge pile of lists next to the refrigerator anymore. This planner is wonderful. I made it how I want it, with my style and I love it!
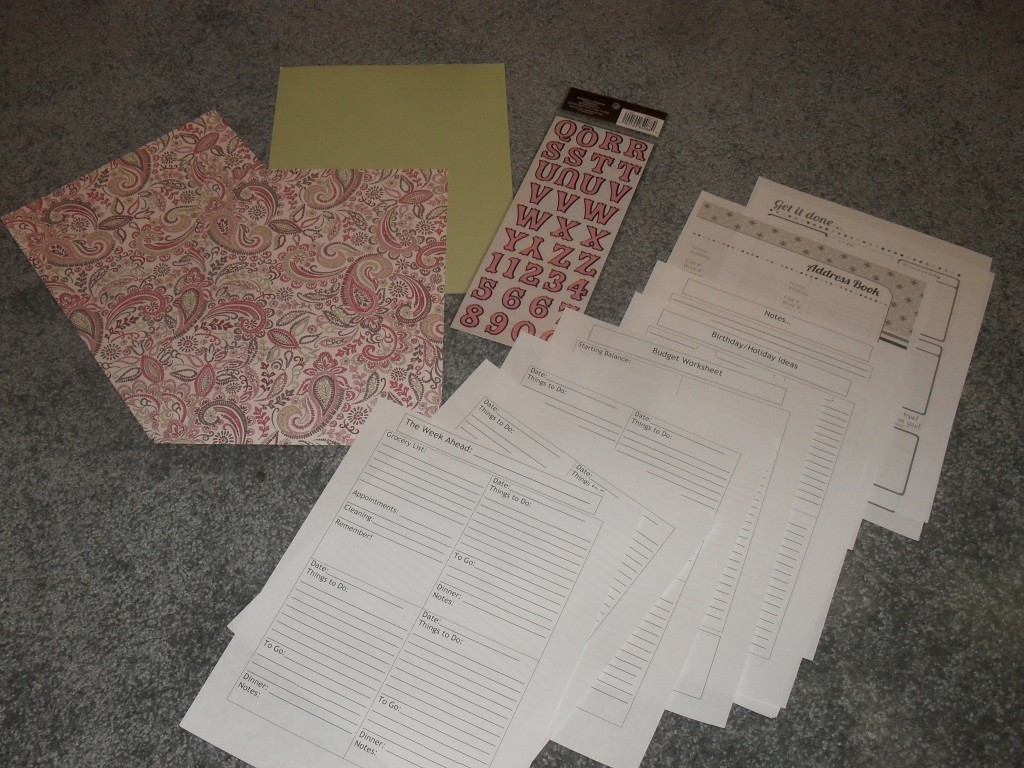
Scrapbook paper and stickers I bought at Michael’s for the front and back cover. I also printed out copies of the sheets I would be getting multiple copies printed of.
I organized them into the order that I wanted 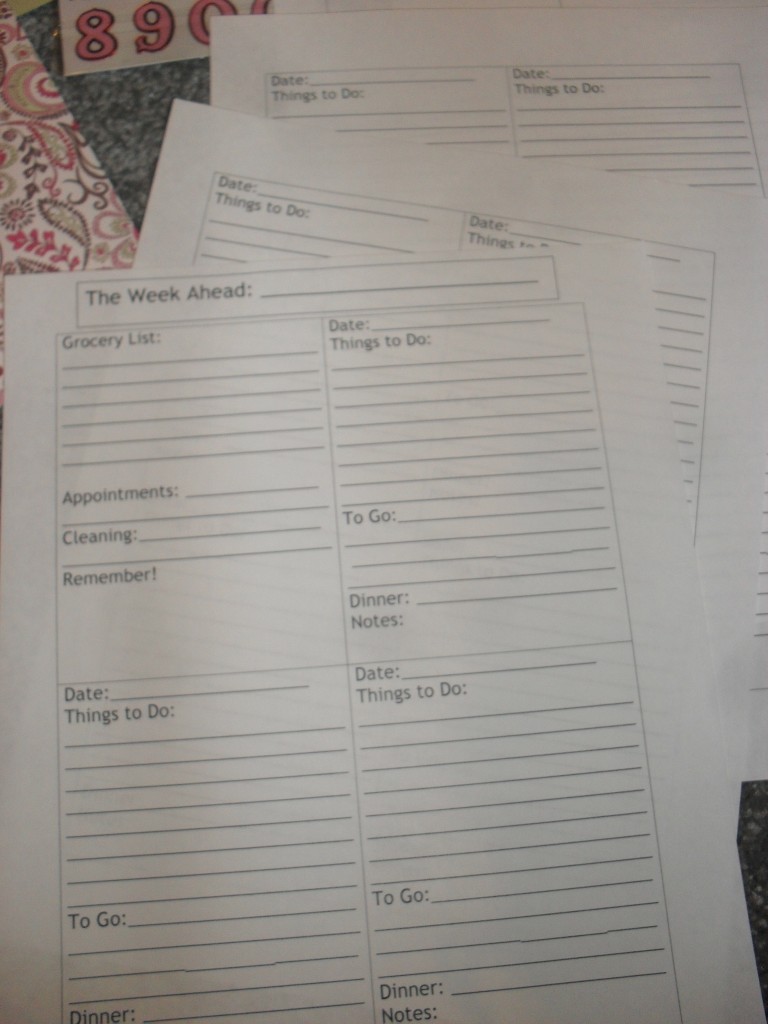
Close up of “The Week Ahead” sheet. I changed the categorized in Microsoft Word to what I wanted for each day.
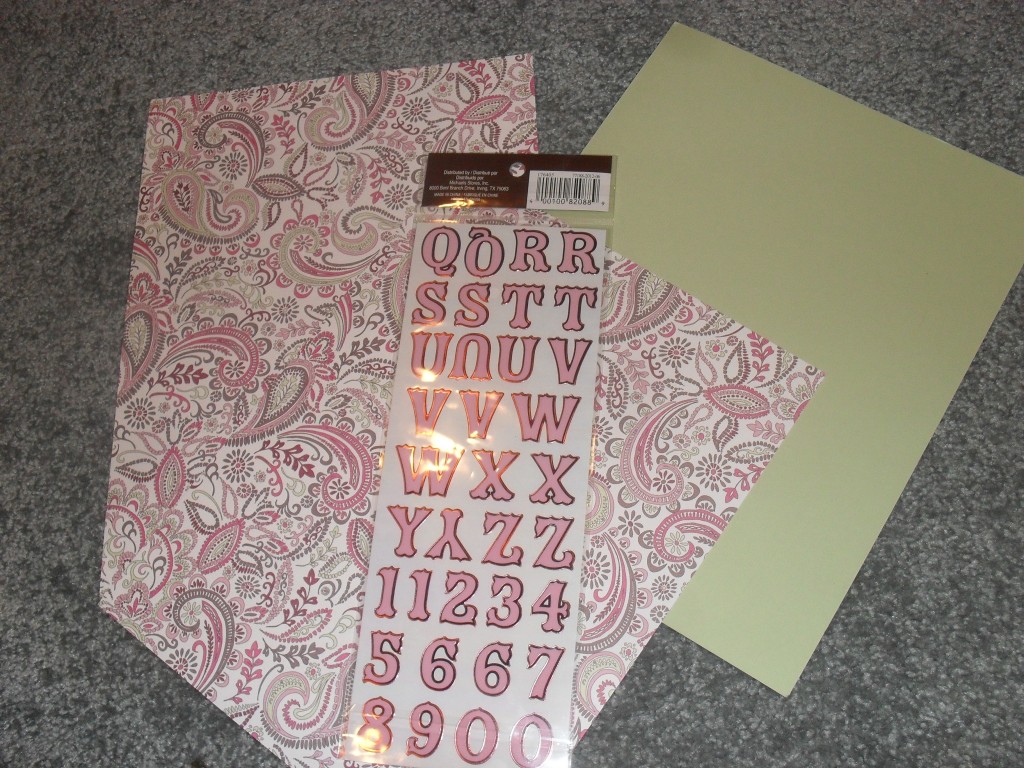
I fell in love with the pink paisley paper and bought stickers for the year to put on the cover
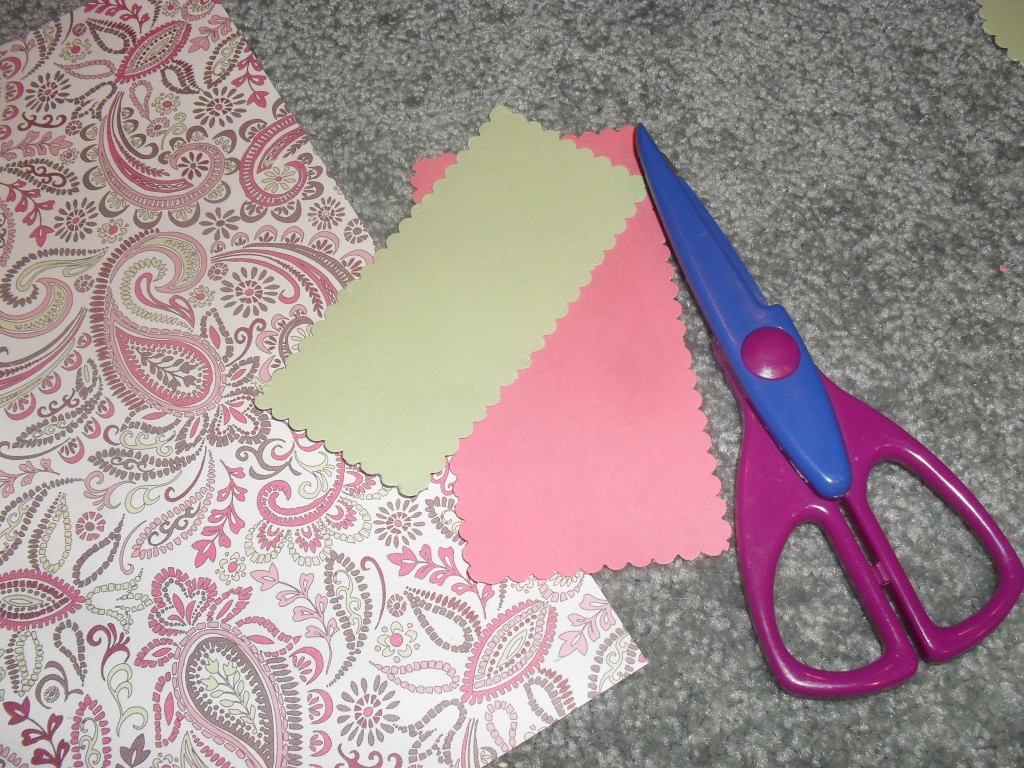
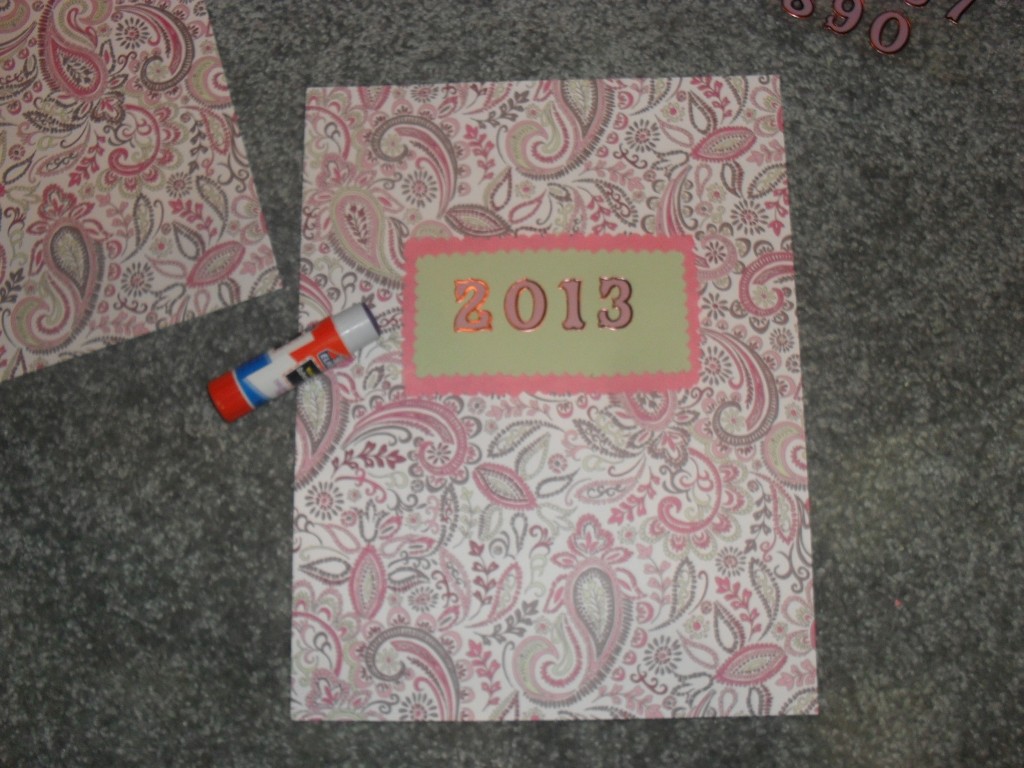
I then took my fun scissors and cut some green and pink paper where I am going to place the stickers on
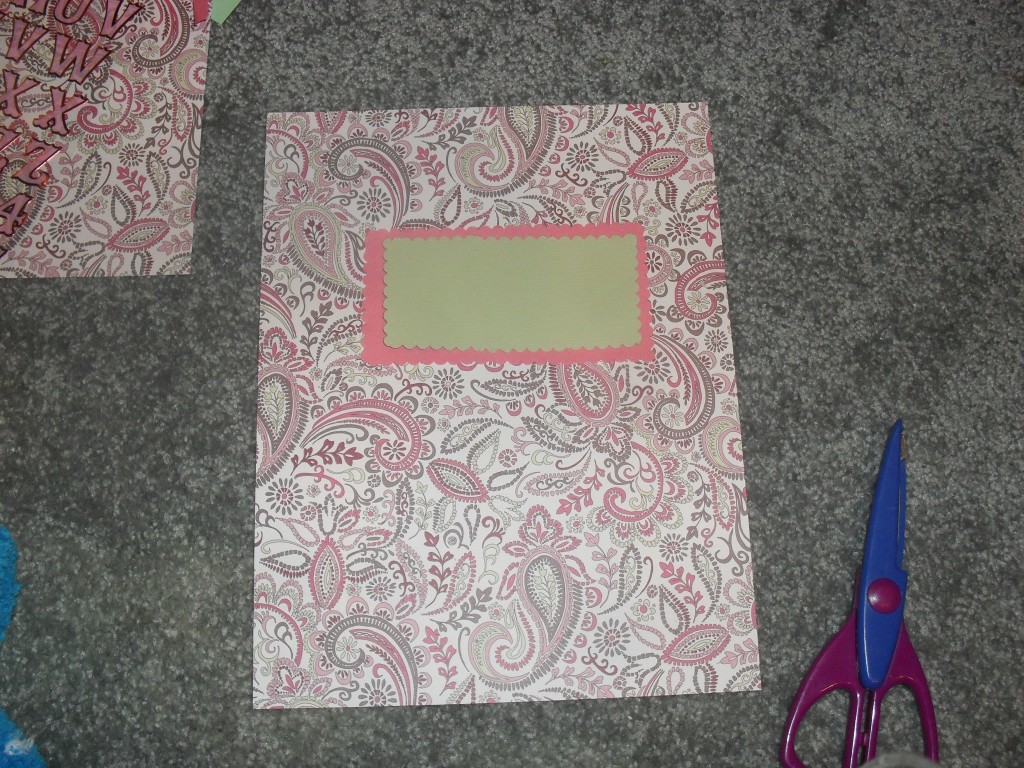
I glued both papers to the scrapbook paper
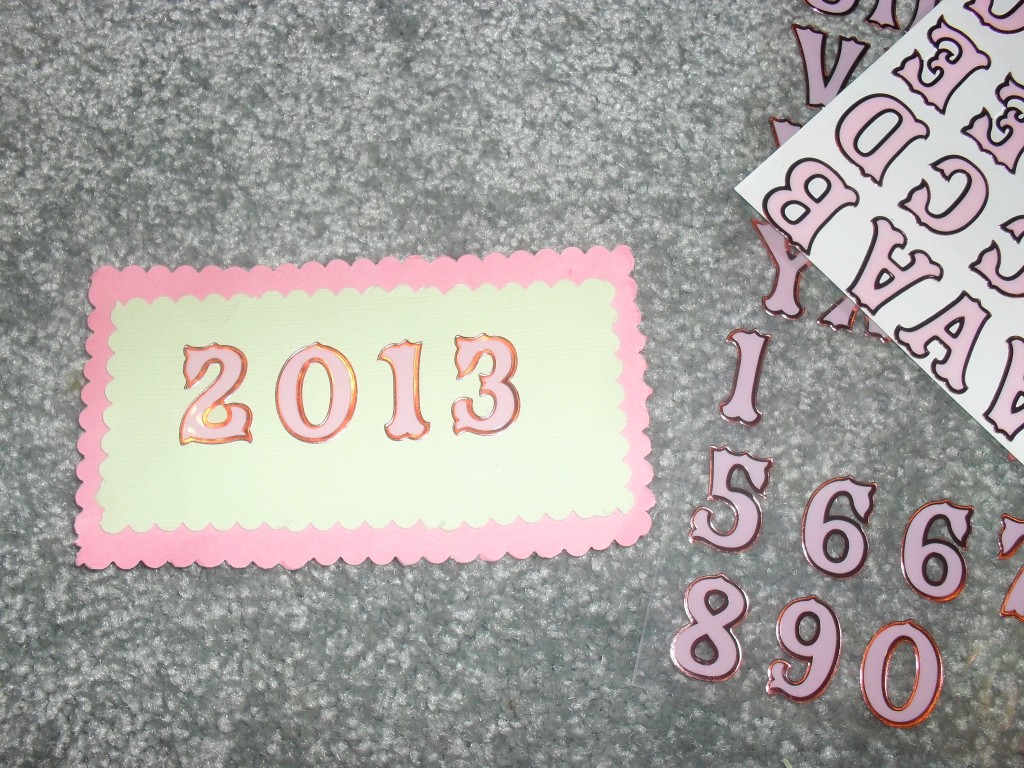
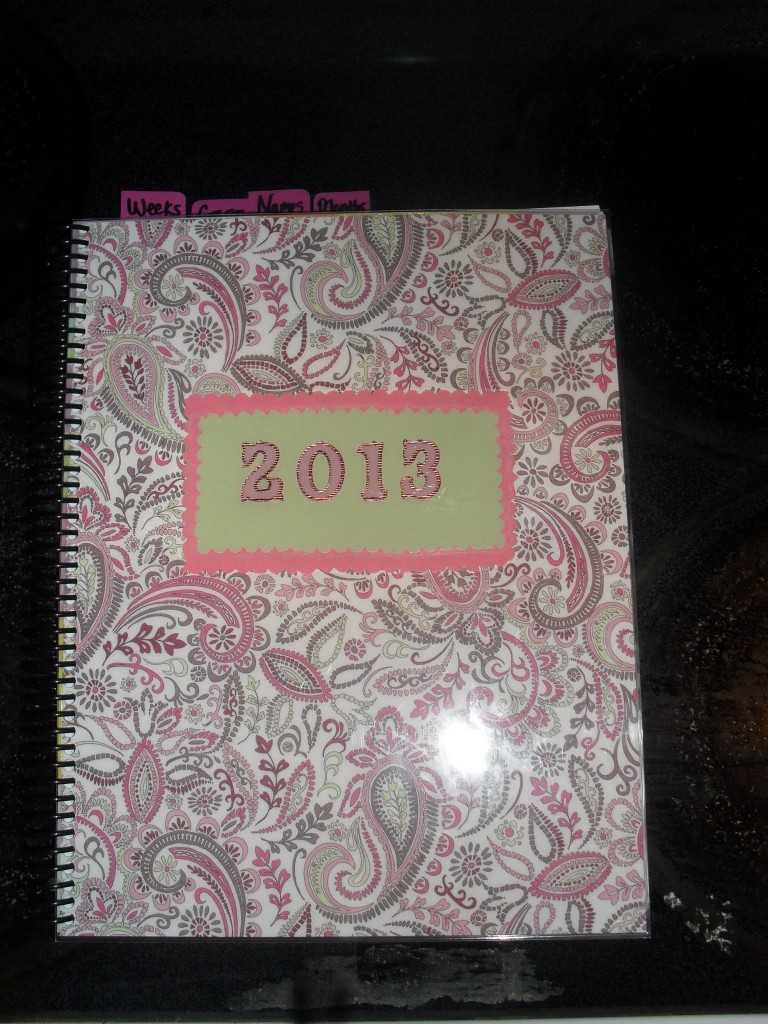
And I placed “2013” onto the paper
Here is my front cover that will be double laminated
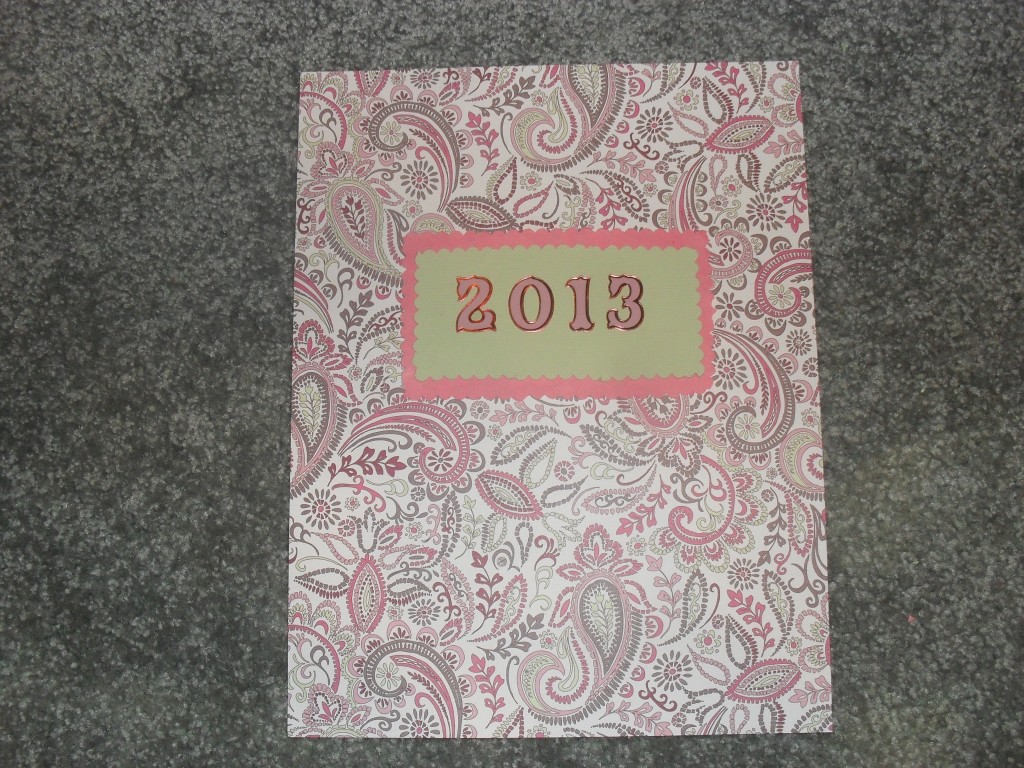
I thought the print and colors would be a good “all year round” theme
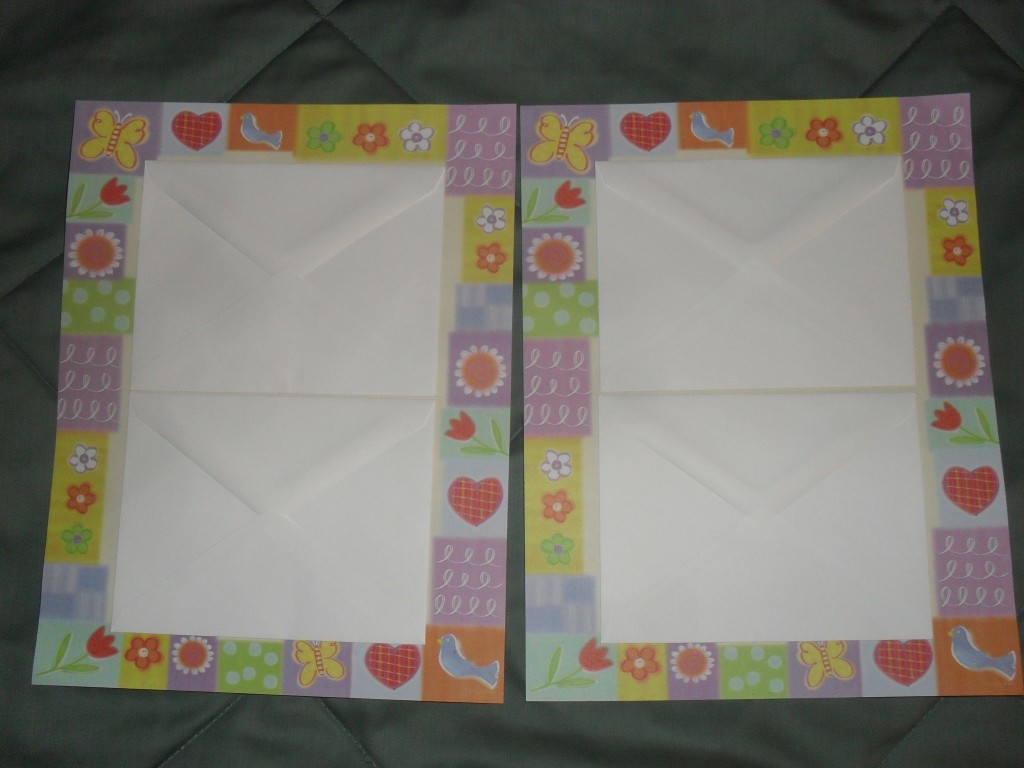
I also wanted a place for my coupons, so I used resources I had at home. I glued 4 envelopes to scrapbook paper so I would be able to have different slots to categorize my coupons
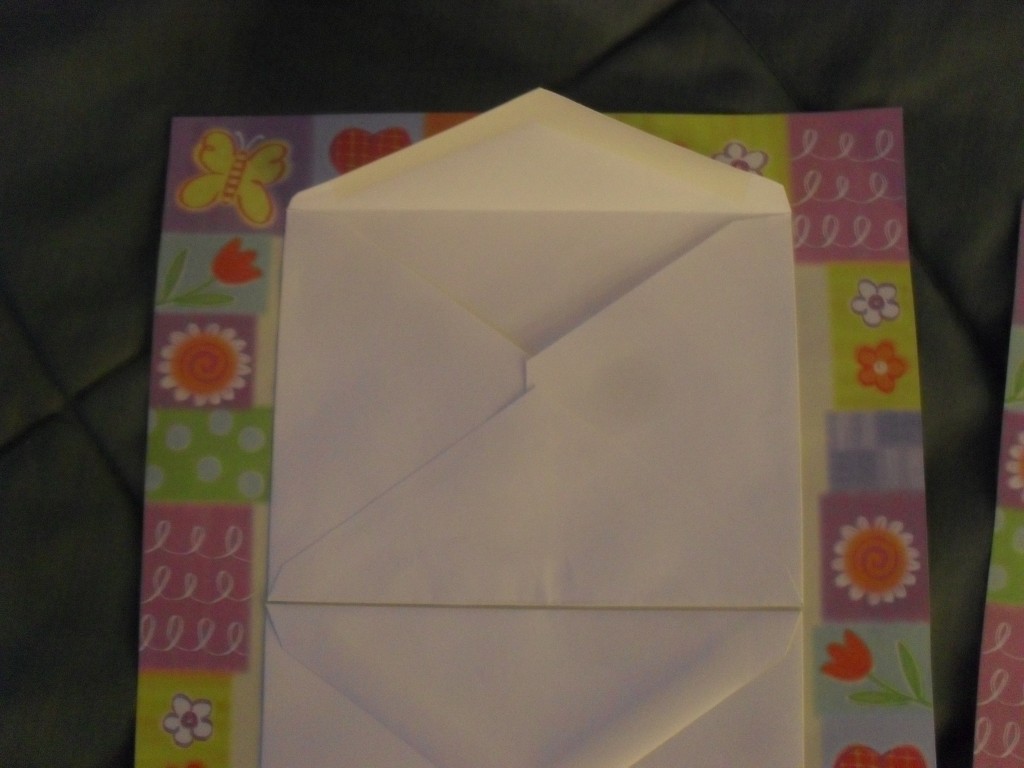
Easily accessible and they will not fall out
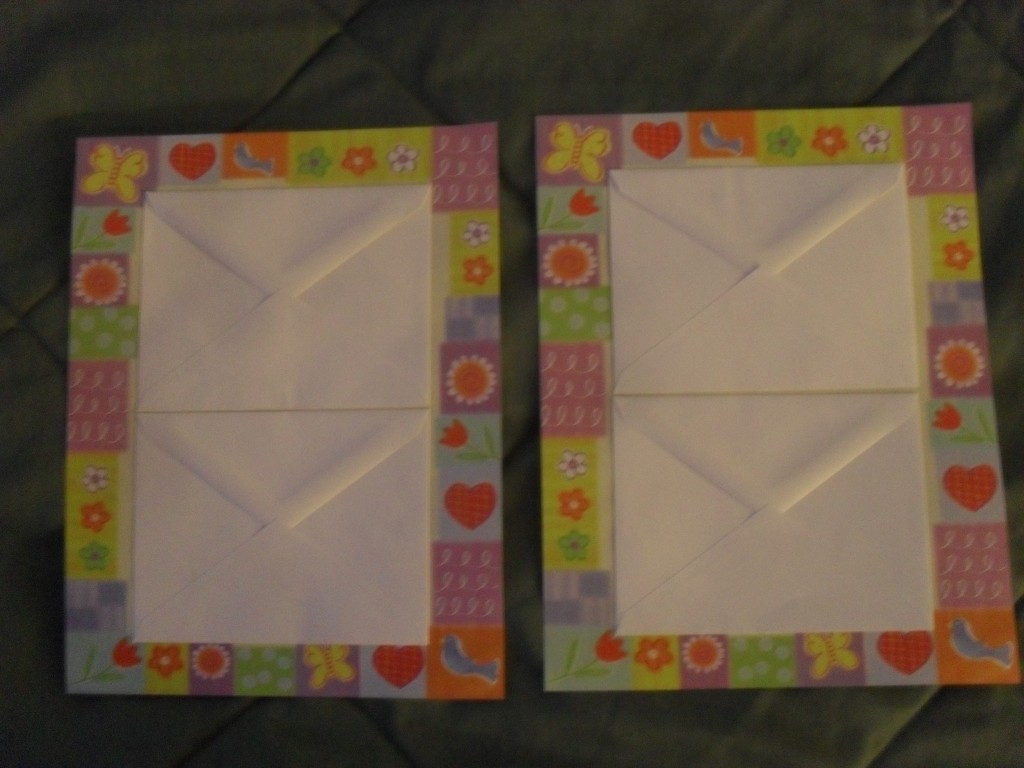
I then glued the backs of the paper together. So when the book gets bound, I have a front and back of the coupon envelopes
I went to Staples and got my pages printed an the cover double laminated and bound. This is how my planner turned out!
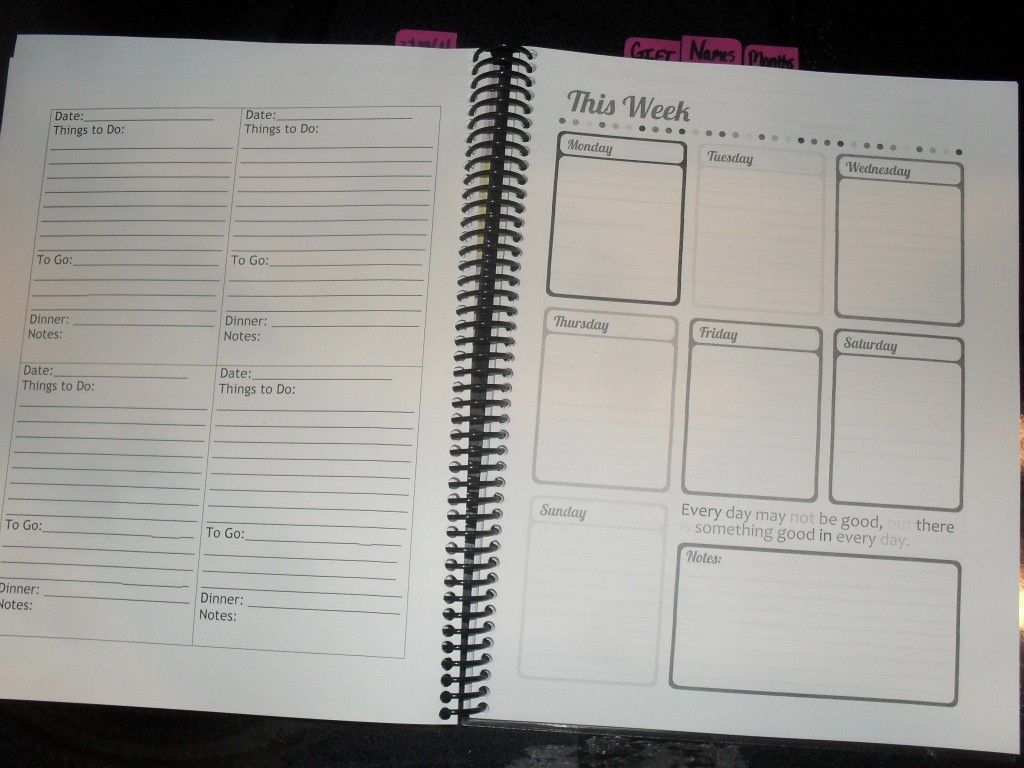
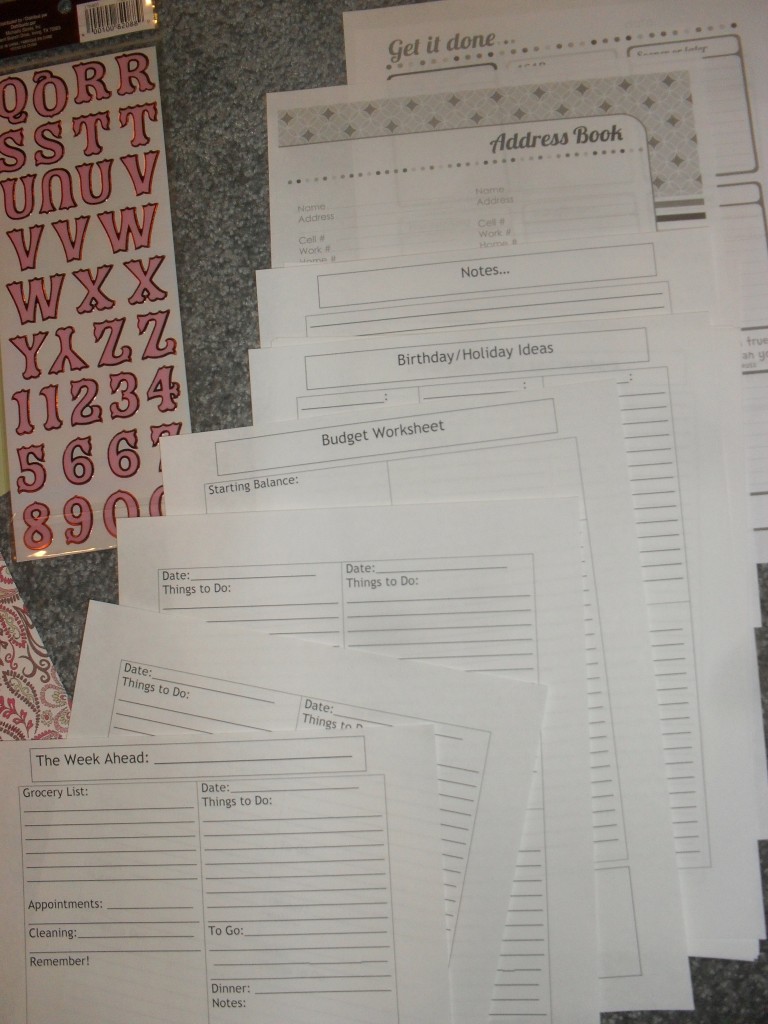
A view of my pages. I have a “Week Ahead” page for each week of the year and then the daily pages for each weekday
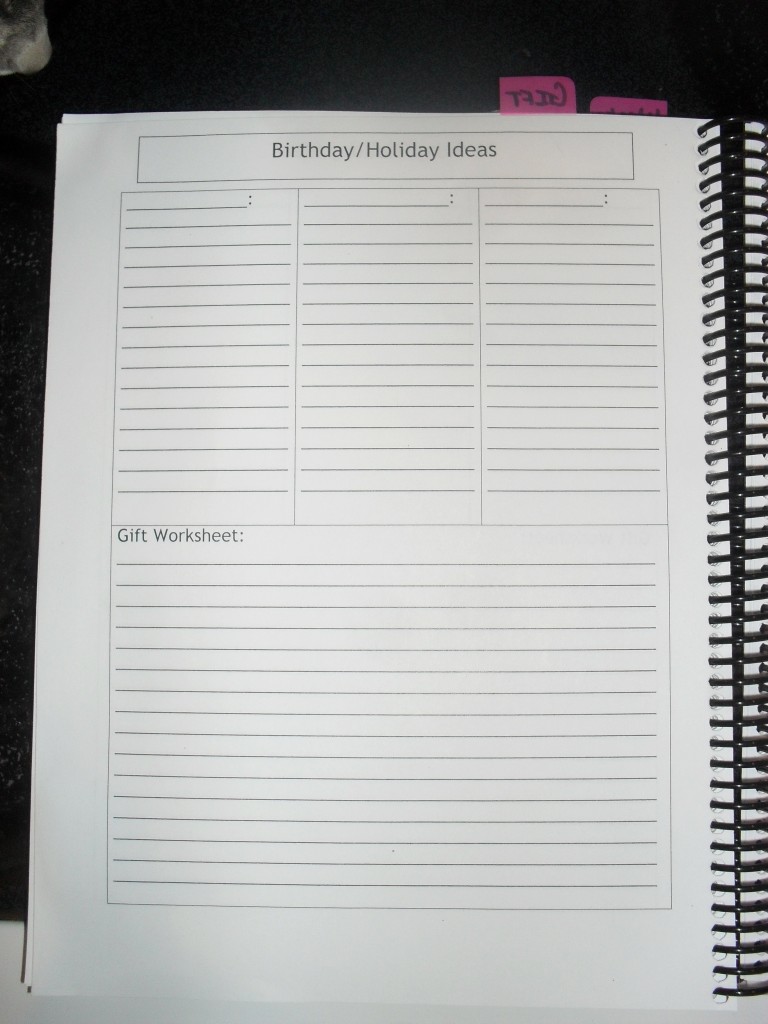
I have a Birthday/Gift page, which I had printed on both sides
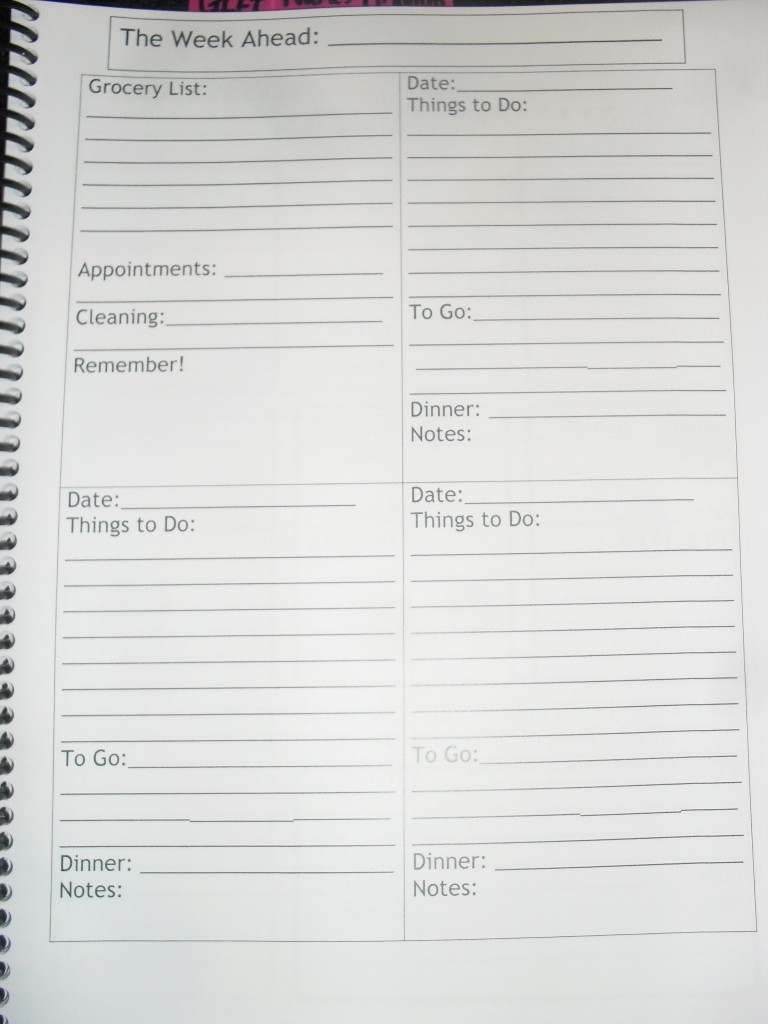
This is my page for each individual week day. The top left box is for the week ahead. So any cleaning, groceries, etc I can note in that space!
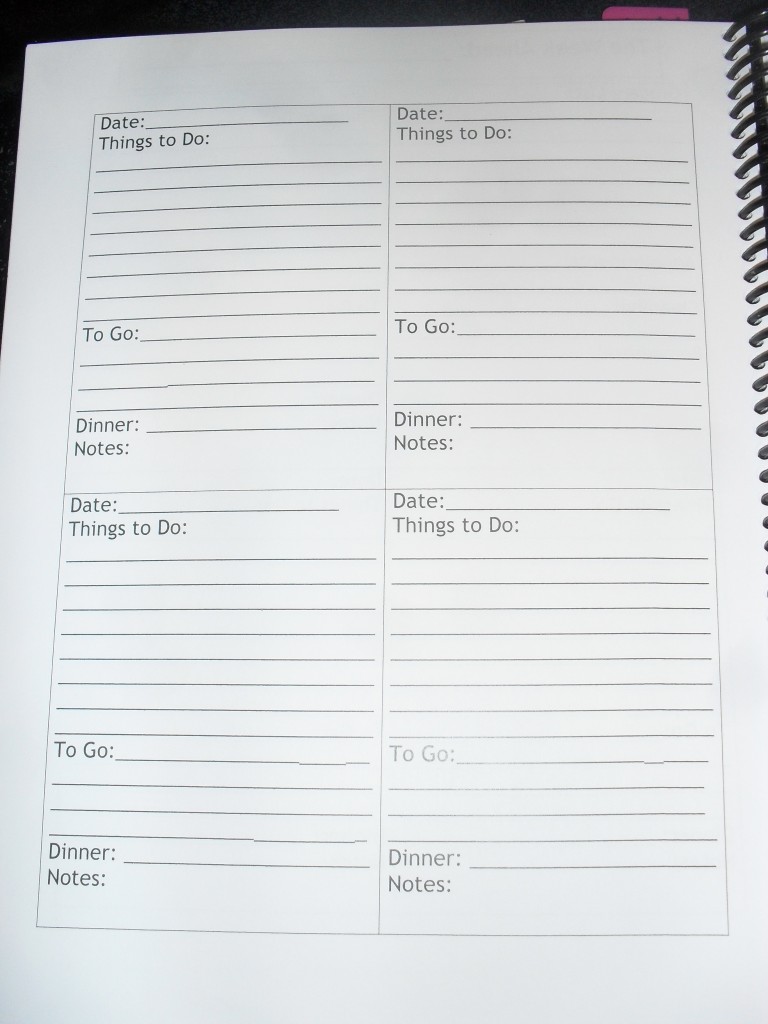
These pages are all double sided. It is made so you have the full 7 days on one sheet of paper, front and back. These pages were “duplex” printed (front and back)
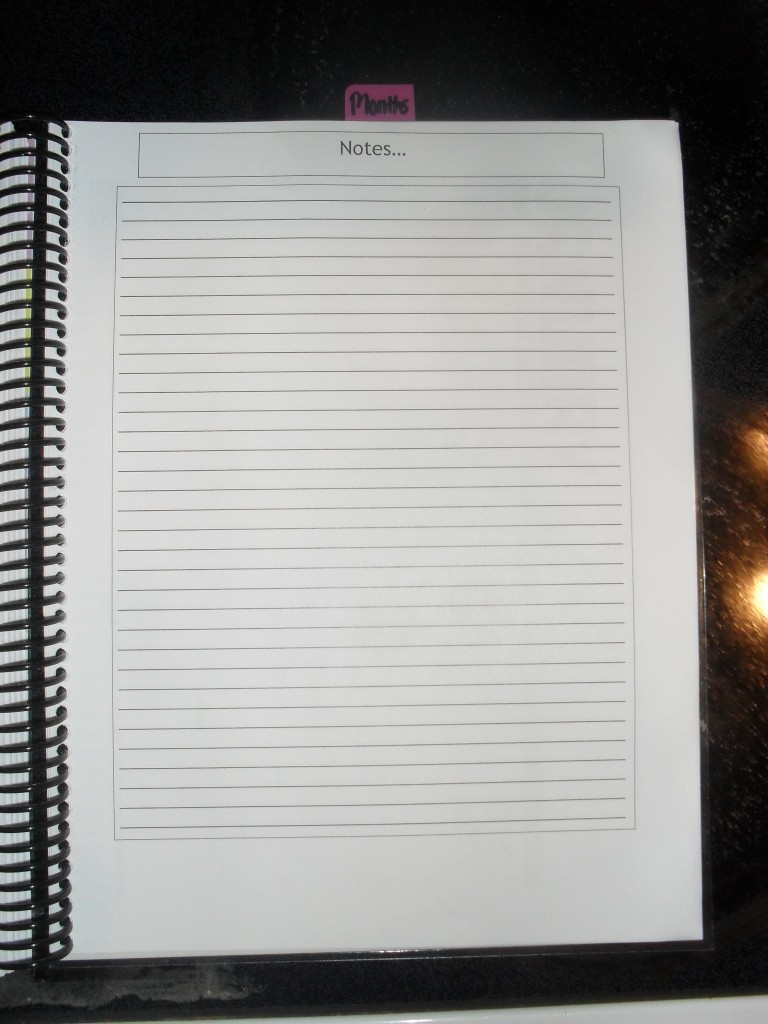
Towards the back is my note section
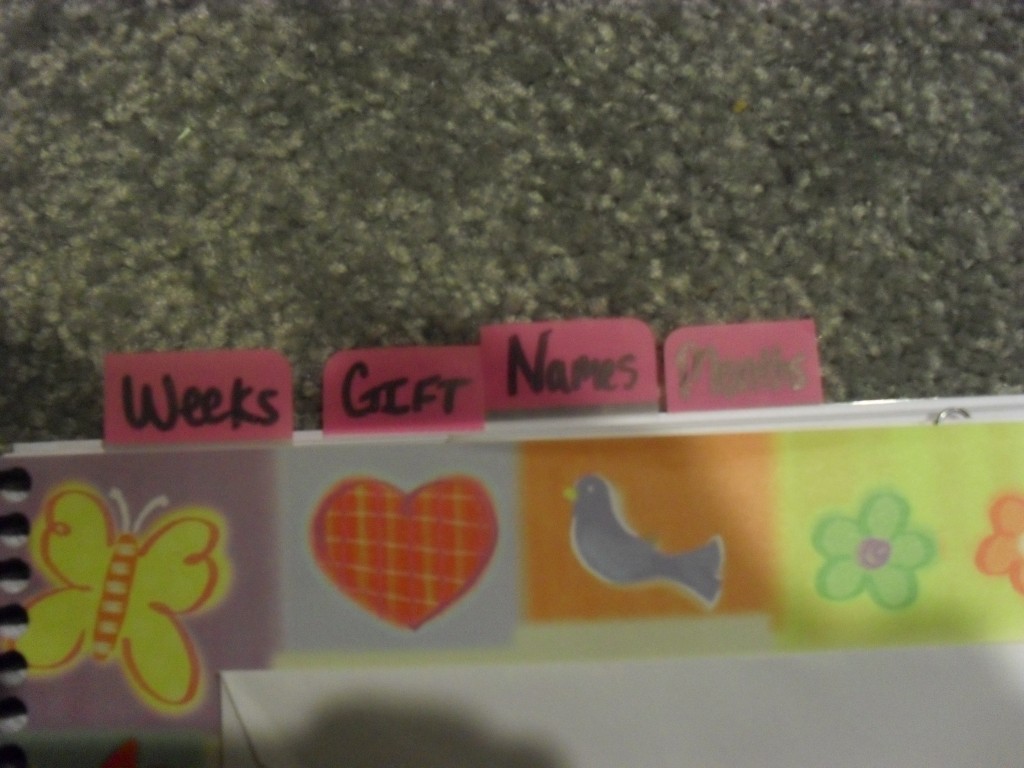
I bought these tab stickers while I was at Staples. They were only $2. I have each section separated and I love these stickers because they peel right off if you need to switch them
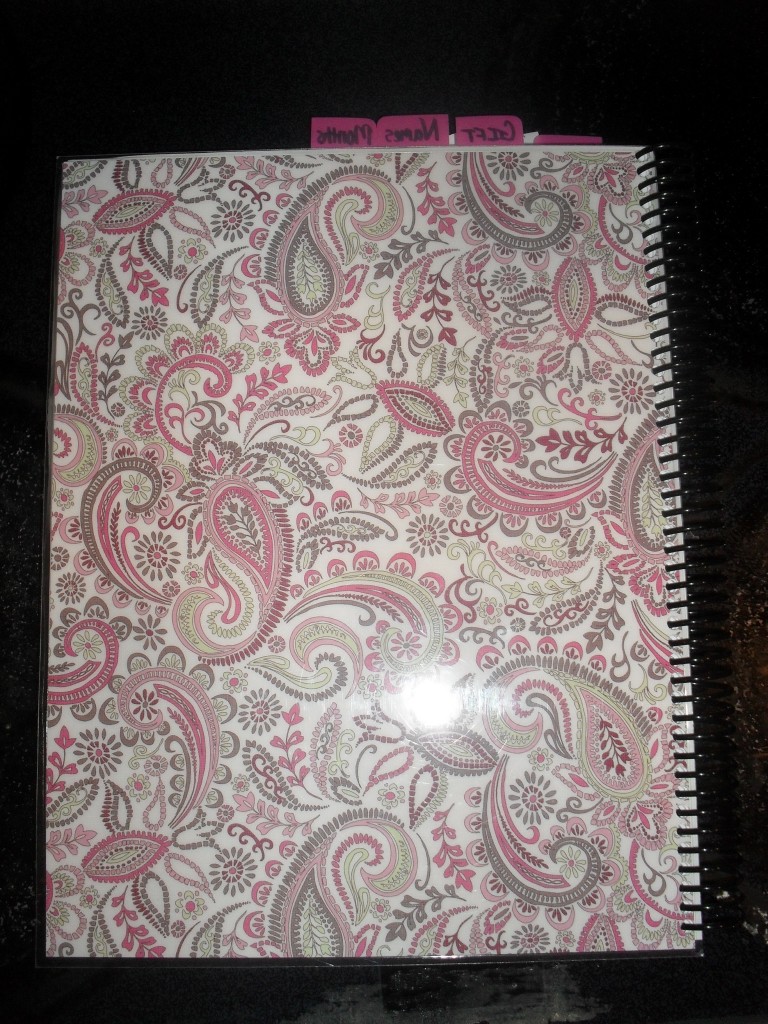 The back cover of my planner!
- Create a front and back cover for your planner (I used scrap book paper and stickers)
- Print out single copies of the different categories you want for your planner
- Organize your planner as you want.
- Back to back coupon envelope page
- Week at a glance “This Week” page
- 52 daily week by weeks “The Week Ahead” page
- Budget worksheet
- Birthday/Holiday Ideas worksheet
- Notes page
- Address Book page, back to back
- 12 calendar pages, 1 for each month
5. Chose the heaviest lamination option or ask for it to be double laminated.
6. If you want your planner smaller, you have the option of getting it trimmed.
7. I chose not to, but if you do not want an 8 by 10 planner, trim it!
8. Bind with the spiral wire binding.
- 51 copies of “This Week” and “The week ahead” back to back (Duplex)
- 12 copies of each month, 1 for each month
- As many copies as you wish for everything else
Links:
2013 Calendar, Month By Month
This Week
Address Book, Front side of page
Address Book, back side of page


