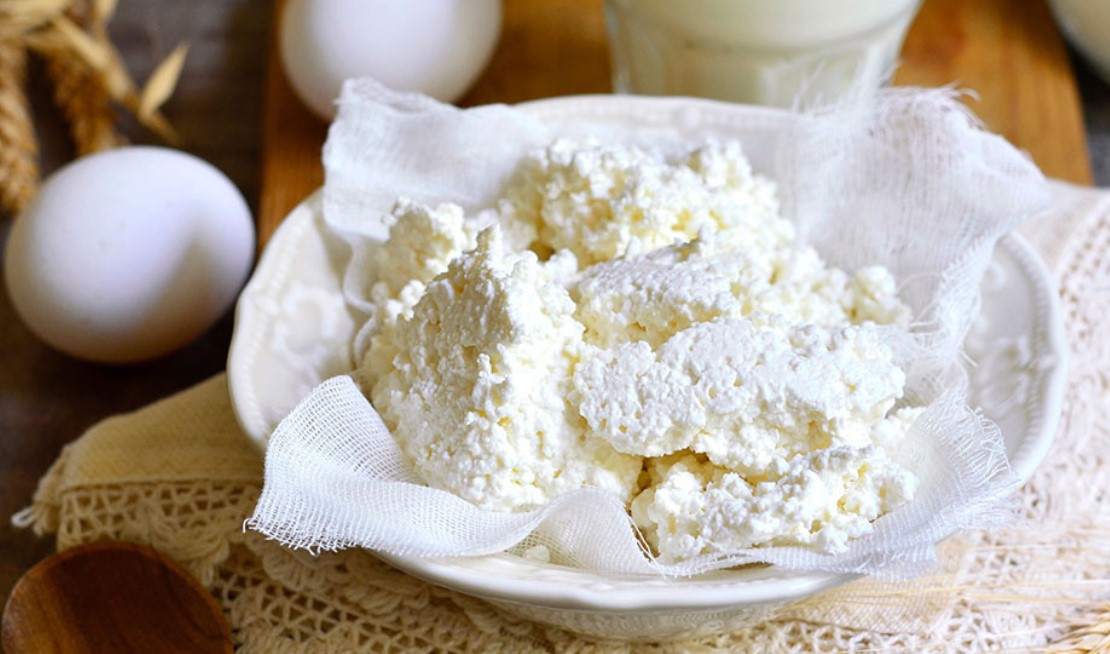
For cheese lovers and cheese enthusiasts out there, one of their biggest joys will be tucking into a platter of fresh cheese slices, or enjoying a meal that includes this dairy product. To put the cherry on the cheesecake joy, is the fact that cheese can be made at home with a fairly basis, easy to follow DIY recipe.
Almost all the varieties of cheese can be made at home, really. But, we are going to focus on the cheese that can be made easiest, cheapest and in the shortest period of time. This cheese recipe includes basic home ingredients like vinegar, salt and water, and chances are it would be a helpful recipe to follow when you run out of cheese and can’t make it to the store.
For this homemade cheese recipe, all you will need are,
- 1 gallon Milk ( preferably whole milk)
- 2 tbsp. Of lemon juice or 1/2 cup of buttermilk
- Salt (and seasoning to taste, optional)
Bring Milk to Boil
To make this homemade cheese, you will first need to bring your milk to boil. Most times, the type of milk used is not as important, as the fresh taste of homemade cheese is always notable. However, it would be better and healthier to use whole milk. Pour a gallon of the milk into a pot and just leave to boil over medium heat. Let the milk boil until bubbles begin to appear on the edges of the pot. In case whole milk is unavailable, you can substitute with almost any other kind of milk, although the end result might be smaller.
Add Vinegar/Lemon
Once the milk has began to boil, add the acid – buttermilk, lemon or distilled white vinegar to the milk. These acids will make the milk to curdle, and the buttermilk might be the best option as it adds a more milky quality to the final cheese result. Turn the heat to low and add the acid while continuing to stir the mix. The acid curdling the milk should turn the mixture into a separating mix of curds and the whey (a yellowish green liquid). If the mix does not begin to separate immediately, just keep adding the vinegar, lemon or buttermilk until it does.
Drain the Mix
When the acid begins curdling the milk, take it off the heat for a while and let it fully separate. Full separation usually occurs between 10-20 minutes, mostly depending on the type of milk and acid. After the curds separate and you have your whey and curds in the pot, pour them through a strainer. You can keep the whey that is drained off as it is helpful in other kitchen recipes. Rinse your curds with cold water and apply some pressure with a napkin to remove any excess liquid.
Add some flavor
Now your homemade cheese is ready, you might want to take it a step further by adding some extra flavor to your cheese. For flavoring, you might use salt and pepper and any other seasoning of your choice.
Once done with seasoning, wrap the cheese securely in cheesecloth and allow to sit for an hour upwards before transferring to the fridge. And there you have your freshly made, homemade cheese, ready to be served.
Remember that homemade cheese is at its best flavor right after being made, but can stay up to a week without going bad.
Conclusion
There are so many ways cheeses are made with so many wide varieties of cheese out there. If you want to make a wide variety of cheese at home, having one of the sophisticated cheese makers can make the process easy and simple. In addition to that, having a yogurt strainer bag can be a handy thing to have drain or strain yogurt, curds, ricotta and other things.


