


A bookshelf is an accessory you shouldn’t miss at home especially if you have a huge collection of books that needs to be properly stored. You can keep family magazines, pens and even children’s school books on a bookshelf instead of randomly having them in any location you can find in your home. Not only can a bookshelf keep all your book collections safe, it also makes it possible for you to have orderly access to your preferred books.
Making a bookshelf isn’t a tough task. You just need the right woodworking tools (T-square, tape measure, wood glue, a circular saw, wood glue and poplar), the right wood panel (preferably 3/4 inch birch plywood) and a little technical know-how on how you can cut, fit and join suitable wood panels dimensions to come up with a shelf. Here are the steps to follow when making a bookshelf.
Table of Contents
Getting Your Dimensions Right
The dimensions you settle on should be determined by the location which you intend to place the bookshelf and also a size that can best suit your needs depending on the number of books you may be having. Use a tape measure to mark all the dimensions you will need cut from the wood panel you have.
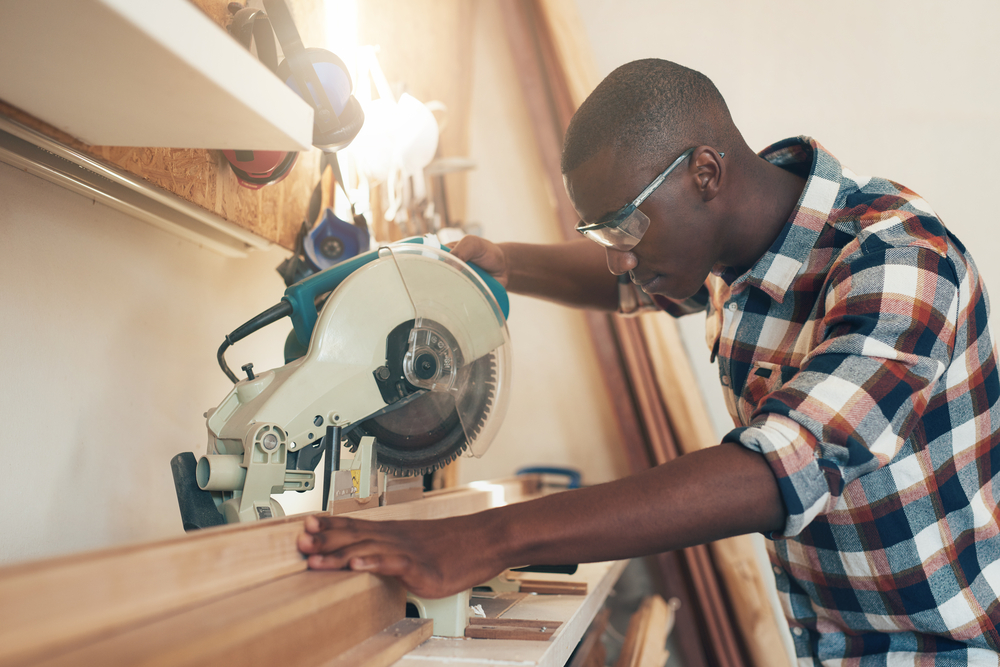
Cut The Plywood Frame Into The Right Dimensions
Use a circular saw to get suitable wood panel pieces dimensions. Only insist on using a circular saw having the best dado blade if you intend to have accurate wood panel cuttings. With the dimensions at your fingertips, cut the sides, top and interior shelves out of the 3/4 inch wood panel you have. Don’t cut shorter dimensions than what you intend to use. Instead, you can cut longer dimensions than what you initially have in mind since you can shorten them later into the right dimensions later.
Appropriately Mark The Sides For The Shelves And Cut Rabbet Profiles
Use a router to cut a suitable rabbet profile into the interior shelves. Rabbets are preferred since they enable bookshelves to be strong and thereby support more weight. Use a T-square to mark a 3/4 inch strip on both sides of the panels you are working on. Also, ensure that you have a 3/4 inch mark at every shelf point you intend to have in the unit. When creating rabbet profiles, lay the wood panels you are working on side by side and appropriately screw both their ends using a strap wood panel to ensure that your rabbet profile gets to be straight and even. Accuracy matters a lot when making rabbets and you should keenly engage yourself in this procedure.
Assembling Your Units
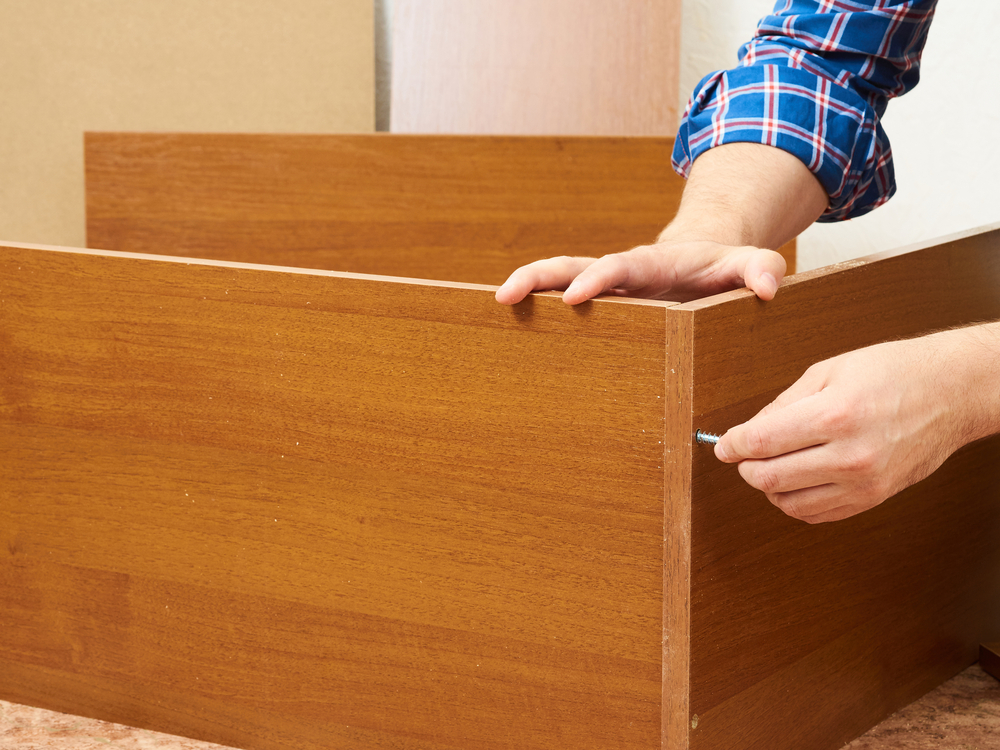
You can start by fixing the top panel to the two side wood panels by applying a wood glue and finish nails to get a strong joint. Continue to install the shelves by applying wood glue to the rabbet joints and ensuring that the shelves are slid into the joints. When the shelves have finally fit their intended place, put some finish nails through outside the shelf unit to get a strong joint. If you intend to hang the bookshelf on the wall, assuming that it is reasonable small and lightweight, you will have to make a cleat to fit that purpose. Ensure that the cleat’s back surface is flush so that your bookshelf can easily mount on the wall.
Applying Finishing Touches To Your Bookshelf
A touching finish is necessary so that you can have a bookshelf that is attractive and fit your house decorations plans appropriately. You will need to cover the exposed rough edges on your bookshelf preferably using 1-1/4 inch poplar. Doing that is simple – you just need to use a miter cut poplar dimensions that are the same as that of the exterior. For a smooth and well-tailored look, the angles should be fitted at 45 degrees. Don’t forget to use a wood glue to attach framing finish to the bookcase.
Allow the wood glue in the bookshelf to dry accordingly and that objective can be achieved in as little as 24 hours. Sand the bookshelf to give it a smooth surface that will further make it attractive. Don’t forget to wipe off any sawdust or debris created during the sanding process. You can proceed to paint or stain the bookshelf to make it have the desired look you prefer.
Author Bio:
My name’s Danny L. Montgomery. I’m the founder and owner of the blog zukzik.com. I love all things DIY & Home Decor. I hope I will be able to share my experiences with the interested readers


