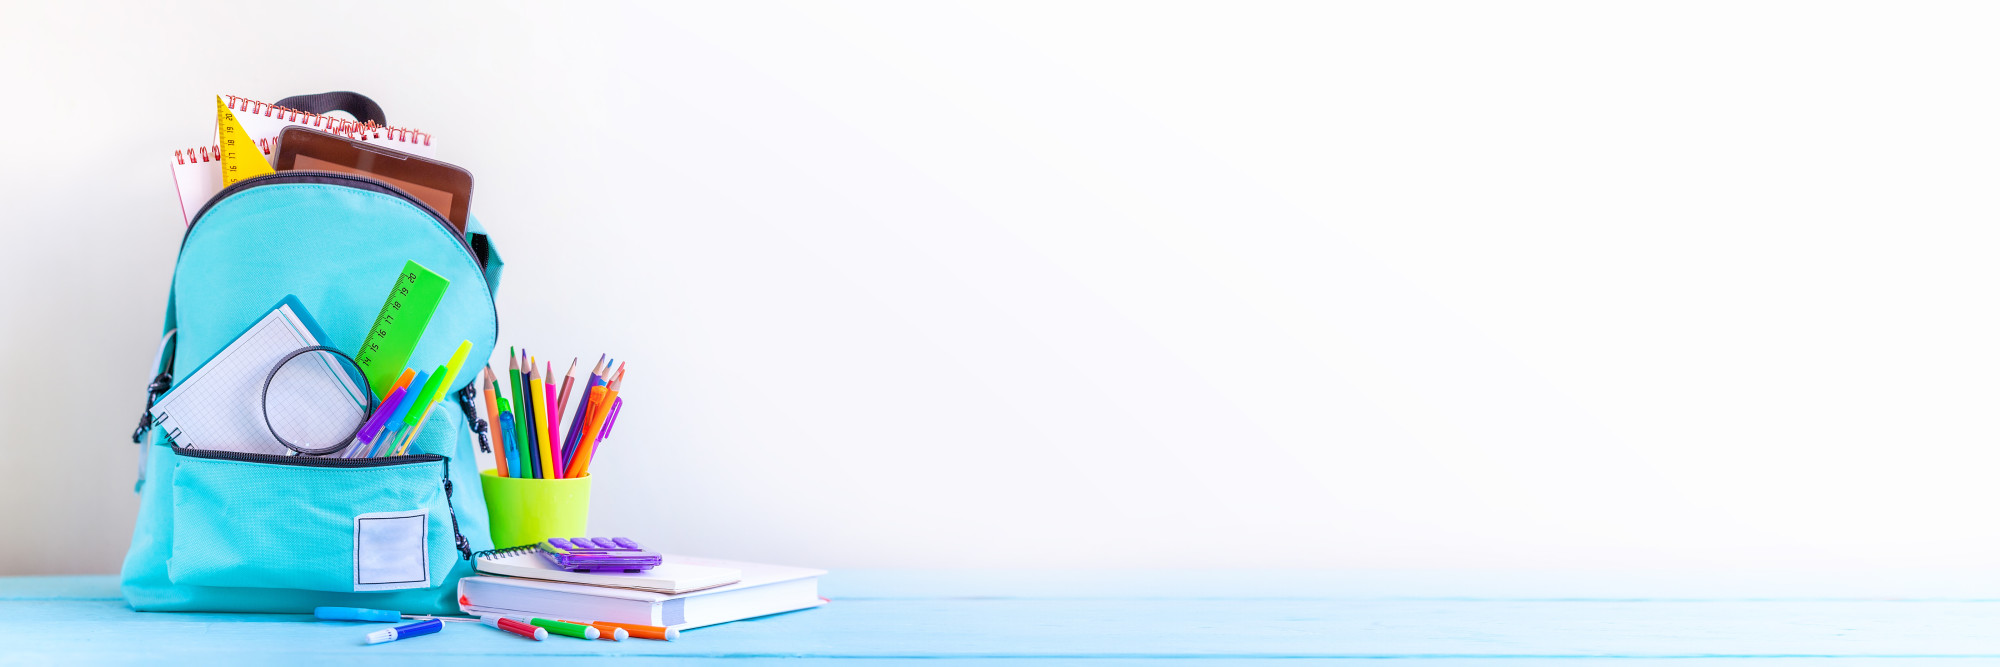
The average household will spend $637 on school supplies for a child in elementary school. And this only gets more expensive as your kids get older. School supplies cost an average of $941 for a middle schooler and a whopping $1,355 for a high schooler!
One of the most important and expensive school supply is a backpack. If your child is asking for a new one this year but their old one is still in good shape, you can save money by giving it a makeover.
Luckily, there are tons of easy and affordable DIY backpack decoration ideas to choose from.
Do you want to know more? Keep reading to discover 8 ways your child can add a little personality to their backpack.
Table of Contents
1. Glue on Some Pyramid Studs
Pyramid studs are the perfect addition for both boys and girls, especially those in middle and high school. You can find packs of loose studs either online or at your local craft store.
While commonly found in silver or gold, you can also find these in a variety of colors, including black, purple and bright green. This will make a huge impact, so be sure to pick a color your child loves and one that compliments the color of their backpack.
They can then glue these on the straps, over the front pocket, lining the zipper, or sporadically over their backpack.
2. Monogram It
An easy way to personalize a backpack is by monogramming your child’s initial on the front pocket. While monograms typically use the first initial of a person’s last name, children often prefer to have the first initial of their first name.
The easiest way to do this is by using a stencil and fabric paint. However, you can also draw the monogram on with chalk and then use fabric paint or a marker to draw it on permanently.
3. Draw Constellations
Does your child love science, space, or astrology? Then why not deck their backpack out with constellations?
To make sure all the stars line up, print out a picture of the constellations and use a pencil to poke holes in the paper where the stars are. You now have your own DIY stencil! Just lay it over the backpack, use fabric paint to create all the stars, and finish it off by connecting the stars to create the constellations.
This design works best on black or dark blue backpacks with white paint. However, if your child has a lighter colored backpack, consider using black paint.
4. Add Patches
Patches are a great way to add a detailed image to your child’s backpack with very little effort. You can find tons of different patches, so make sure you ask them what they’d like. Patches that are more popularly used in schools and colleges are called varsity letters. These letters are made of chenille yarn with a felt base and are also known as chenille patches or chenille letters. These letters are popularly used to embellish school uniforms and letterman jackets and can be customized with different yarn colors and attachment options. You can customize and create your own chenille letters here.
5. Go with Polka Dots
Polka dots are a classic pattern that girls of all ages are sure to love. Plus, they’re incredibly easy!
You can find foam pouncers at your local craft store or online. Just dip the pouncer in fabric paint, remove the excess paint so it’s not dripping, and stamp it onto the backpack.
Younger kids may like fun polka dots with various sizes and colors, so consider buying a pack of foam pouncers in different sizes, and start by using the biggest pouncer first. However, older kids often prefer the uniform and chic look of polka dots that are the same size and color. If this is the case, you only need one pouncer.
6. Add Some Keychains
The easiest way to add interest and personality to a backpack is to simply hang some keychains on the zippers. For younger kids, consider finding a few options that they may like and ask them to pick their favorite.
They can even choose 2 or 3 different keychains for a more dramatic appearance. For girls, a large pom-pom keychain is a great way to make a difference without dealing with several loud and heavy metal keychains.
7. Create a Monster
You can really help your child’s personality shine by creating a monster backpack. To take this to the next level, ask them to draw a monster and then make it come to life!
Just glue on pieces of fabric to create the monster’s eyes, nose, and mouth. You can also cover some cardboard in fabric to create spikes along the top arch of the backpack or glue little fabric feet on the bottom.
If your child isn’t a fan of monsters, you can do this with animals too. Pandas, foxes, dogs, cats, and owls are all easy to create using just a few pieces of fabric.
8. Add a Fabric Pocket
Does your child’s backpack have a small, front pocket? Covering this with a piece of fabric can make the backpack look brand new! Plus, this update is great for both boys and girls of all ages.
Just find a bandana or piece of patterned fabric that matches or compliments the color of the backpack. Then glue or sew it on!
The Best DIY Backpack Decoration Ideas
Let your child start the year off on a good foot with a backpack they truly love! Just follow the guide above to pick the best DIY backpack idea. From pyramid studs to a fabric pocket, you’re sure to find a design that your child can’t wait to show off.
Are you looking for more fun DIY projects? Then check out the rest of our blog today!


