


The school year is ending soon. This means that your kids are bound to stay (mostly) at home for the rest of the summer season. Initially, they will use it to catch up with some friends, who they might have rarely seen due to all their school work, tests, and exams. But you can be certain that they will eventually run out of things to do to stave off their boredom.
It’s a good thing then, that there are a few DIY projects you can seek to do during these down times.
Here are a few suggestions:

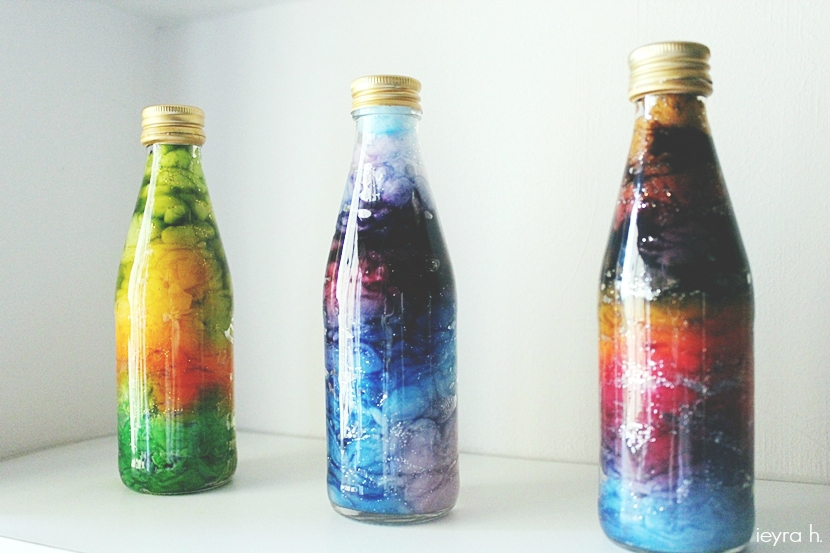
Nebula jar
Want to work on something colorful and out of this world?
A nebula jar could be the DIY job you are looking for. You can find the procedures on how to do it below:
Materials:
- A clear glass jar with a lid
- 2 colors of tempera paint
- Cotton balls
- Glitter
- Water
Procedure:
- Put water into the jar. Make sure it only fills up 1/3rd of the container.
- Place some color into the solution by adding a few drops of paint to the water. Secure the lid closed before shaking the jar altogether.
- Open it once again to add some glitter.
- Get the cotton balls and stretch them out. Add them one by one to the paint and water mixture until the bottom of the jar is filled with them. Press them down using a butter knife or a stick.
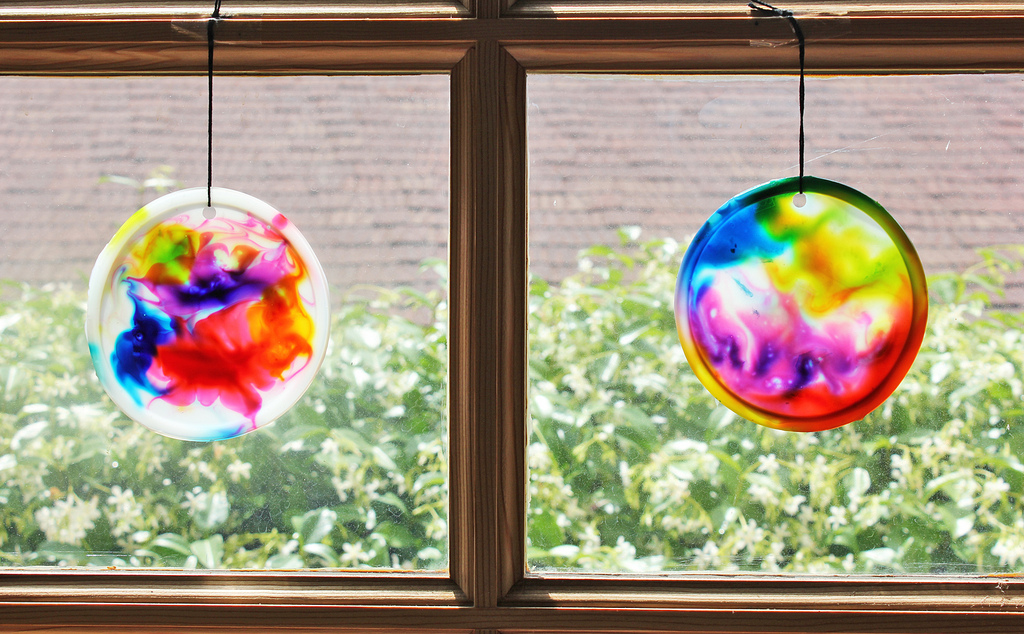
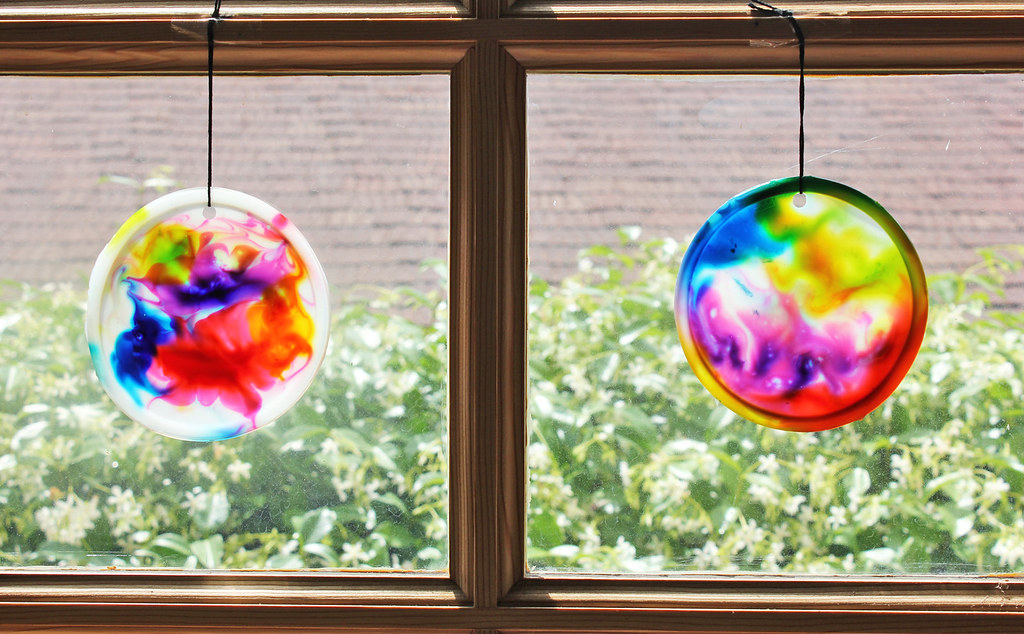
Cosmic suncatchers
Another otherworldly project to do this summer is cosmic suncatchers. To create them, follow these instructions:
Materials:
- White glue
- Liquid watercolors or food coloring
- Toothpicks
- Plastic lids (the ones you get from mayonnaise containers, ice cream pints, etc.)
- Hole puncher
- String
Procedure:
- Dispense a huge amount of white glue into a plastic lid. Be sure it covers the entire surface.
- Add a few drops (one or two) of color around the glue.
- Swirl the colors using a toothpick. Ensure the colors are still distinguishable from each other so they won’t look brown or muddy.
- Leave it to dry. It may take two to three days for the glue to completely dry off.
- Once it has finally dried off, peel the glue from the plastic lid. Punch a hole using a puncher through it. Tie a string around the hole and hang it up in a sunny area in your home.
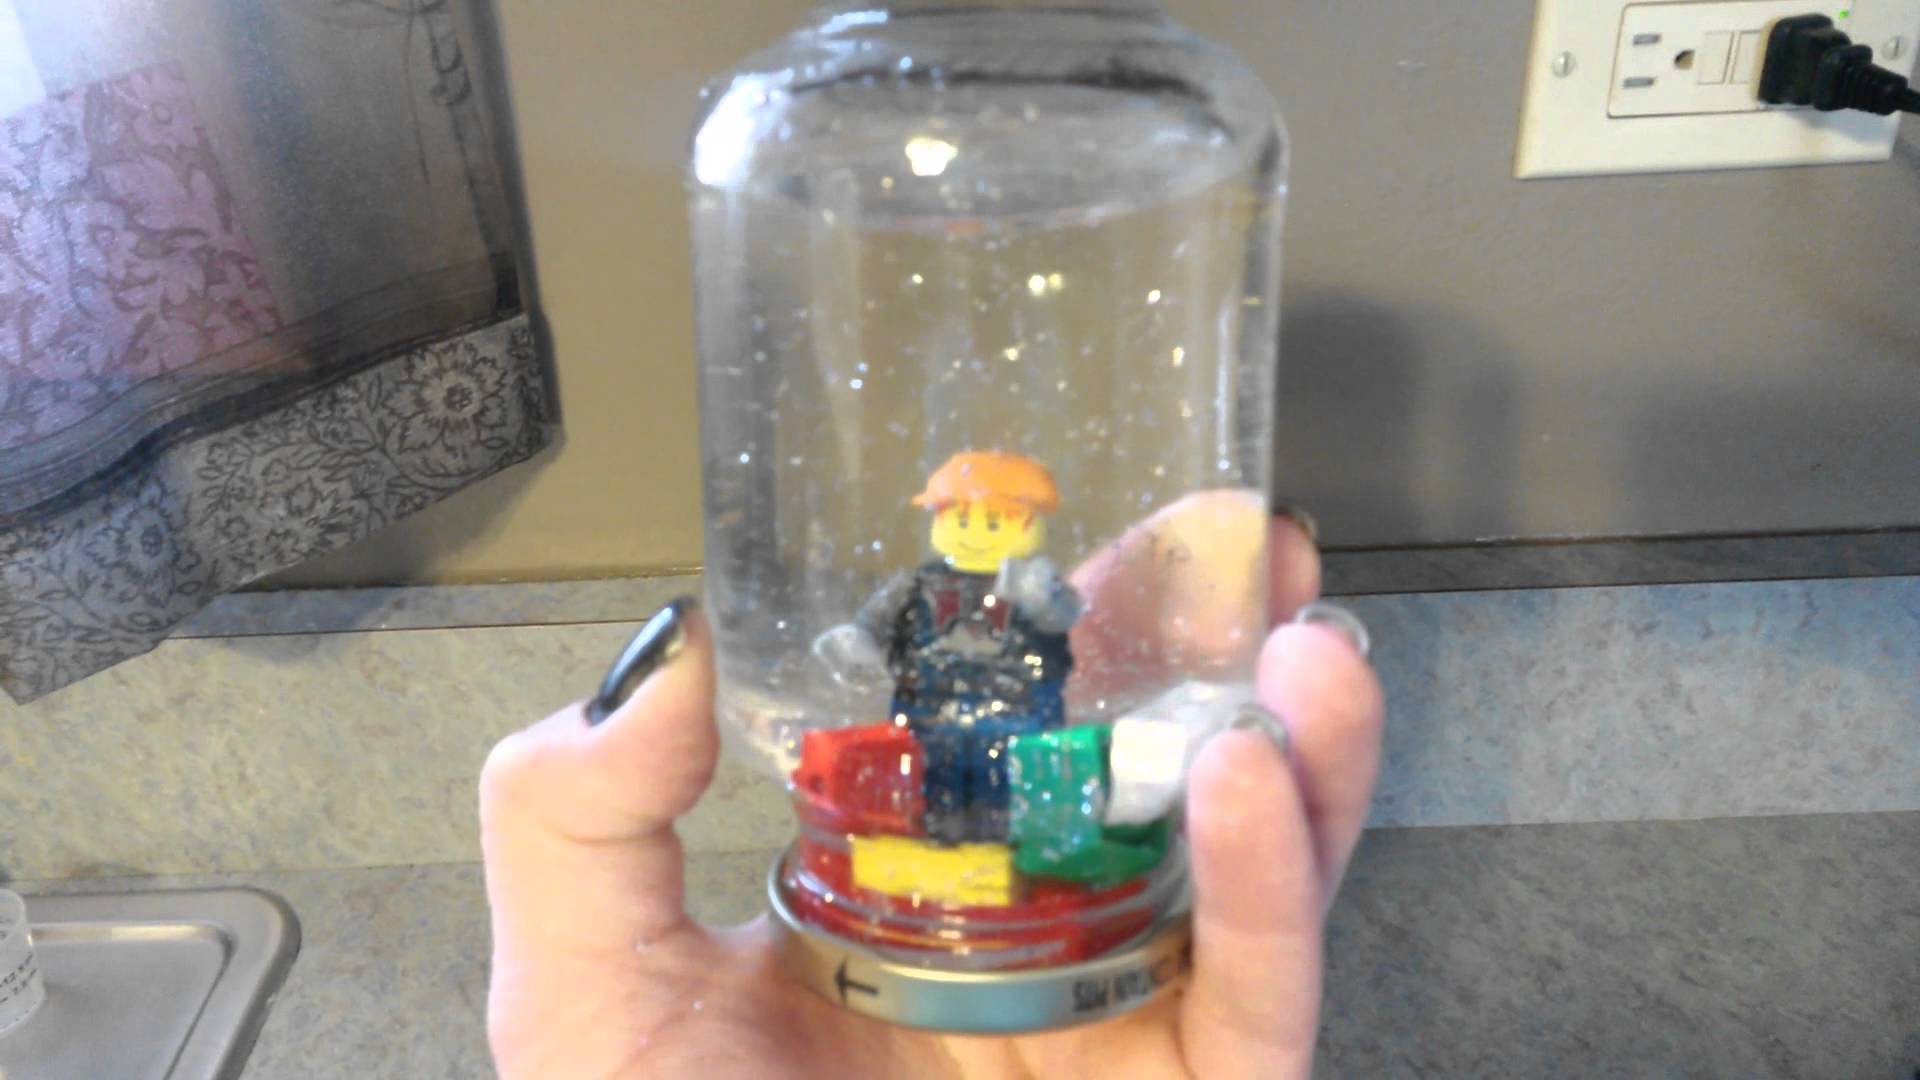
Lego snow globes
Kids love Legos. For sure, they are going to love doing a Lego snow globe with you this summer. Here’s what you need to do:
Materials:
- A clear jar
- Lego blocks and a Lego figure
- Glitter
- Super glue
- Glycerine (optional)
- Bathroom sealer (optional)
Procedure:
- Put all the Lego pieces together to build a scene. Be sure it fit inside your jar.
- Place 1 tsp. of glitter inside your jar. Don’t pick super-fine ones for they will always float in the water.
- Use super glue to stick the Lego pieces to one another, so they won’t dismantle later on.
- Glue the Lego pieces to the underside of the jar’s lid. Let it dry before proceeding to the next step.
- Fill your jar with water to its brim. Then, screw the cap tightly to the jar.
Fight your kids’ boredom by doing one (or all three) of these projects. For sure, they will learn a thing or two during the process!
About the Author:
 Laurel Santos may be a 24 year old adult but at her core she is just a little girl full of wonder. She lives in the city and works as a freelance photographer in the Philippines. She manages a small pet shop inside her village. She has a big heart for animals, especially stray dogs. She is an avid traveller because she believes that life is not lived within the borders of your own home. Despite her busy schedule she always finds time to do one thing that she is very passionate about and that is writing.


