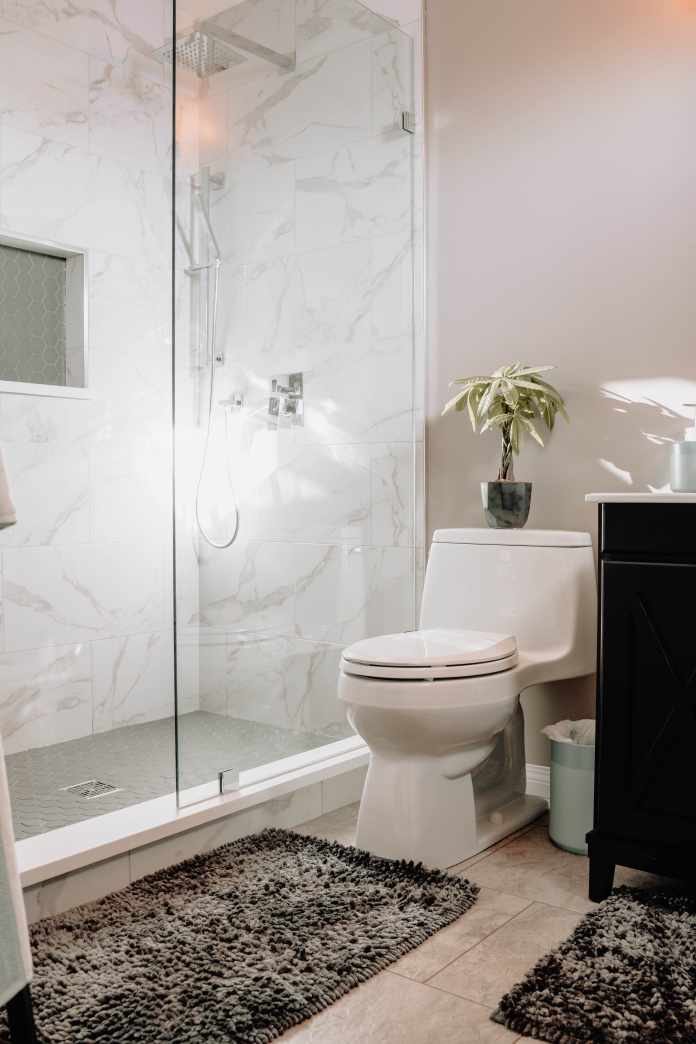
Running toilets can be a nuisance in various ways. Firstly, they create an unpleasant gargling sound that irritates your ears, and secondly, the high running water level leads to an even more unpleasant utility bill! Hence, this creates a rather frustrating and messy problem for you.
If you find yourself in this situation, you could attempt to fix it yourself or call a professional plumber to do it for you. While the second option sounds far easier, as all you need to do is relax while the issue gets fixed, it is also more expensive. Furthermore, learning to fix things yourself is always beneficial, so if help is unavailable, you need not worry!
Suppose you’ve never fixed a running toilet before and are stressed and confused about your next steps. Fear not! We have written out a step-by-step guide for you to follow. Here are our tips on what to do when your toilet keeps running, and you yearn to return to how your life was before.
Step 1: Check the flapper valve
A faulty flapper valve is one of the most common causes associated with a running toilet. A flapper valve is a small rubber plug placed at the bottom of the toilet’s tank and covers the flush valve opening. Its main function is to control the flow of the water. When you flush, the flapper valve lifts to let the water flow into the toilet bowl and then falls to stop the flow once the tank empties. So if your flapper valve is damaged and not functioning as it should, it may allow the water to run continuously without stopping it.
To fix this problem, begin by removing the lid of the toilet and then flushing it. Keep an eye on the flapper valve as you do this, and notice whether it closes or not or if it seems damaged. If it is damaged, you will need to replace it. You can find them easily at a hardware store. To replace it, turn off the water supply to the toilet, flush it, and then follow the instructions with the flapper valve on reinstalling it.
Step 2: Check the Chain
Another culprit of running toilet water could be the chain that connects the flapper valve to the toilet handle. The issue might pertain to the length of said chain. It might get caught under the flapper valve if too long, preventing it from closing properly. However, if the chain is too short, it may prevent the flapper valve from opening fully. Hence, it must be the perfect length to meet both criteria.
To check its length, remove the toilet lid and flush it. Notice the chain as you press the flush’s handle down, and once you release. If you see the issues described above, you can adjust its length by moving it up or down.
Step 3: Check the fill valve
The fill valve refills the toilet’s tank with water after each flush. If it is faulty, it may allow the water to continue flowing in the tank even once it has reached its limit. While there are various reasons that this may have occurred, a common one is due to the build-up of debris or sediment that is blocking the valve from opening or closing correctly.
To check the fill valve, turn off your water supply to the toilet again. Use a wrench to loosen the nut that holds the valve in its place, and then remove the valve. After inspection, if you notice any signs of damage, you will need to replace them. If, however, you only notice debris build-up, then clean it out gently and reassemble it. Turn the water supply back on to check if the toilet has stopped overrunning!
Step 4: Check the water level
The adjusted water level in your toilet could affect the running of water. You would need to check whether it is too high, which would be the reason for the continuous running.
To check the water level, remove the toilet tank lid and examine the water level mark that should be present inside. Ideally, the water should remain around 1 inch below the mark for optimal functioning. If the level is above the mark, causing the running, then all you will need to do is readjust the level. You can do this by turning the water supply in a typically anticlockwise direction, reducing its level in the tank. Once you have done this, double-check to ensure the correct level and place the lid back on!
Step 5: Call a plumber
If you have gone through all the steps above but cannot solve this issue, it may be time to call for help. Seek out a plumbing service and have your issue fixed in no time!


