
Last Updated on January 13, 2023
Table of Contents
Introduction
You have a Mac and an iPhone, but you need to move some files between them. What do you do? There are several tips to transfer files between your devices; we will review them below.
1 – By using AirDrop
Transfer of files between a mac and an iPhone is now possible by using AirDrop. Here is how:
- • On your Mac, enable AirDrop by going to the Finder’s Menu bar and selecting “AirDrop.”
- If you don’t see this option yet, ensure you have your computer’s latest version of OS X.
- You can also use Spotlight to search for “AirDrop.”
- Once it shows up in the menu bar below Spotlight click it and transfer files, easily.
2 – Transfer files from Mac to iPhone using a USB cable
To transfer files from your iPhone to your Mac, you’ll need an Electricity to USB-C cable. They are available at Amazon or Apple Store.
If an old USB cable with a 30-pin connector works for you, it will also work with your new Lightning adapter, if you have one.
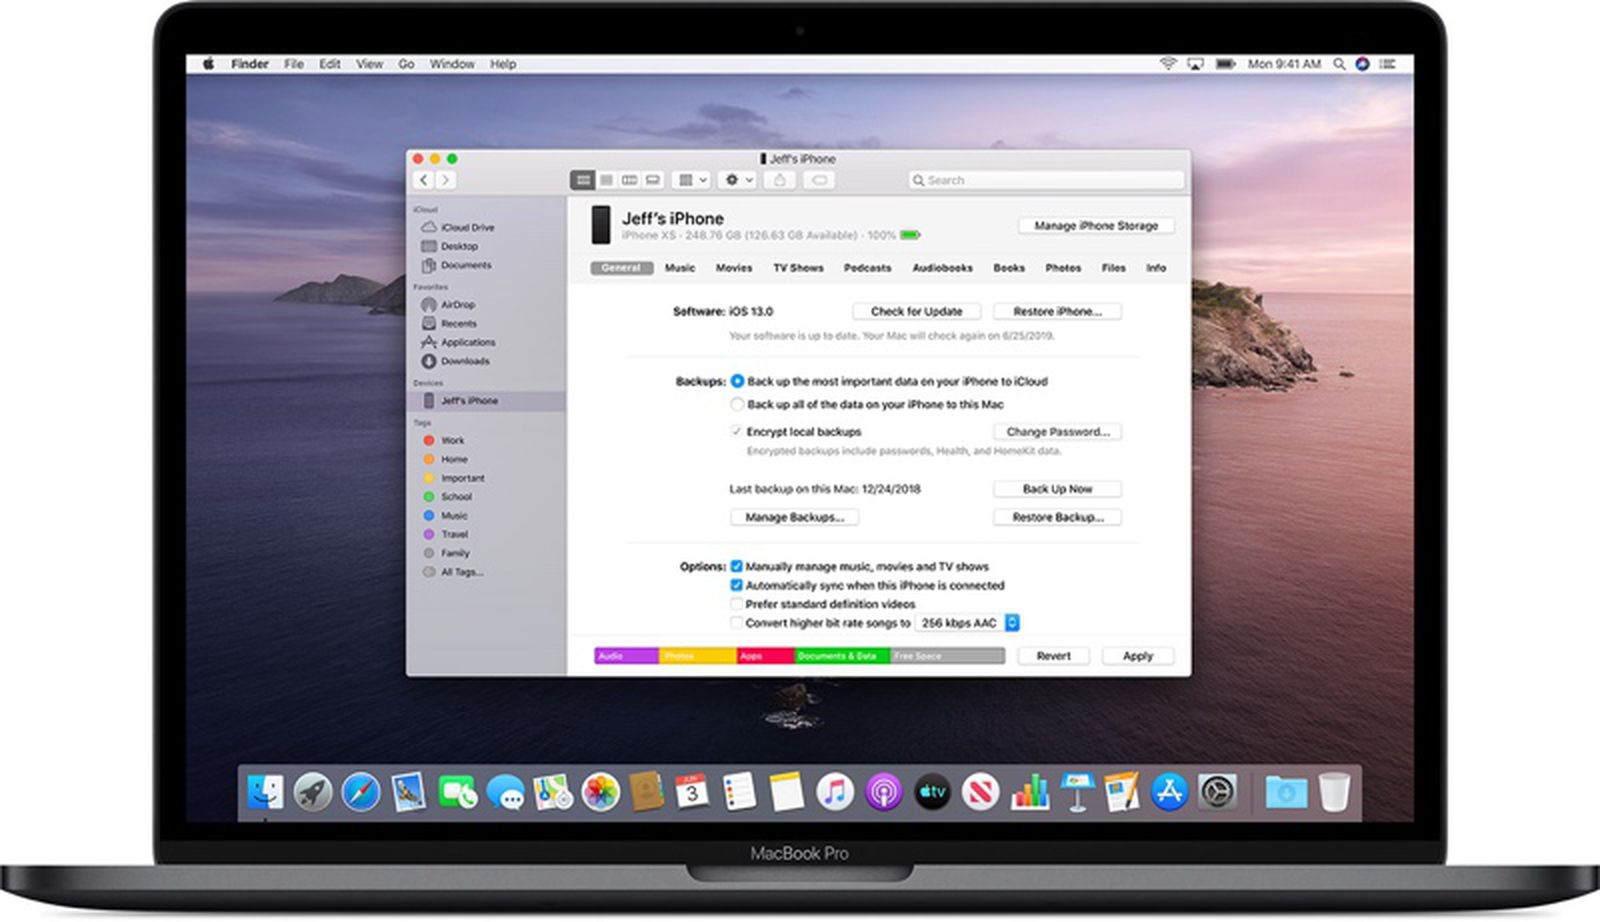
3 – Use a USB cable to transfer files from iPhone to Mac
For transferring files between iPhone and Mac, you can use a USB cable:
- Use the USB cable to link your iPhone to the Mac.
- • Launch iTunes and navigate to the “Apps” menu at the top of the screen.
- Then choose “File Sharing” from that menu, or click on “File Sharing” in the lower-left corner of the iTunes window and select ‘Add New.”
- A new window will pop up asking permission to share some files over WiFi (or any other way) with this computer; click Keep Permissions until everything looks good.
If there’s an issue connecting or transmitting data among devices, try rebooting both.
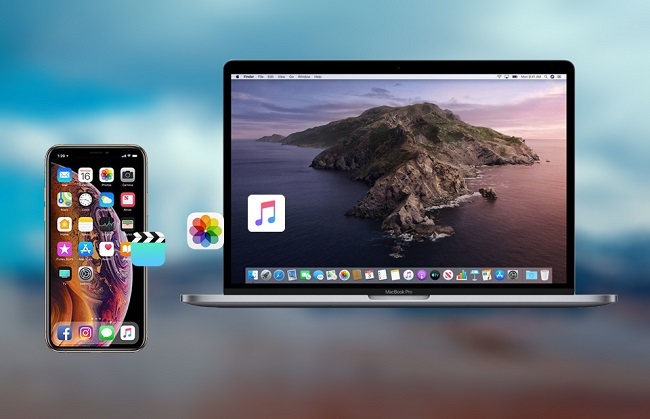
4 – Use Image Capture
Image Capture can be used to import photos from your iPhone to your Mac. To do so, make sure both devices are signed into the same iCloud account and are connected to the same WiFi network.
To begin, launch the Photographs app on your iPhone and navigate to Camera Roll in the bottom left corner of the display (or press Command+C). Then choose Import from Camera Roll to integrate all images available for download to certain other devices with this one.
Next, choose which folders contain images you would like to transfer over, they will appear as thumbnails in a list below each other, so it’s easy to see what’s there before making any changes.
Once everything looks right according to plan, click Start Importing at the top right corner of the window; Image Capture will process automatically after some time has elapsed since clicking the ‘Start’ button previously mentioned above.
5 – Auto-import photos
Use auto-import for macOS, follow these simple steps:
- Open the Photos app on your Mac. If you don’t have it installed yet, download it from the App Store or search for “Photos” in Spotlight and install it from there.
- Select the Photos tab at the top of your screen and click Import > Devices to choose which devices you’d like to import from (your phone should be listed near the top).
- You may also want to check if any additional options are available by clicking on “More” under each device name if they are available; otherwise, select one of them.
- If nothing happens when you click either option, try turning off USB debugging mode by going into Settings > General > About This iPhone > Software Version & Click Agree Now.
6 – Use iCloud Photo Library to share photos between iPhone and Mac
There are two ways to share data between these devices:
1 – iCloud Photo Library is a free service that lets you store all your photos, videos, and documents in iCloud. They are easily accessible from any of your devices. If your relatives or friends have an Apple ID, you can also consider sharing these files with them. It is, however, more difficult than wanting to share via AirDrop.
2 – DropBox offers a similar feature called Personal Cloud Storage, where all your files are stored on Dropbox servers but can be accessed via a web browser or mobile app.
7 – Using the Airdrop feature with your iPhone to send files securely
Airdrop is a feature that enables you to transfer data between your desired devices. It uses WiFi and Bluetooth, so it’s very secure. Airdrop is built into macOS and can be used on all Macs, including your MacBook Pro or AirPod.
Make sure both devices are linked to the exact WiFi network or have a connection to the internet before using Airdrop with your iPhone.
If they are not connected, go through the setup process again by following these steps:
- Open Control Center;
- Select AirDrop from the list at left;
- Tap on Devices near the upper right corner of the screen
Managing your files needs some planning
The whole first thing to think about is how you will organize your files. Create separate folders for different media types, or store all your photos in one place.
Depending on the type of content stored on your device and where it’s located (on an external drive or in iCloud). There could be several options available for transferring files between devices:
- USB flash drives are great because they’re small enough not to require much space but still allow users to access all their data without having a computer nearby.
- However, they come with some limitations if used as intended: they will only work well when connected directly to an outlet if using special adapters, which you can purchase separately.
- They also have limited storage capacity – usually around 500GB – which means that after filling up one drive with hundreds upon hundreds or thousands of photos taken over time, re-downloading them again would take hours before everything starts looking normal.
Also Read: How to Choose Which Dog Breed Is Best For Your Home
Conclusion
Hopefully, this article has provided you with the appropriate knowledge about the transfer of files. These simple ways will aid you in transferring data between the devices.


