Table of Contents
Gutters are one of those universally disliked features of any home. Most people don’t like cleaning them out or replacing them, but the fact that they protect your home from water damage is worth the effort. Just like every other part of your home, gutters need a bit of maintenance. But don’t fret if it’s time for a replacement, we will walk you through the gutter installation process step by step.
What to Expect From Your Gutter Installation
If you keep up with regular maintenance, you can expect your gutter system to last about 20 years – though exceptional maintenance may allow you to extend that lifespan. If your gutters are nearing the 20-year mark, you might want to consider replacing them soon.
Here’s a step-by-step guide for how to prepare for your new gutter installation.
Remove Old Gutters
The first step in any gutter installation project is to carefully remove the old gutters and downspouts from a home’s eaves and fascia brackets, in order to make room for the new ones.
If you’re adding gutters to a house that didn’t previously have them, you can skip this step!
Check For Damages
If you do need to remove your existing gutters before installing new ones, your roofing professional may find boards or pieces of fascia on your roof that are rotted. These will have to be replaced before the new gutter system can be installed.
Take Measurements
With the old gutters removed, your roofer can take better measurements of your home. This will make it easier to determine where new gutters should go and how far they run, as well as the best location for downspouts and the angle of connection needed between gutter corners.
Install Your New Gutters
Your roofer will now do the actual installation of your gutters. The process generally takes a few crew members and one or two days to complete, but could be longer if your home is large.
When installing your gutters, most reputable professionals will use screws as opposed to nail heads. Screws are more secure than nails, which is better for your home.
Install Downspouts And Elbows
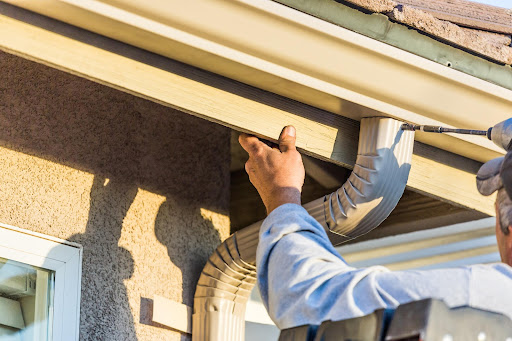
The last part of your gutter installation is to install the downspouts. Since your gutter installation Schaumburg pro has already pre-cut holes in each downspout, the process won’t take long – but it’s important that you do it right.
Your downspouts are there to channel water away from the foundation of your home, so make sure your roofer installs them properly. Downspouts need to be directed away from the house, and any elbow attachments must be positioned properly as well.
Let’s Clean Up
When the gutter installation is complete, cleanup is the last step. They’ll pick up dropped nails and screws with a magnet, remove the old gutter pieces, and make sure that your yard is left in the same condition as when they started.


