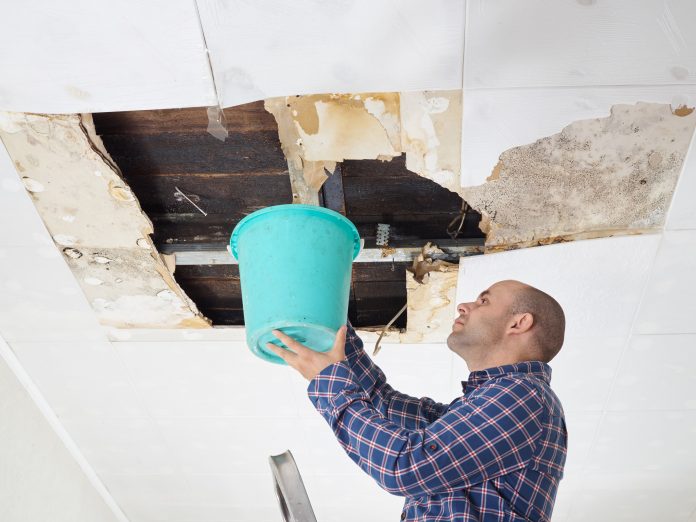
One of the worst things about a leaking roof is that you never really know about the problem until some form of damage has been done.
Roof leaks tend to happen slowly. Unless you routinely maintain your roof, the problem tends to show itself when you least expect it.
While a leaking roof is a problem no matter the weather, when a storm hits, it could quickly turn into a nightmare. This guide on how to stop a roof leak in the rain should have you covered.
Table of Contents
How to Stop a Roof Leak in the Rain: Tackle the Inside First
All too often, torrential rain leads to indoor roof leakage that either spills from your roof or down your walls. Sometimes, water that has pooled in your roof will leak through lighting fixtures or a heating register. Ceiling joints and corners are also weak spots.
In order to take control of the leak, and any further damage to your home and appliances, turn off your home’s power supply.
If the source of the leak is not obvious, you’ll need to move some furniture around to trace its original path. You should move the furniture and appliances out of leaking rooms altogether, anyway.
If you can’t move furniture or appliances, cover them with plastic bags to offer some form of protection. In some cases, you may not be able to prevent water from destroying certain items of furniture or appliances.
You can always contact your insurance provider to see if you’re covered for flood damage.
If you have a suction hose on-hand, use it to suction out any standing or pooling water straight into your sewer system.
If not, catch roof leaks with a pail, large cooking pots, or your outdoor garbage pail used for waste disposal. Put someone on mopping duty while you investigate the source of the leak further.
You may require the expertise and tools of a roofing company to fix your leak, but until then, here are a few emergency tips:
Emergency Roof Patching and Covering
If there is a patch on your ceiling that is holding water, you will usually notice a large bulge in the drywall. Carefully poke a hole in the center, and allow the water to drain from one spot in order to reduce the damage to your ceiling.
Once you have a handle on the indoor leakage, it’s time to find the source of the leak and do some quick patchwork.
Investigate the Roof or Attic
Head into your roof or attic and start by clearing away any insulation off wet ceiling drywall. You may need to sponge offer any pooling water.
If you have a regular ceiling, lay a piece of plywood across your ceiling joints and place a bucket under the source of the leak.
The plywood is important because you don’t want the bucket to fill with water, become too heavy, and bust through your ceiling drywall.
After this, follow the leak back to its entry point in your roof. Keep in mind that this could be far from the area it’s dripping onto your ceiling. The path of water generally follows the underside of the roof deck.
Once you have found the source of the leak, there are a few patchwork options to cover it up, temporarily:
- Roofing tar – if you have this product on-hand, trowel the roofing tar into the leak on the underside of the roof deck, a putty-knife works best
- Roofing shingle – if you have spare roofing shingles laying around, use this to cover up the leak with a quick hammer and nail
- Plywood – leftover pieces of plywood also work well as a temporary leak cover-up, simply hammer and nail into place
Don’t ever attempt to access your roof in a heavy downpour. Instead, try to get a handle on your rook leak from the inside, until the rain subsides and you can call in the help of a roofing expert.
Construct a Plastic Roof Covering
Sometimes finding the source of a roof leak is near impossible. You may not be able to get into your roof or attic to find the leak, for whatever reason. If this is the case, you can make use of a plastic roof covering as a temporary solution until a roofing contractor can help you.
Get your hands on a 4-foot roll of 6mm polyethylene plastic. You’ll then need to unroll the plastic and measure the exact section of the roof that extends from the eave to the ridge.
Basically, you should measure where you think the leak could be located, plus an additional 4-feet.
Unfold the plastic once you’ve cut it to size, and create a strip that’s approximately 8-feet wide. Roll this strip of the plastic sheet around a piece of 8-foot plywood and staple the plastic to the wood.
Place another piece of plywood on top of this in order to sandwich the plastic between the two. Do the same to the opposite end of the plastic sheet.
Finally, make your way up onto your roof once the rain has subsided. Place the plywood sections along the roof eaves.
Stretch the plastic over the ridge of your roof, covering the approximate area of your roof leak. The other end of the weighted plastic sheet should hang over the opposite side of your roof.
Find Handy Home DIY Tips Here
We hope this guide on how to stop a roof leak in the rain has been useful as the summer showers bear down upon us. Remember that nothing is better than ”prevention over cure” when it comes to your roof – so regular maintenance is key!
If you’re looking for a little more home, DIY, decor, design, and house cleaning inspiration, be sure to explore the rest of this website for more.


