

Last Updated on October 9, 2019
Retro gaming is now back in fashion. Even with the existence of reboots, there are some games that are best played in its original format. Imagine playing Galaga but with cleaner realistic graphics as opposed to the pixel visuals you were used to? It’s not exactly the same thing. Not to mention that retro games tend to be playable only on the specific system they were designed for. Well, that is no longer the case. The inception of a Gamulator has made it possible to access any game, old or new and run it on your chosen system. This means you can now play a PC game on your tablet or an old arcade game from your phone. Of course, nothing beats playing an arcade game on an actual arcade machine. To achieve that, here’s a quick 6 step DIY for you to try out.
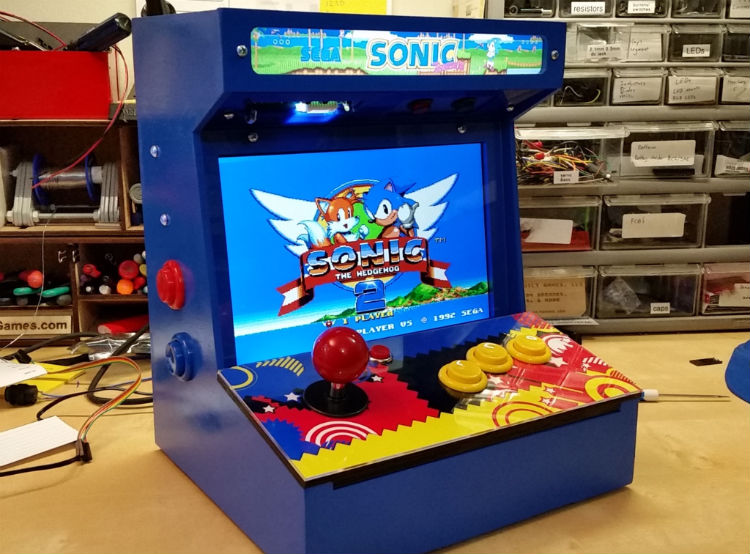
Step 1: Decide on the Cabinet
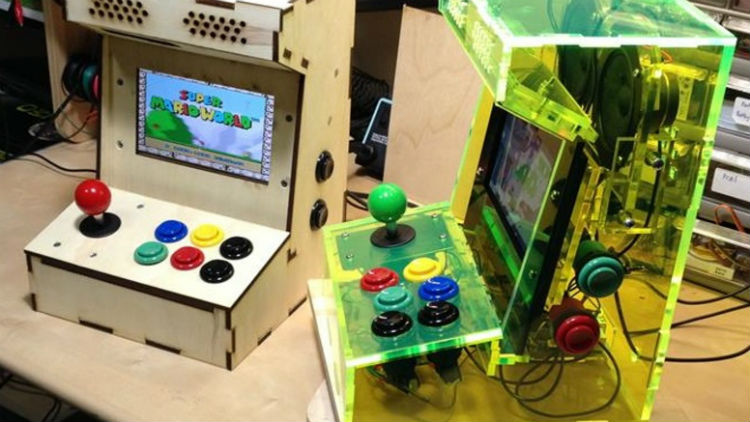
No arcade machine is complete without its cabinet. In order to get that overall retro vibe the first step is to select where your tech is going to be housed. There are several options for this. One is to build your own, the internet has a decent selection of patterns and videos on building a gaming cabinet. But honestly why go through all the trouble when the next option is to simply buy a prefabricated arcade cabinet kit. This is the perfect solution especially when you don’t have any woodworking skills under your belt. Like an IKEA furniture piece, prefab arcade cabinets come with a simple set of instructions. The last and final option if the aforementioned ones are still not up to par with your building prowess is to buy an old arcade machine, take out the old components and leave the shell which you can repaint or refurbish if needed.
Step 2: Prep the Cabinet
Make sure that the cabinet whether old, new, or handmade is up to standards. This means ensuring that the surfaces are smooth and will not cause any damage to the electronics that will be housed in it. Ensure that there is enough space for wiring and proper support to hold heavy equipment. Old cabinets should be refurbished properly with joints reinforced and surfaces smoothened and polished.
Step 3: Pick a Monitor
If you are using an existing computer monitor, ensure that it fits snugly onto the cabinet. Some purists prefer using bulkier monitor models for that authentic retro gaming experience. The rest of the DIYers will settle for a nice inexpensive flat screen for the project. Most gamers prefer widescreen gaming, so selecting a monitor is mostly personal preference. For the most part, a Gamulator functions on a standard flat screen with a 4:3 aspect.
Step 4: Get a Control Deck
Just like the cabinet, you can opt to build one yourself by salvaging parts from old cabinets or by putting one together with the help of a kit. Setting up the controllers is the trickiest part. It takes some know-how to install the buttons and knobs correctly and have them work along with their corresponding functions. Typically the installation of the control deck also involves wiring the other components that will have your machine running flawlessly. Luckily there are lots of tutorials that can help with this. You can also hire someone for this part of the build if you are not confident with your skills.
Step 5: Sounds
Sound quality plays an important role just as clear crisp imagery on the monitor does. The good news is that the sound element is a fairly easy aspect of this DIY. Monitors do come with built-in speakers, it is advisable on the other hand to get a separate one. Not only does it ensure better sound output it is also easier to replace should something go wrong with it. Speaker selection is also a personal preference, players can set up their arcade cabinet with sound equipment that suits their needs. When it comes to installation, kits often have an allocated space above the monitor for speakers while gamers who choose to add subwoofers often position it toward the base of the cabinet. Make sure to check your build for any speaker specifications or unique installation instructions.
Step 6: Setup your Gamulator

Unless you are refurbishing an arcade machine to be game-specific, the last step is to run your Gamulator. Game emulators allow users to run any game cross-platform. This means that you can now enjoy GameBoy only games on your DIY arcade machine or boot PC games on an online gaming console, iOs or Android device. Emulators not only make gaming accessible, it is also an affordable option. There’s no need to purchase various consoles and cartridges, no clutter to deal with, and no setup issues. With an emulator, gaming on your chosen platform with any game is now possible.


