Last Updated on July 16, 2020
The most wonderful time of the year has officially begun! Snow is falling, winter boots are being worn, and the busiest holiday is quickly upon us! It is difficult to get into “Christmas mode,” but when I received ten inches of snow, it was easy for me to catch the Christmas Spirit. So with the countdown officially on, it was time to make my first craft of the season!
I am honored to be working with Laura Kelly for this project. Laura Kelly is one of my craft idols. I had the pleasure of meeting her at the Bloggy Moms Conference and left with feelings of inspiration.
Enter below to win a craft package featuring the products I used in this post:
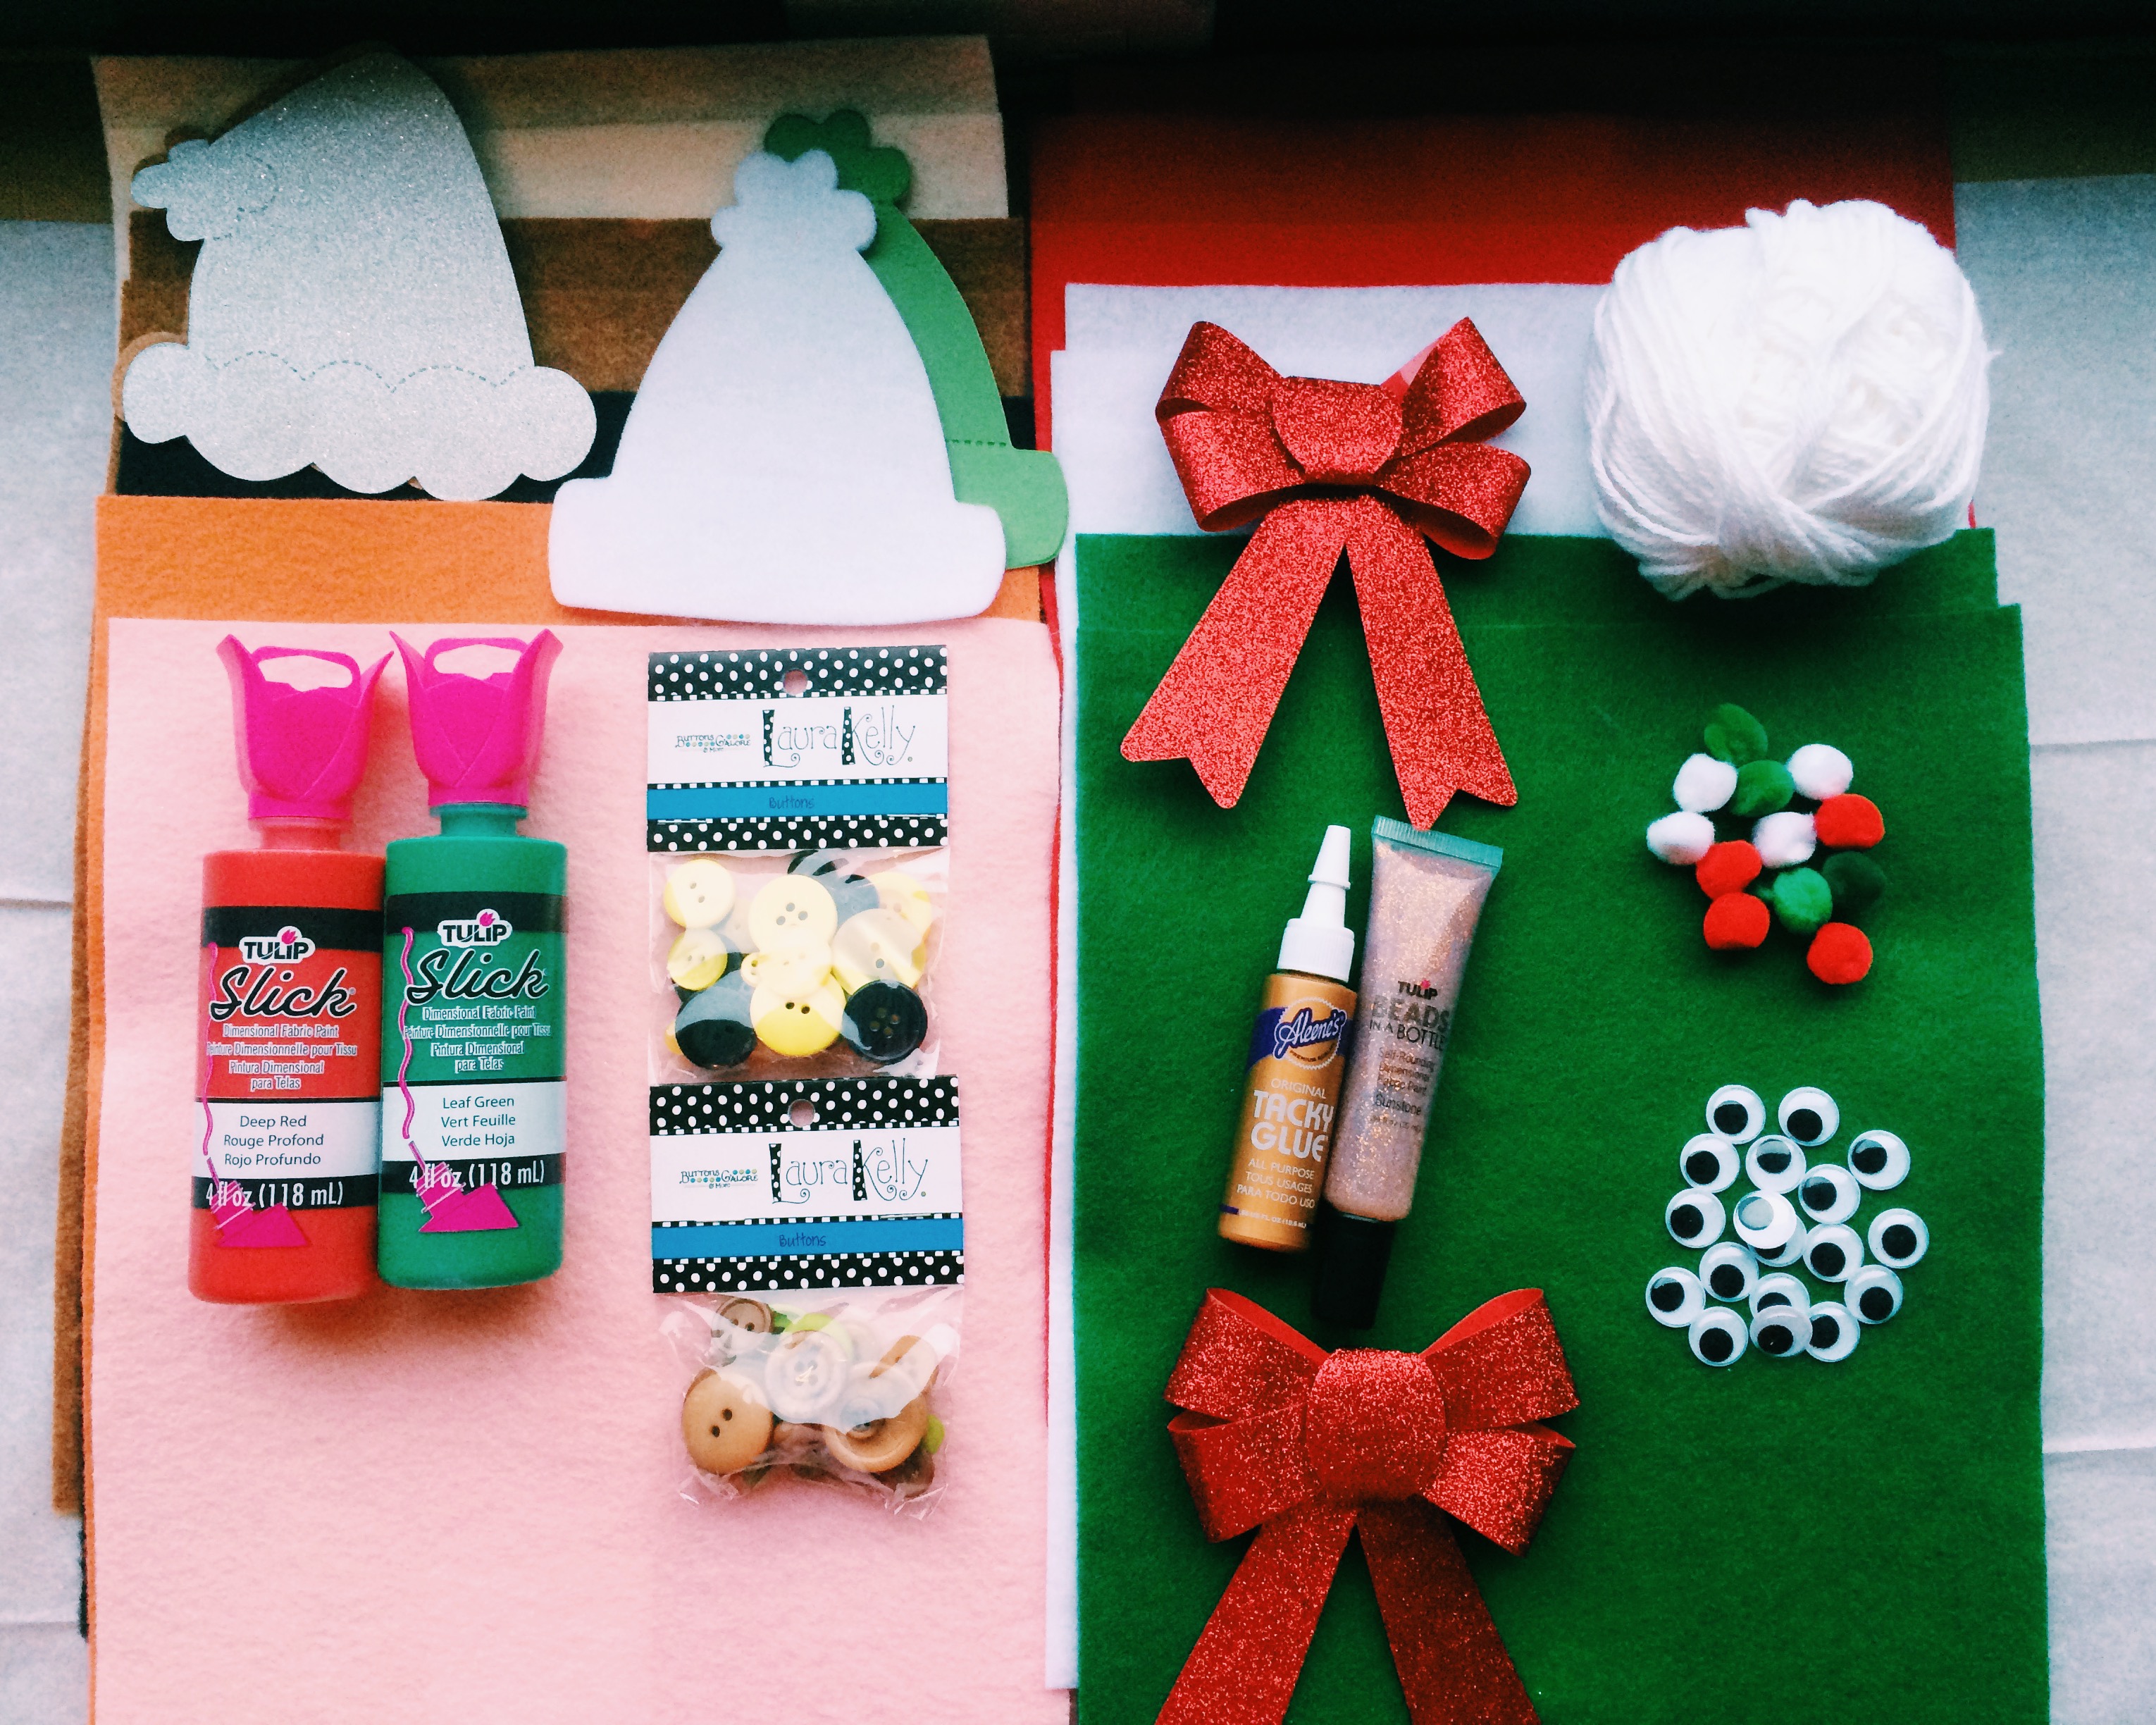 My featured supplies: Laura Kelly’s 2015 Ellison Release Die-Cuts Hats, Kunin Felt Group, iLoveToCreate Fabric Paint (in Deep Red and Leaf Green), Laura Kelly Buttons for Buttons Galore (in Bumble Bee and Going Green), Aleene’s Tacky Glue, Tulip Beads in a Bottle (in Sandstone).
 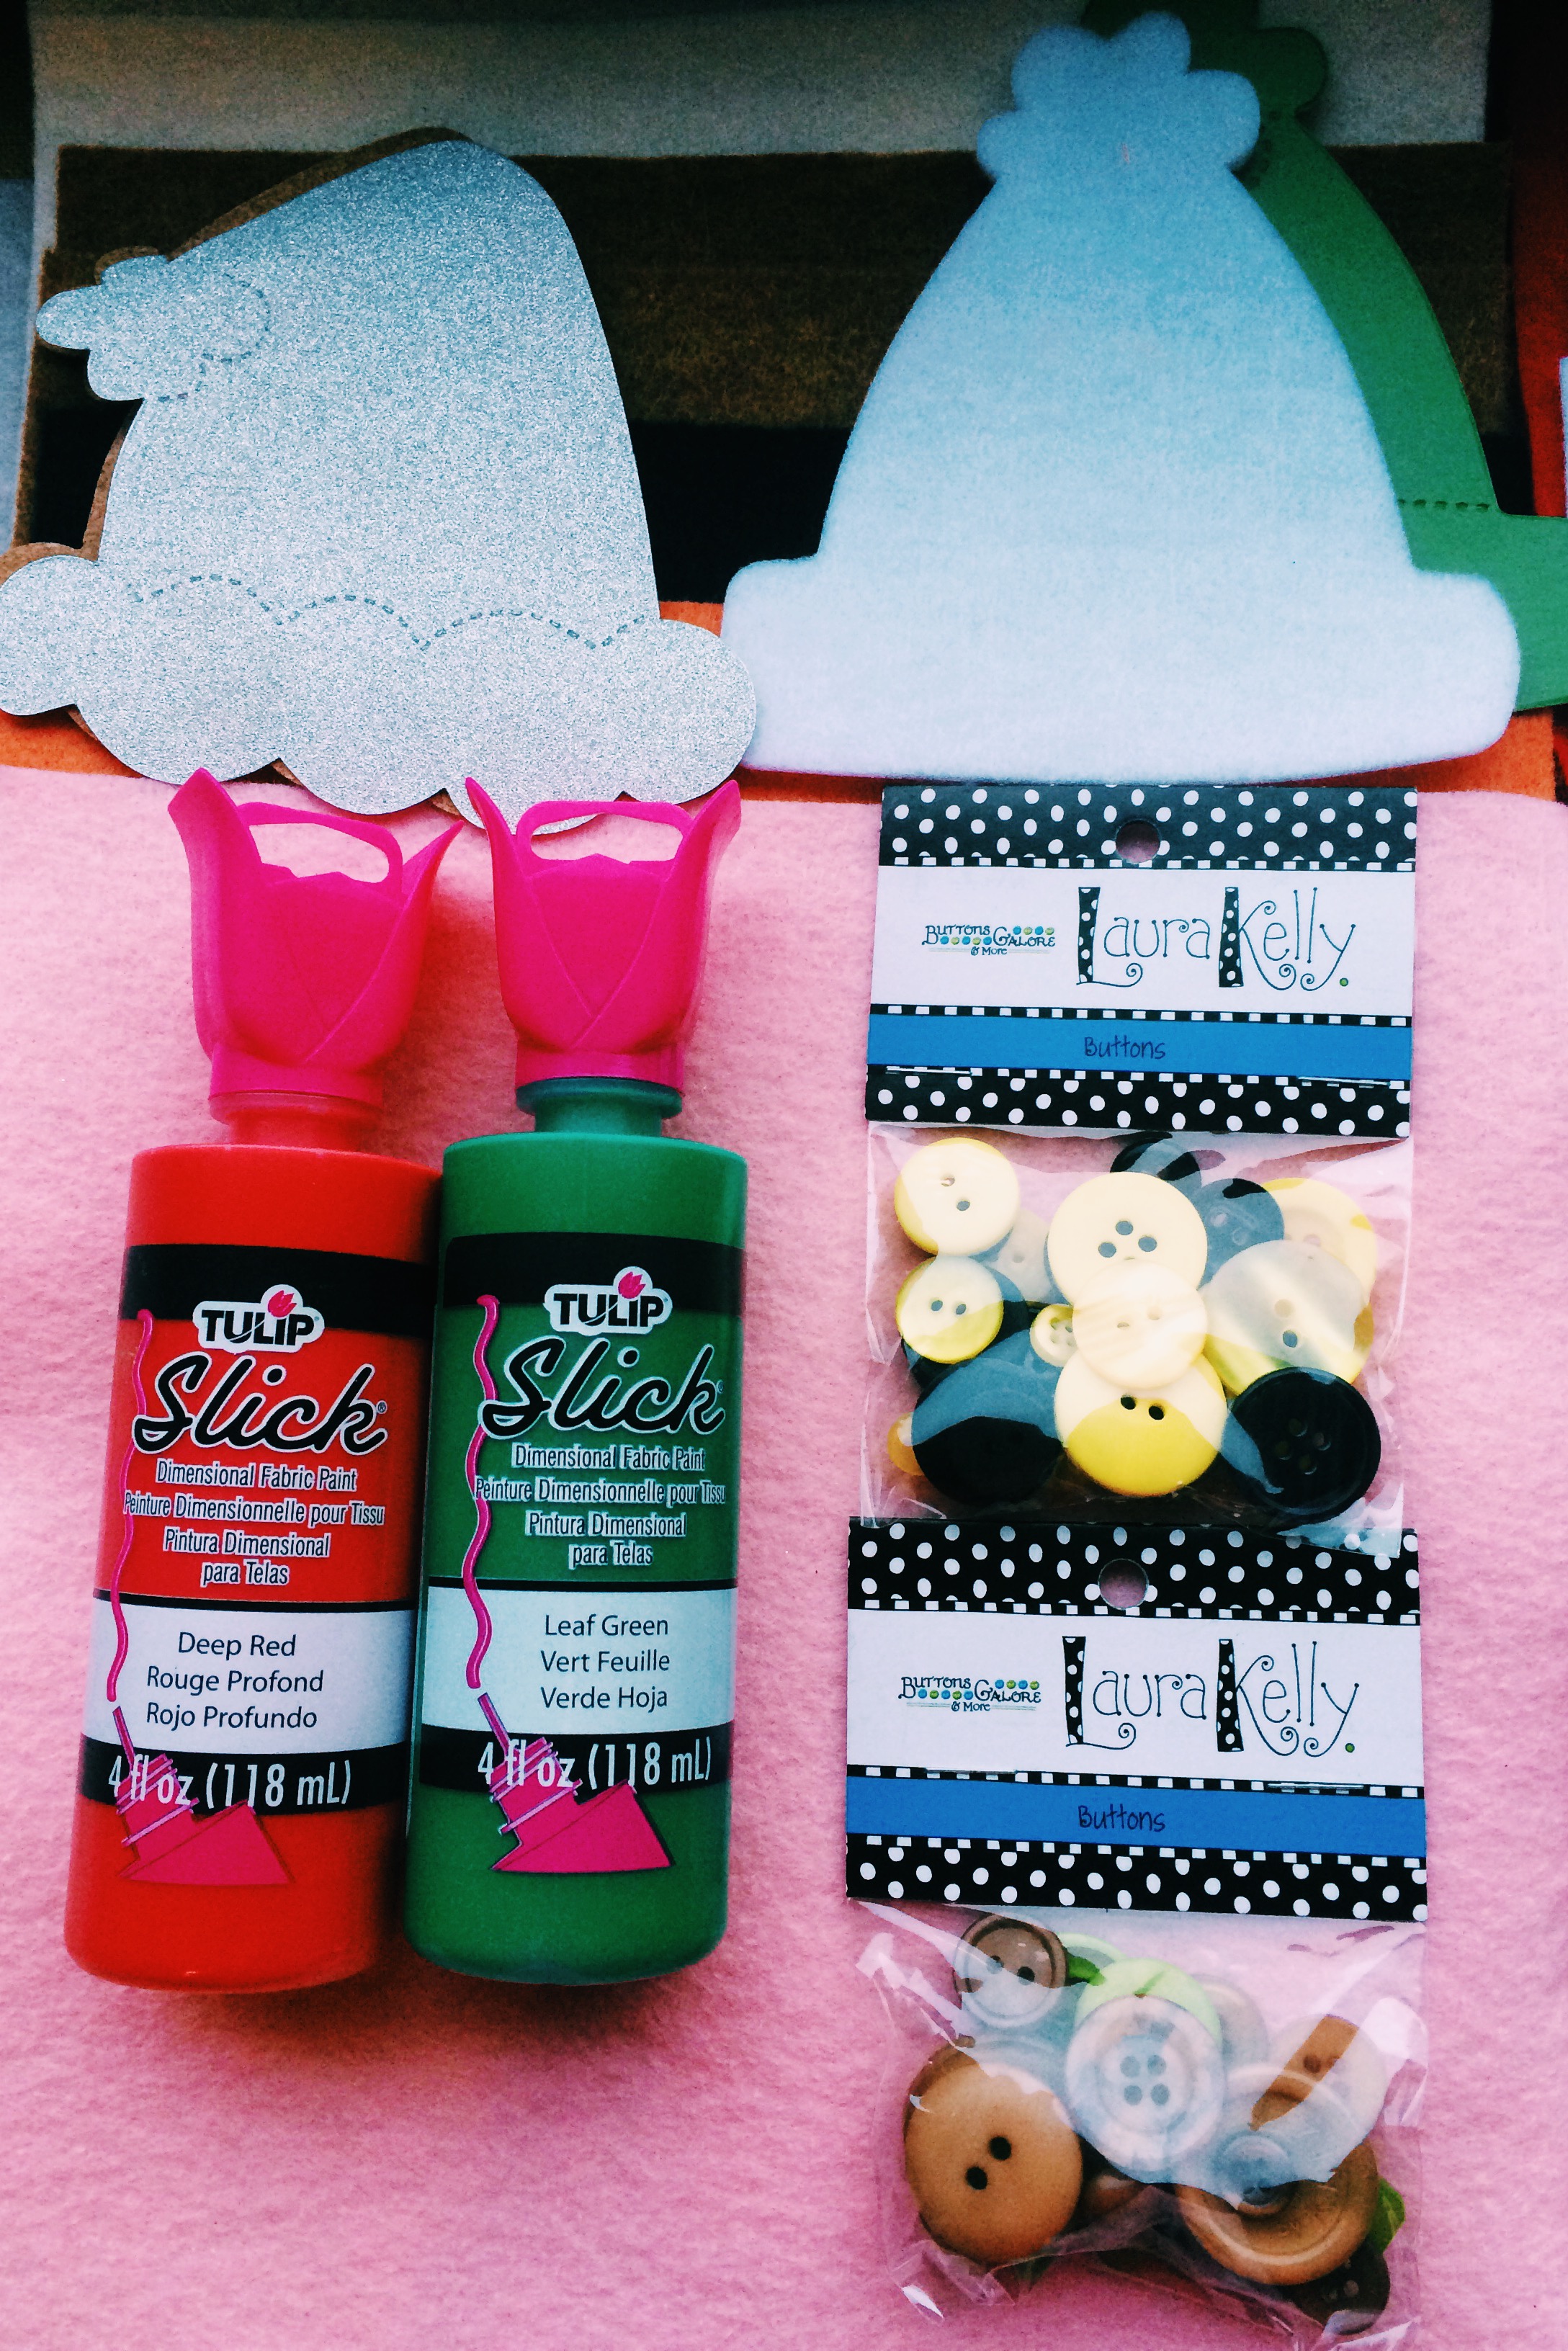 Close up of the Tulip Fabric Paint, Laura Kelly Buttons for Buttons Galore, and Laura Kelly’s 2015 Ellison Release Die-Cuts Hats.
 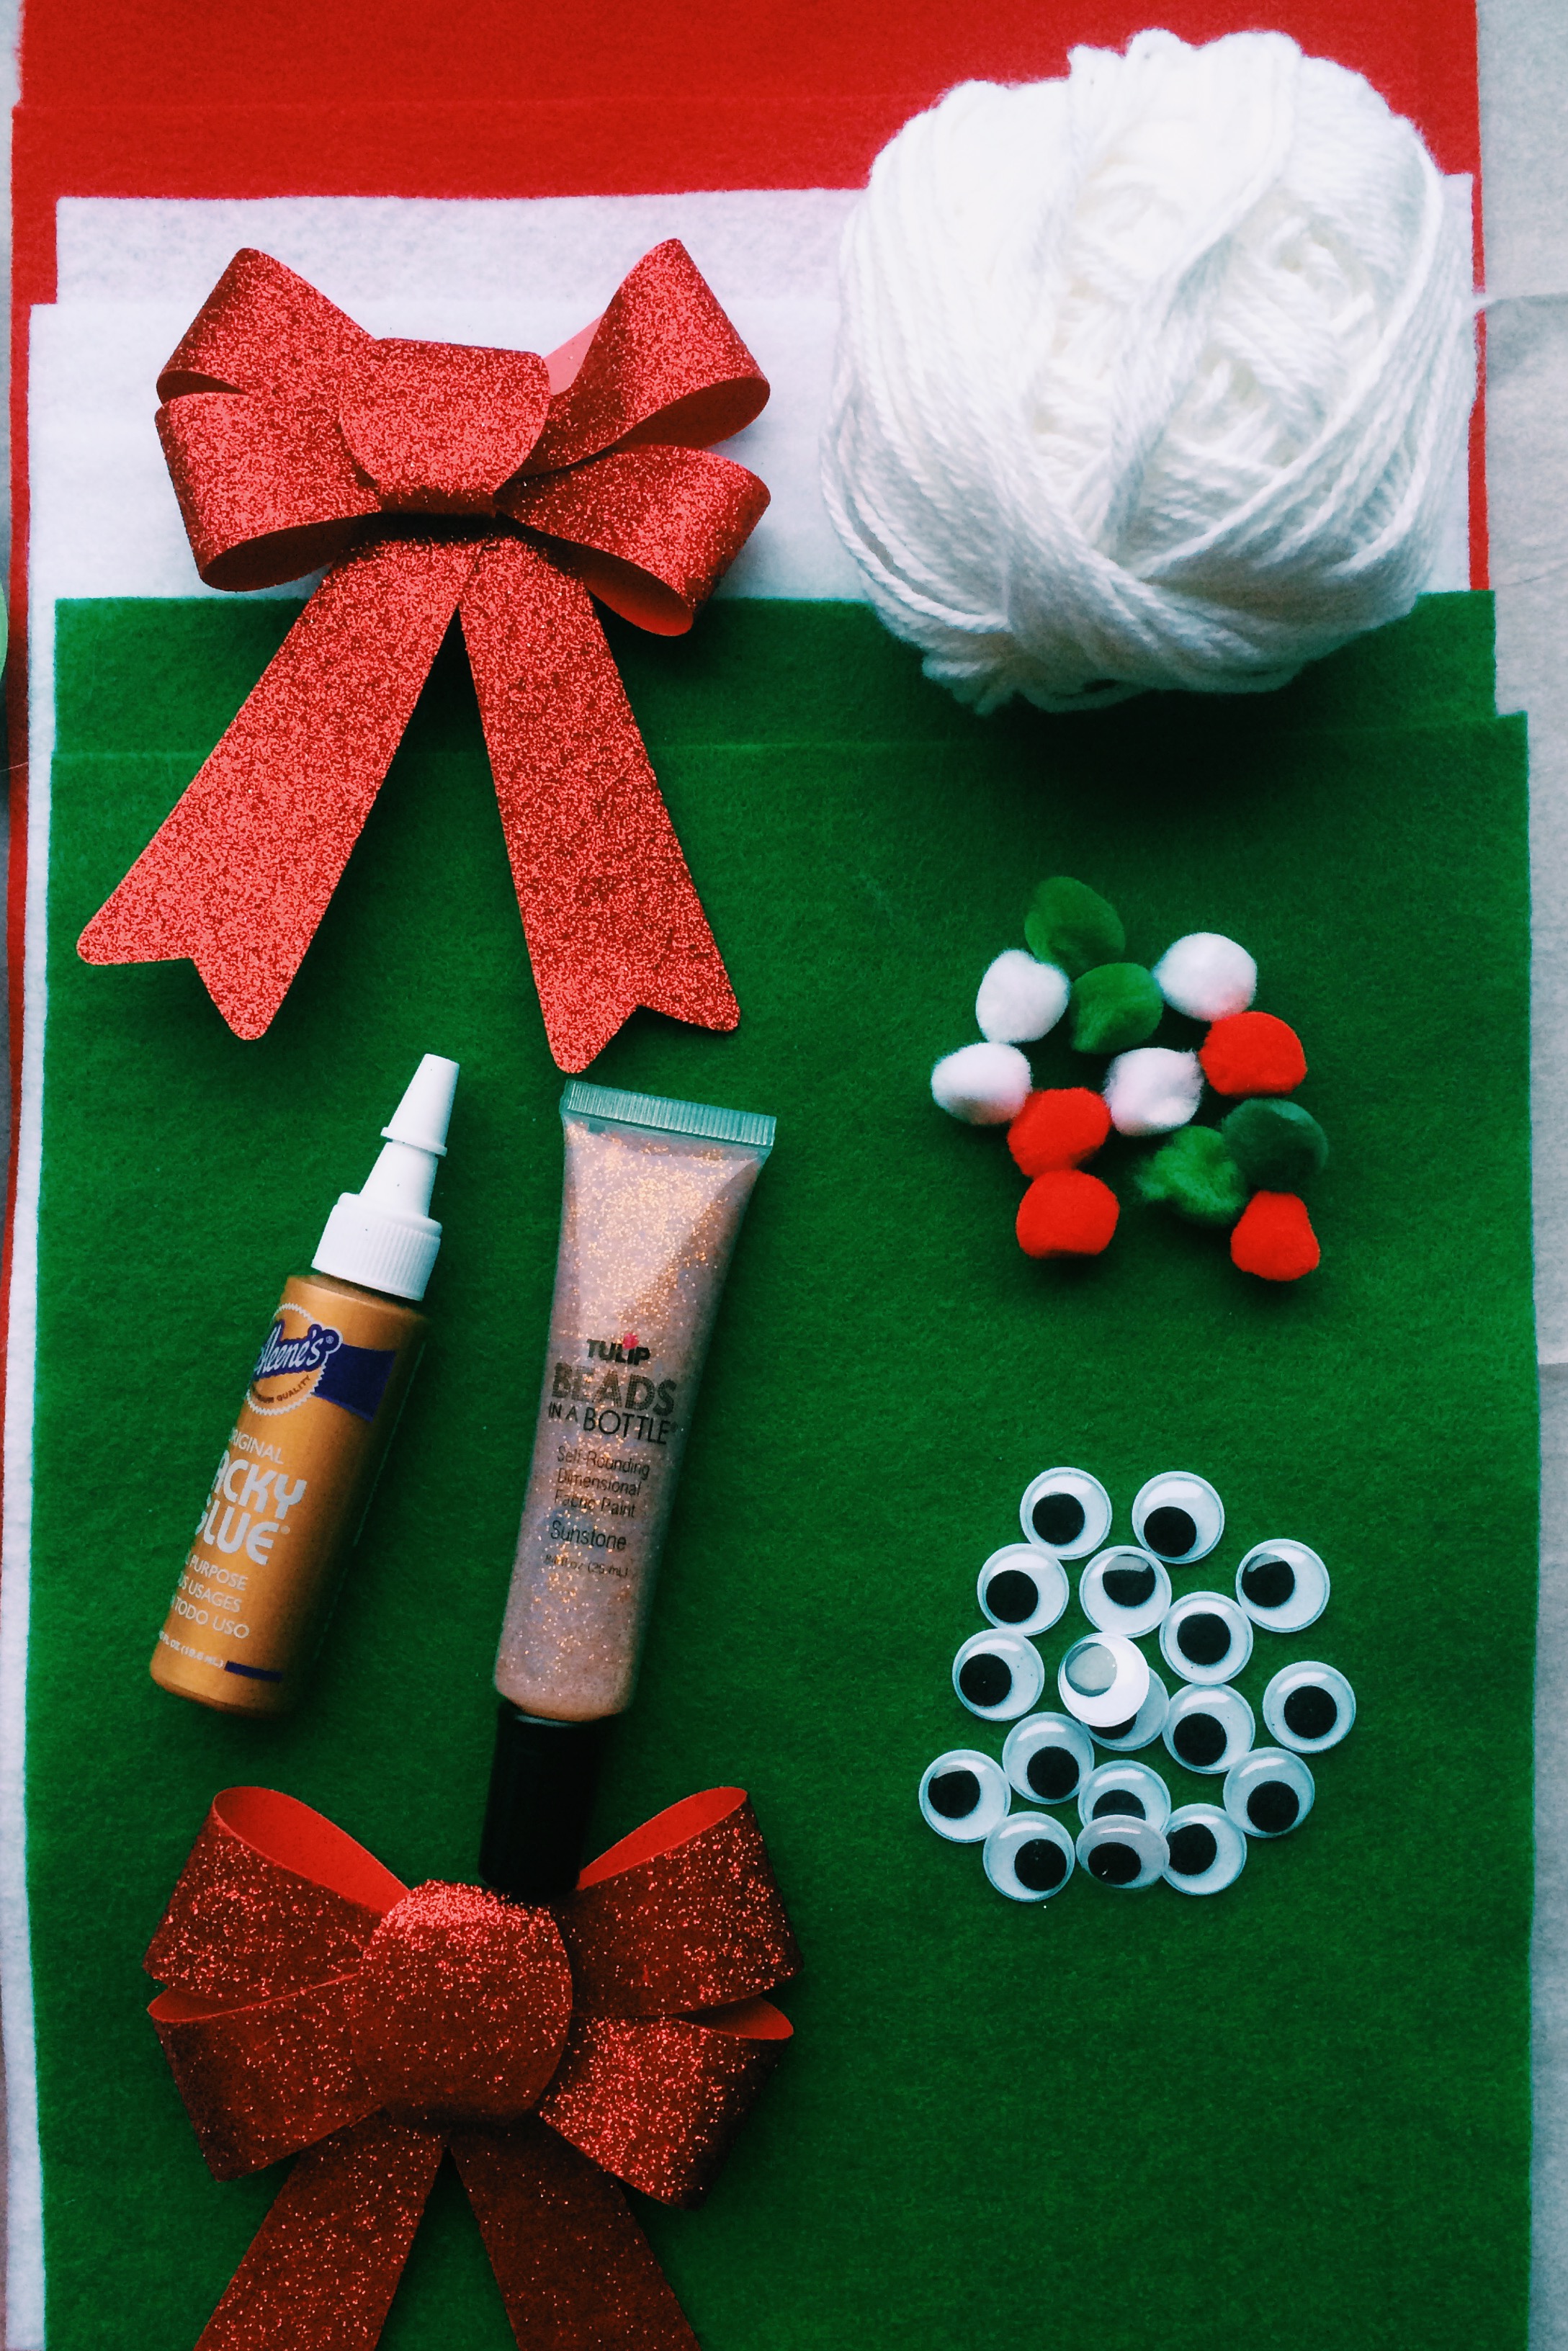 Bows, googly-eyes, Tulip Beads in a Bottle fabric paint, yarn, ribbon, and Aleene’s Tacky Glue.
 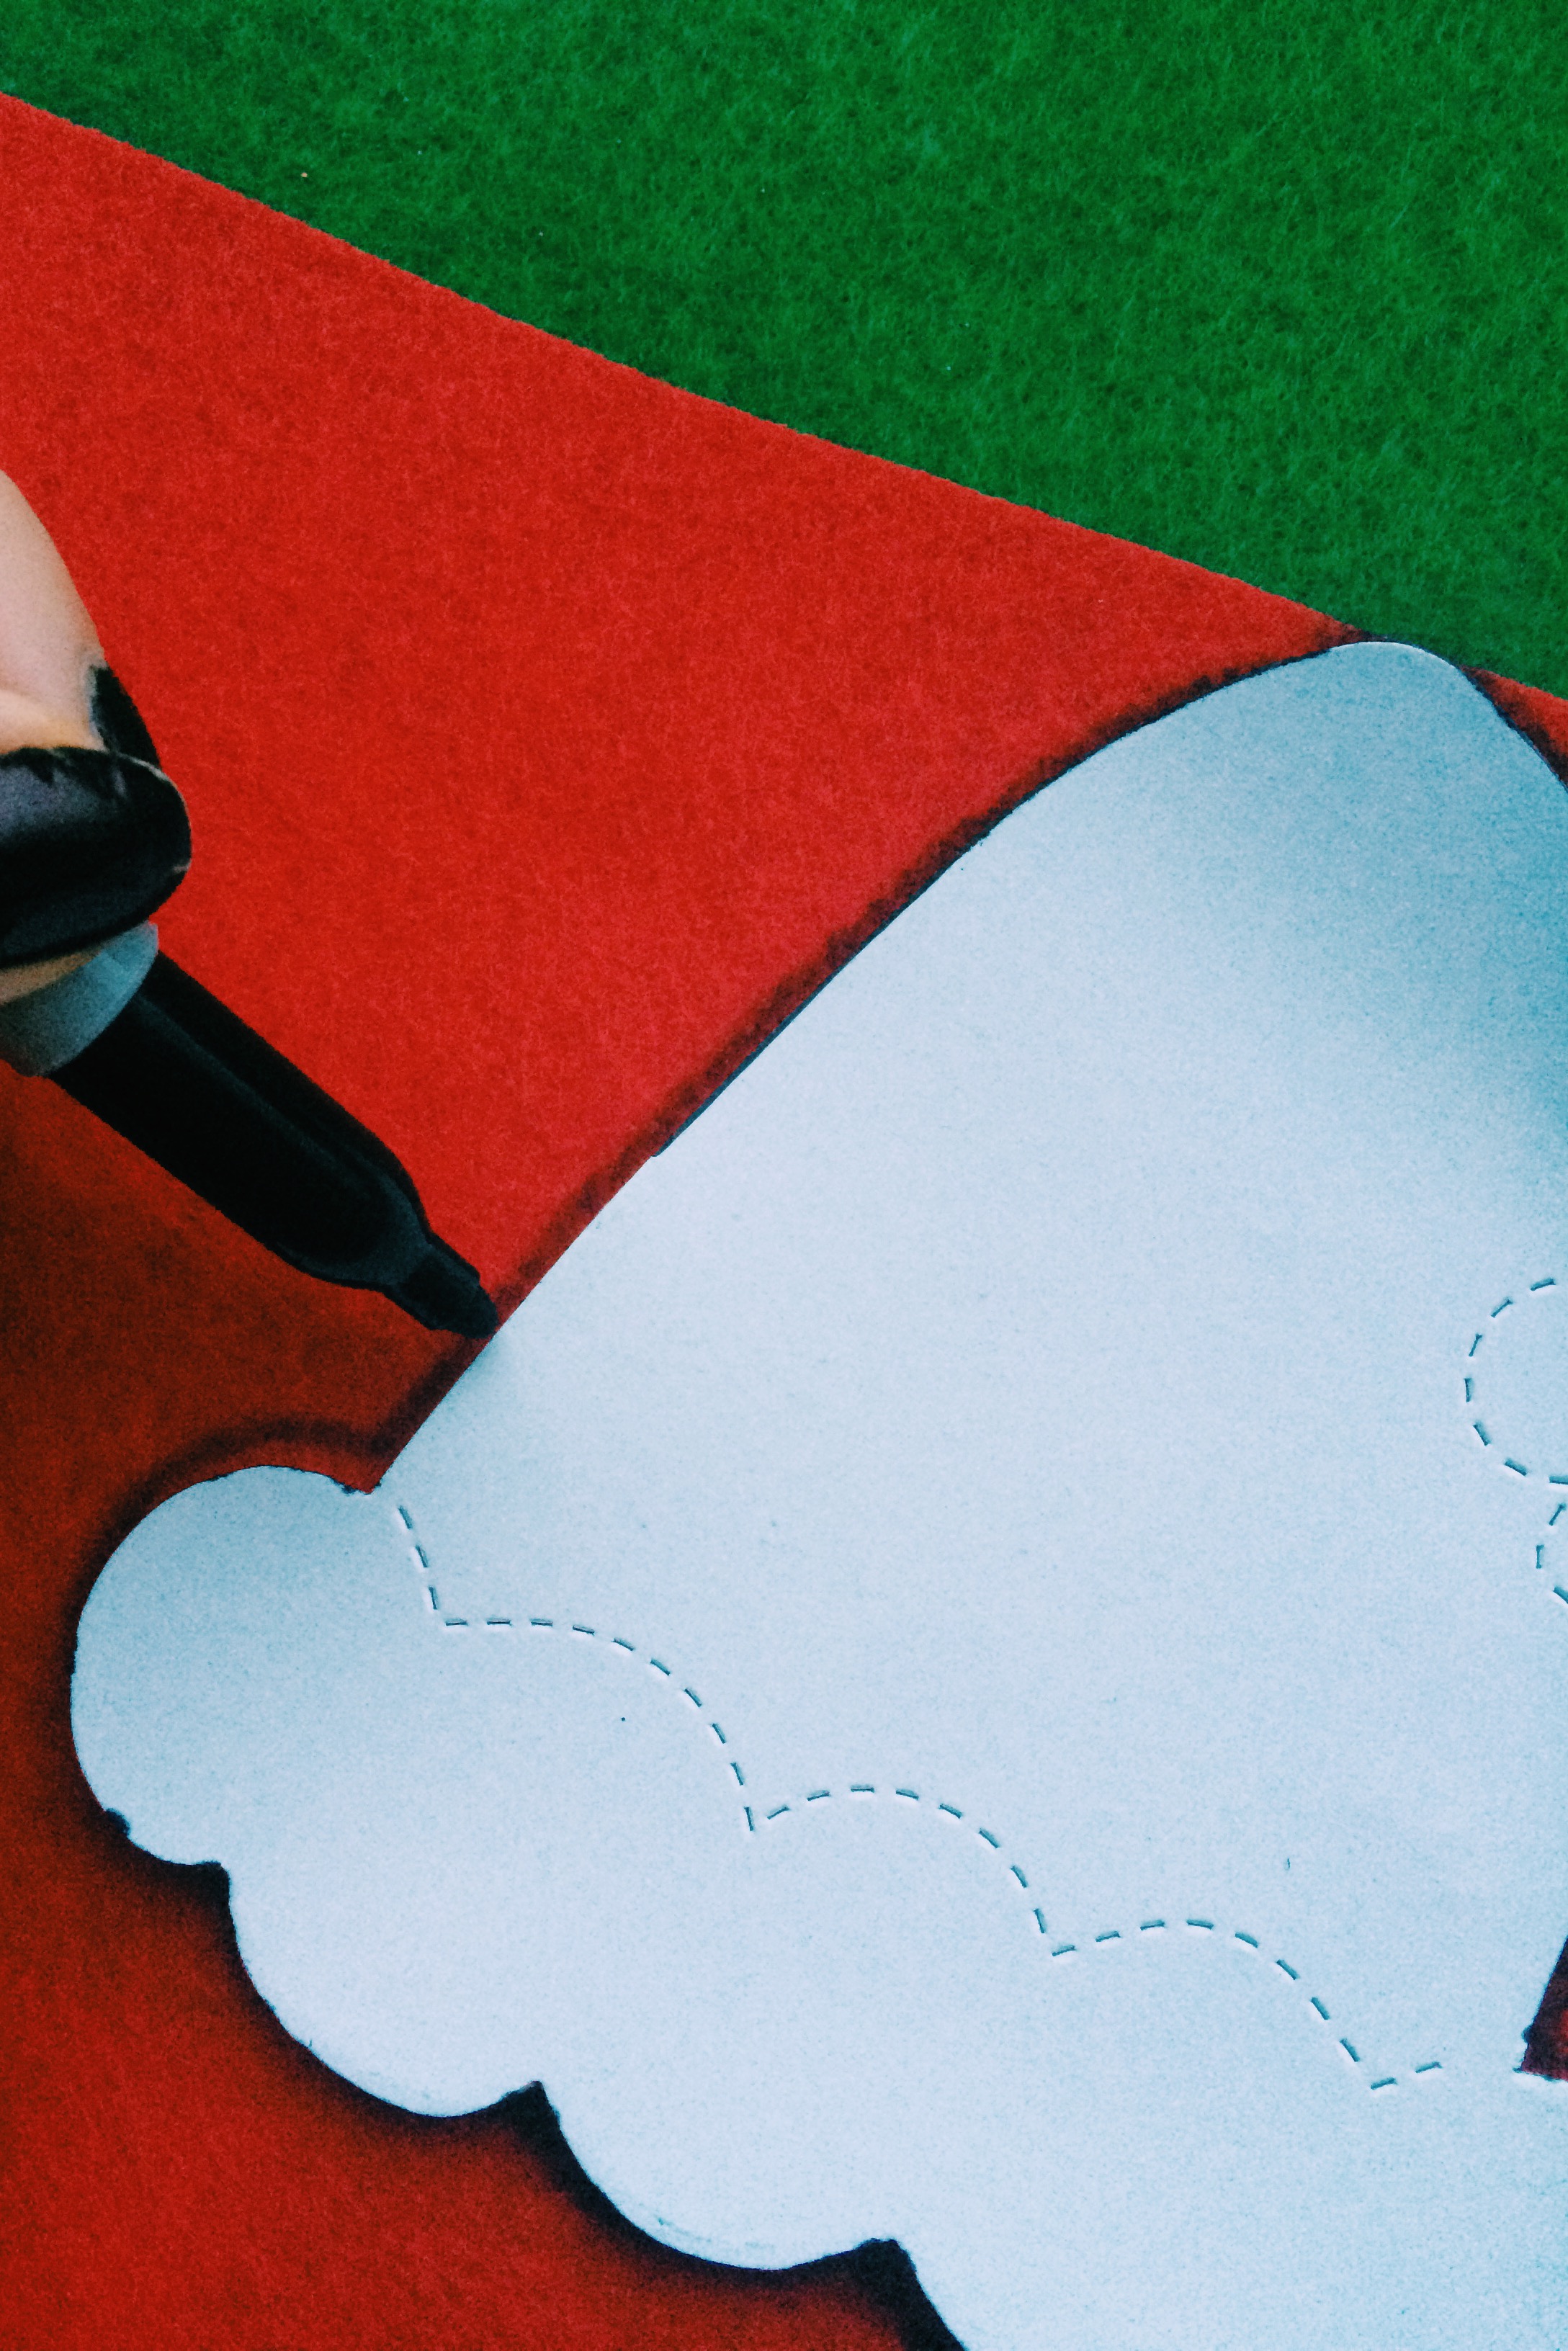 I stenciled out the hat for Santa Claus.
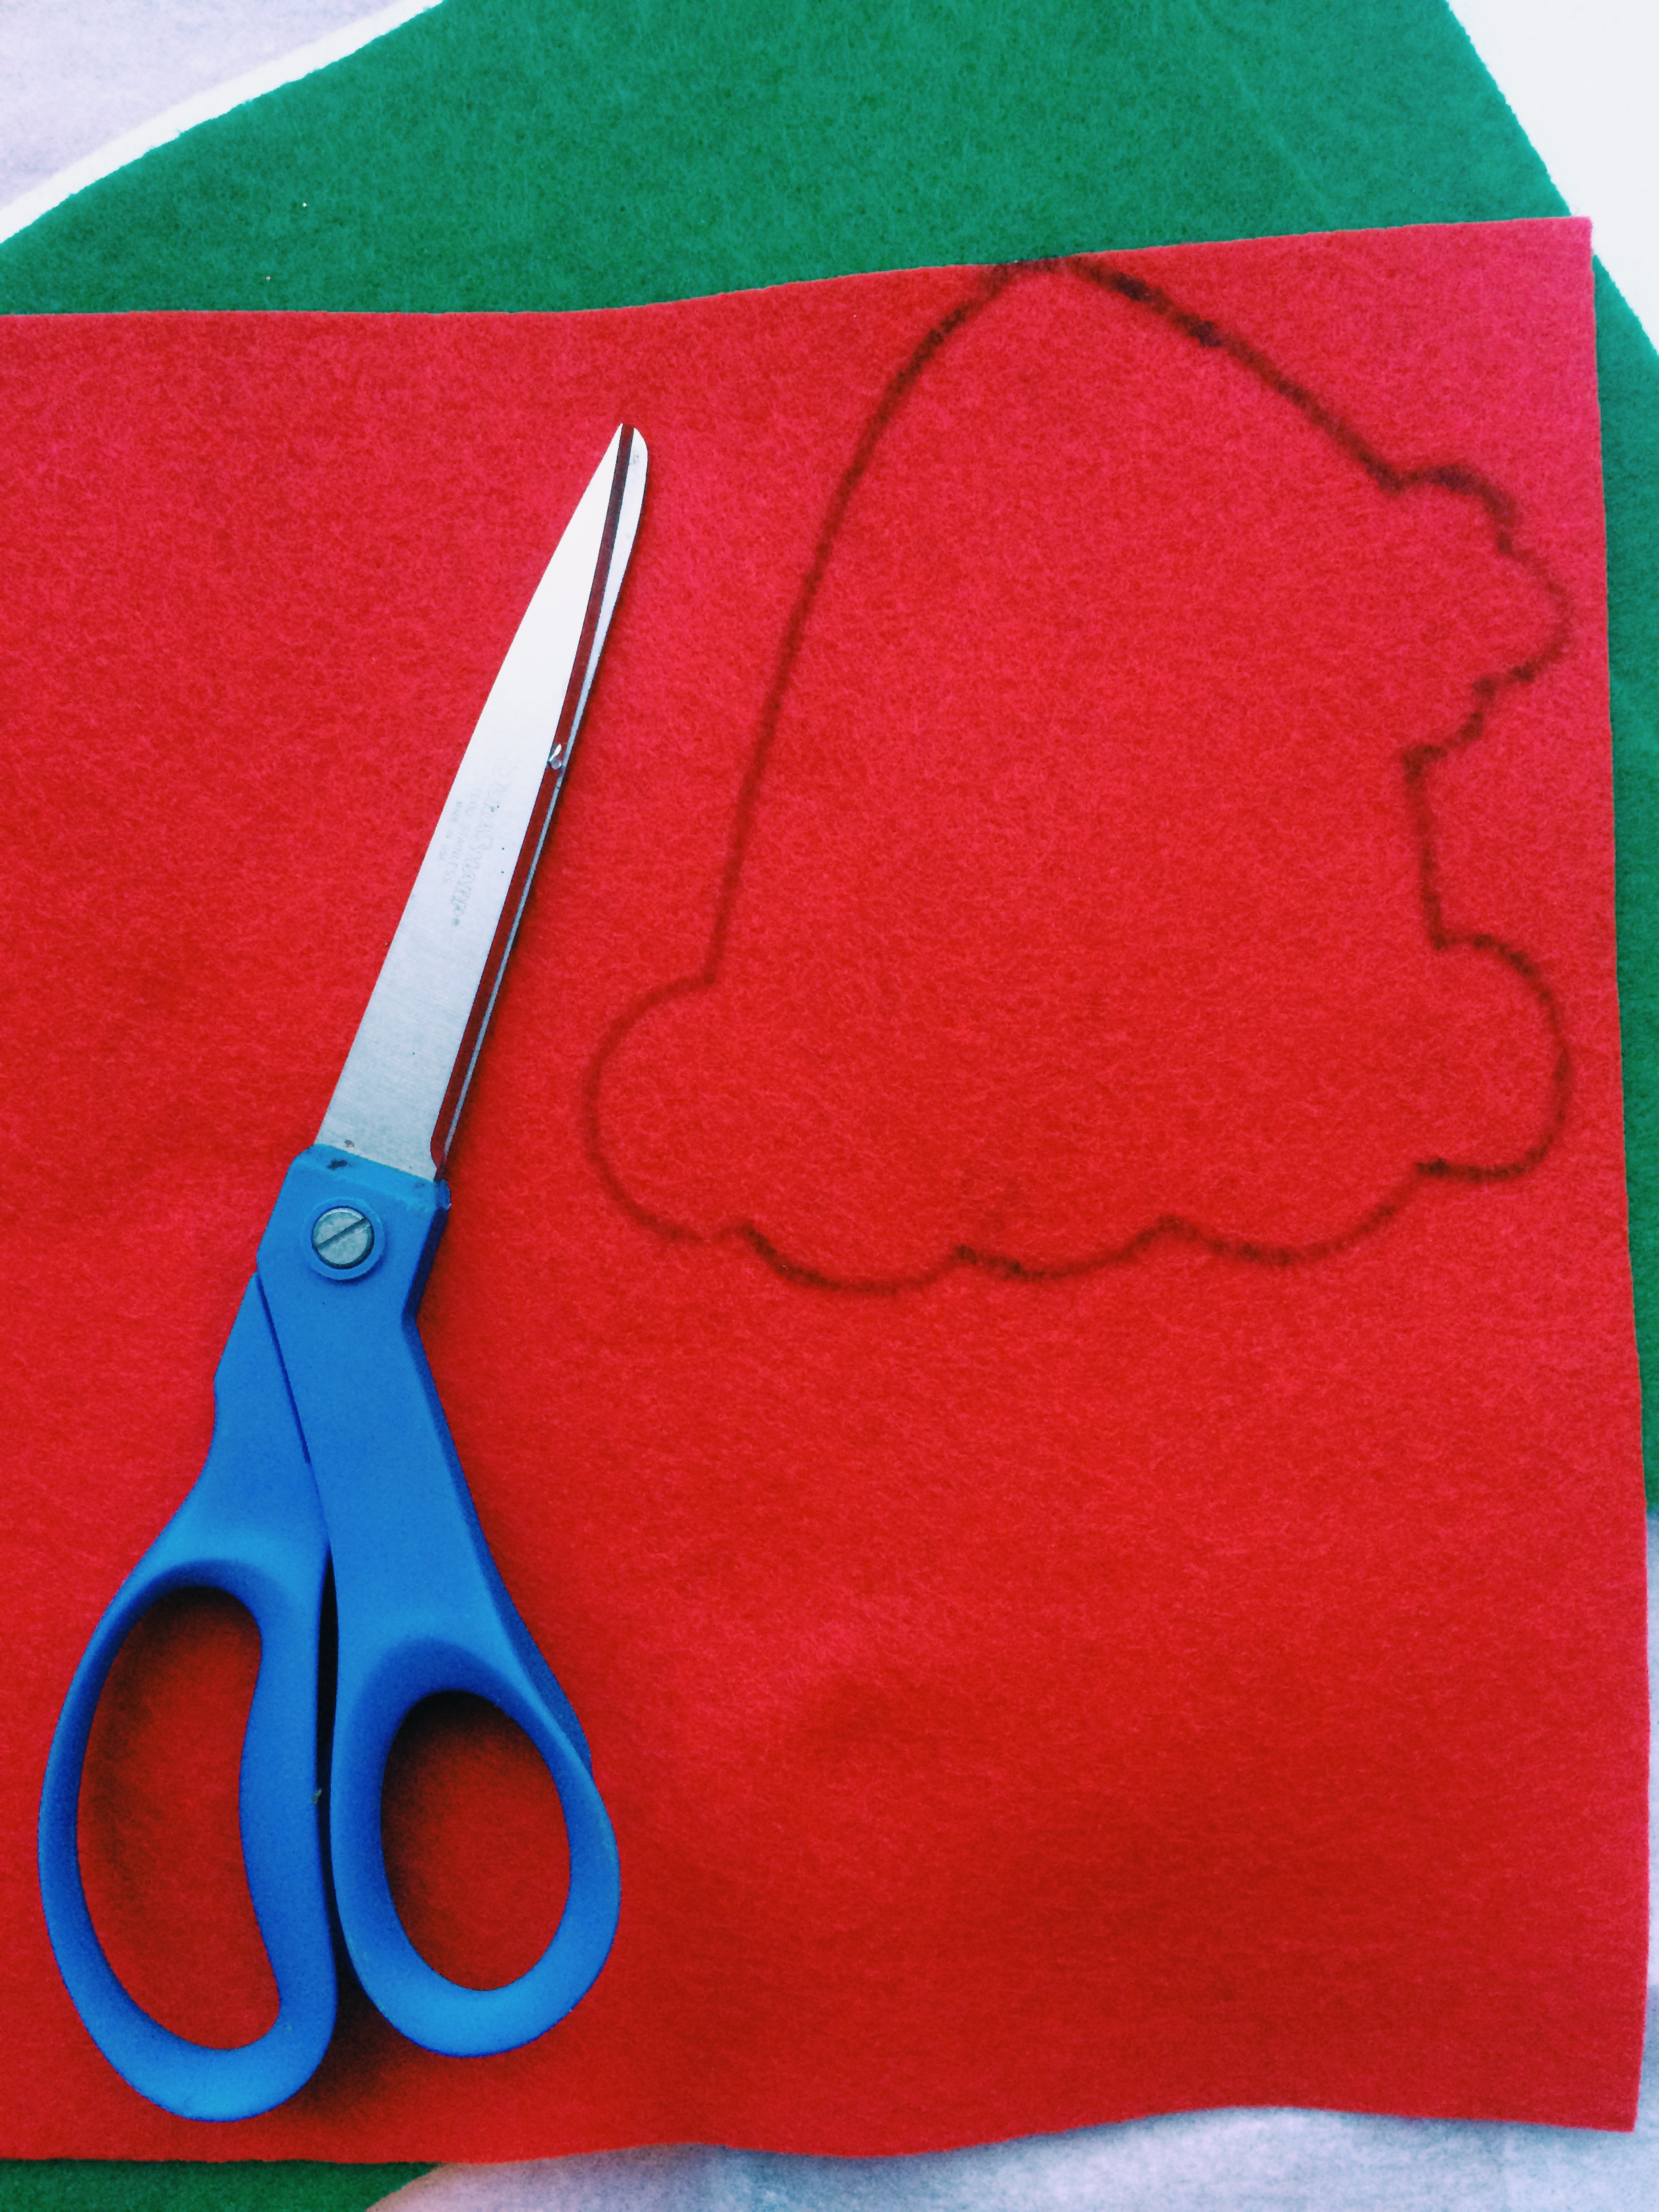
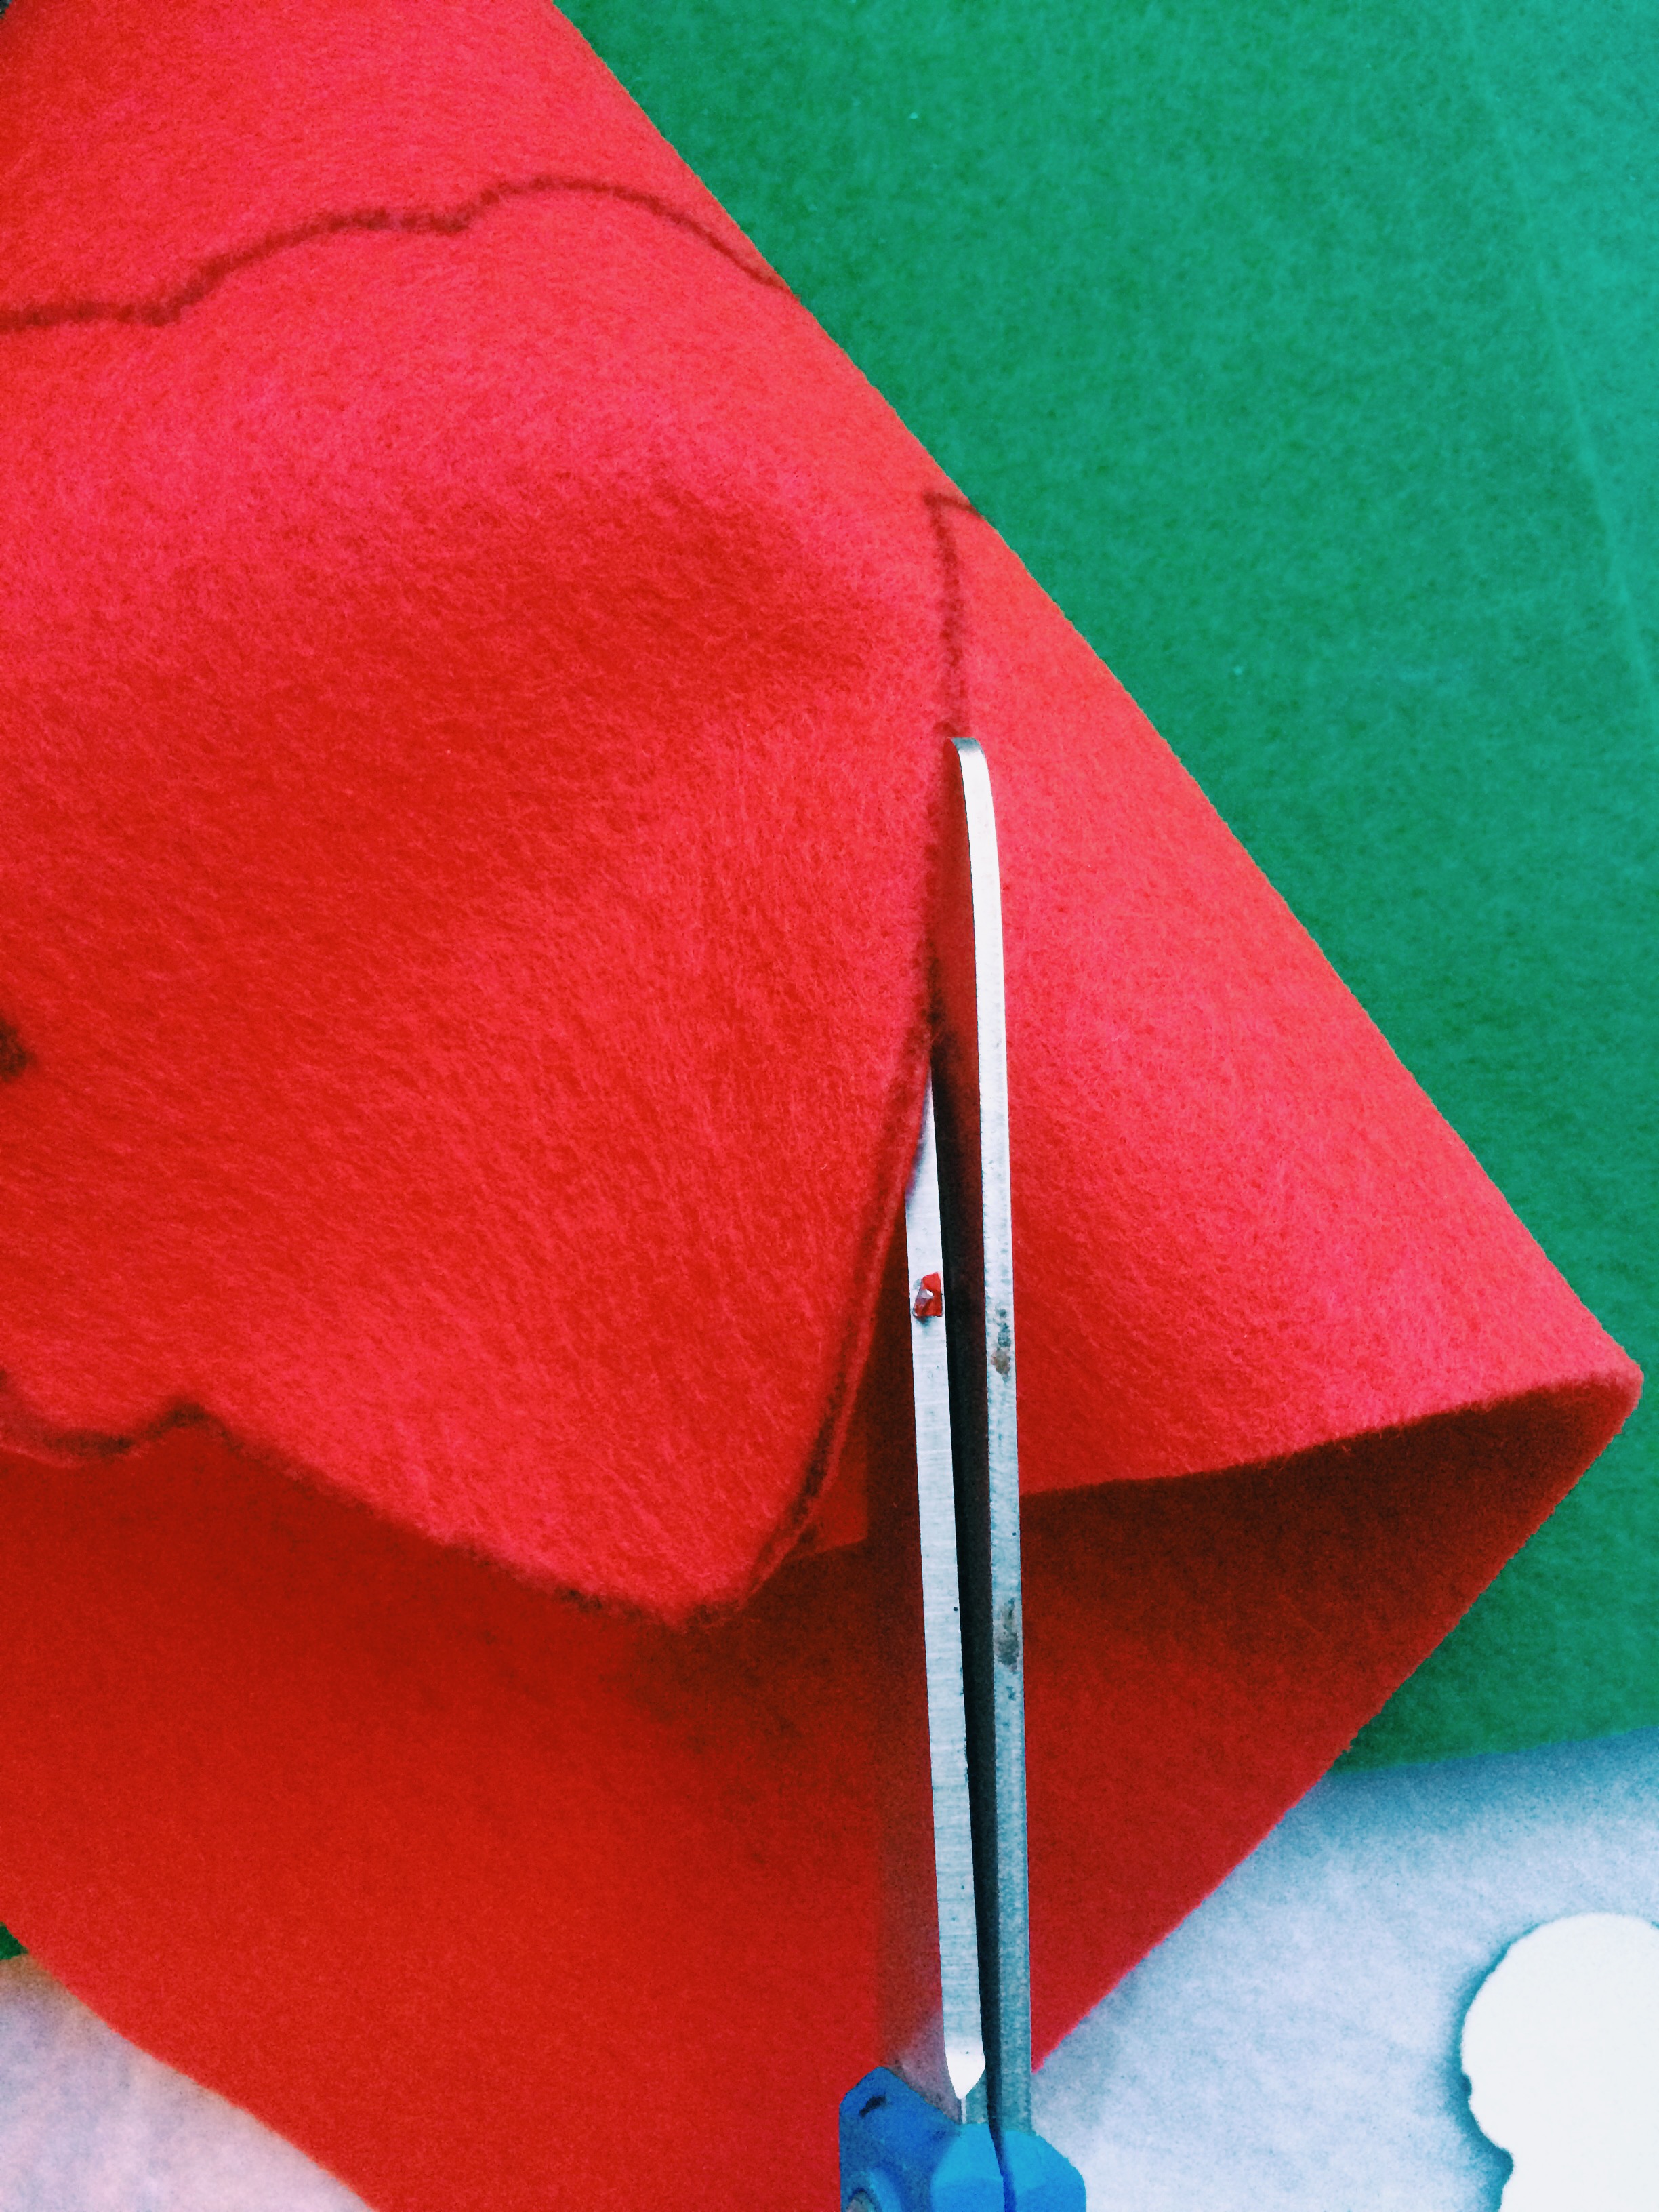 I cut the hat out of felt.
 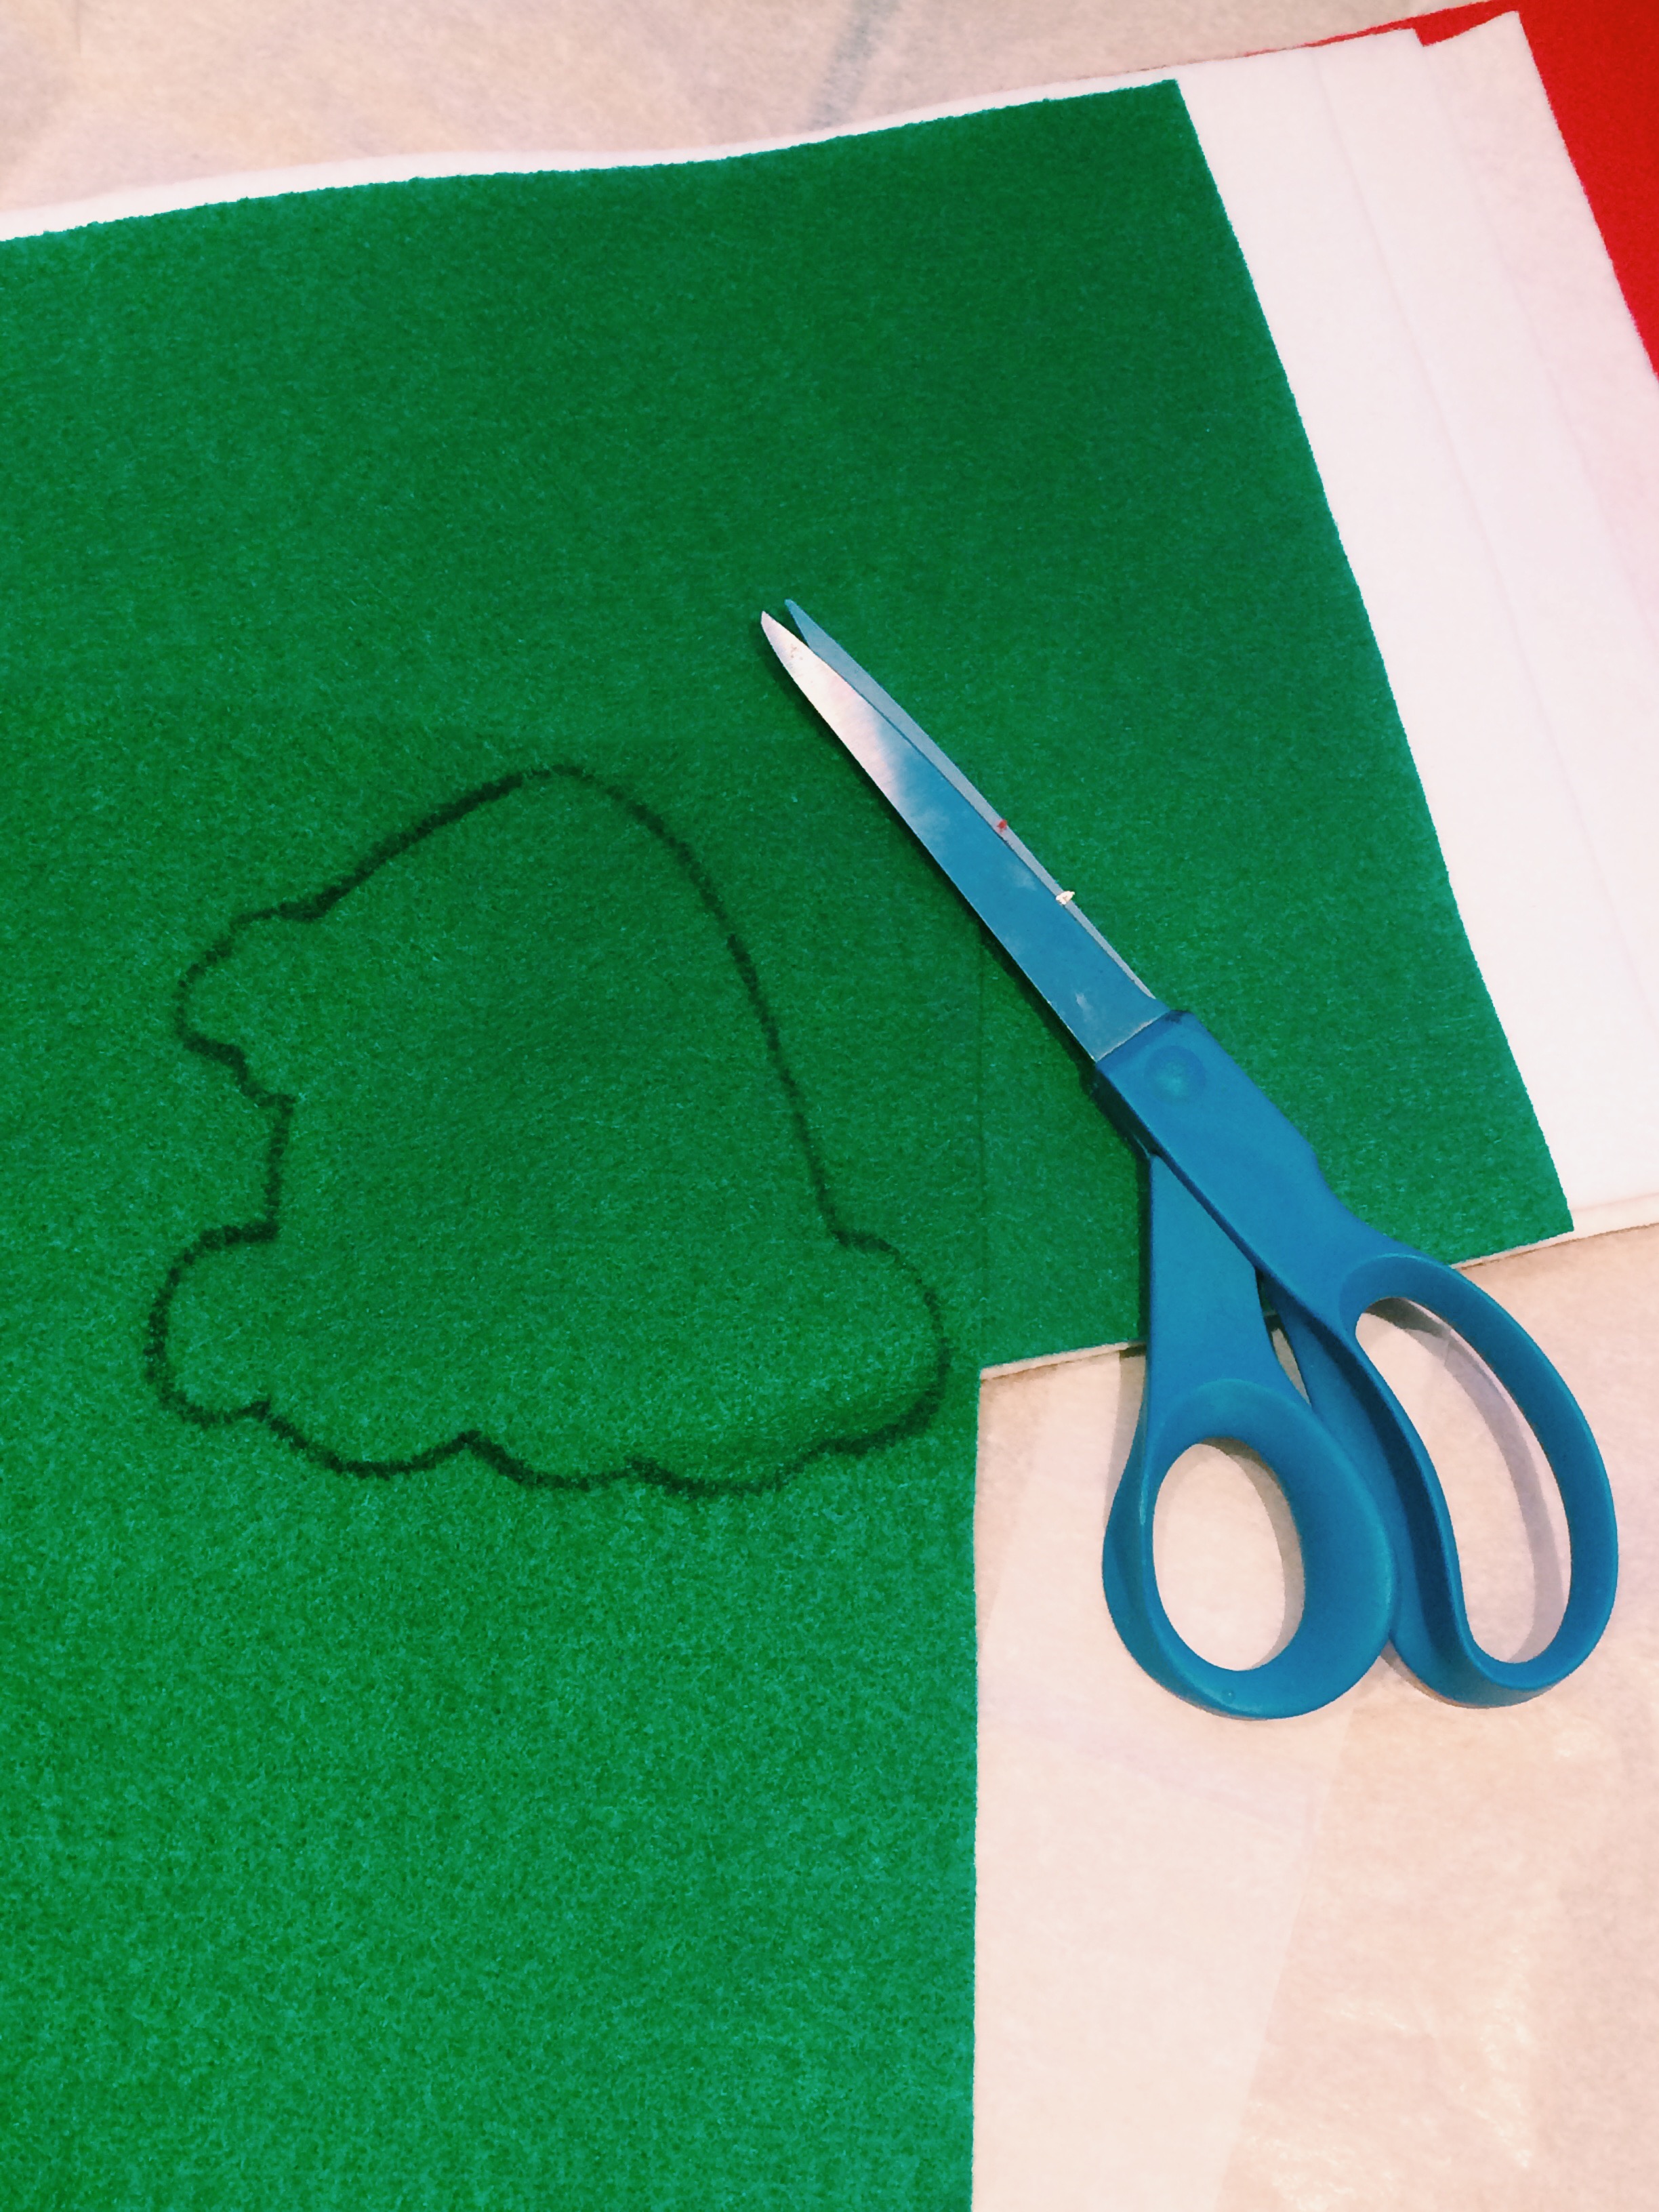 I made 4 total hats in white, green, and red.
 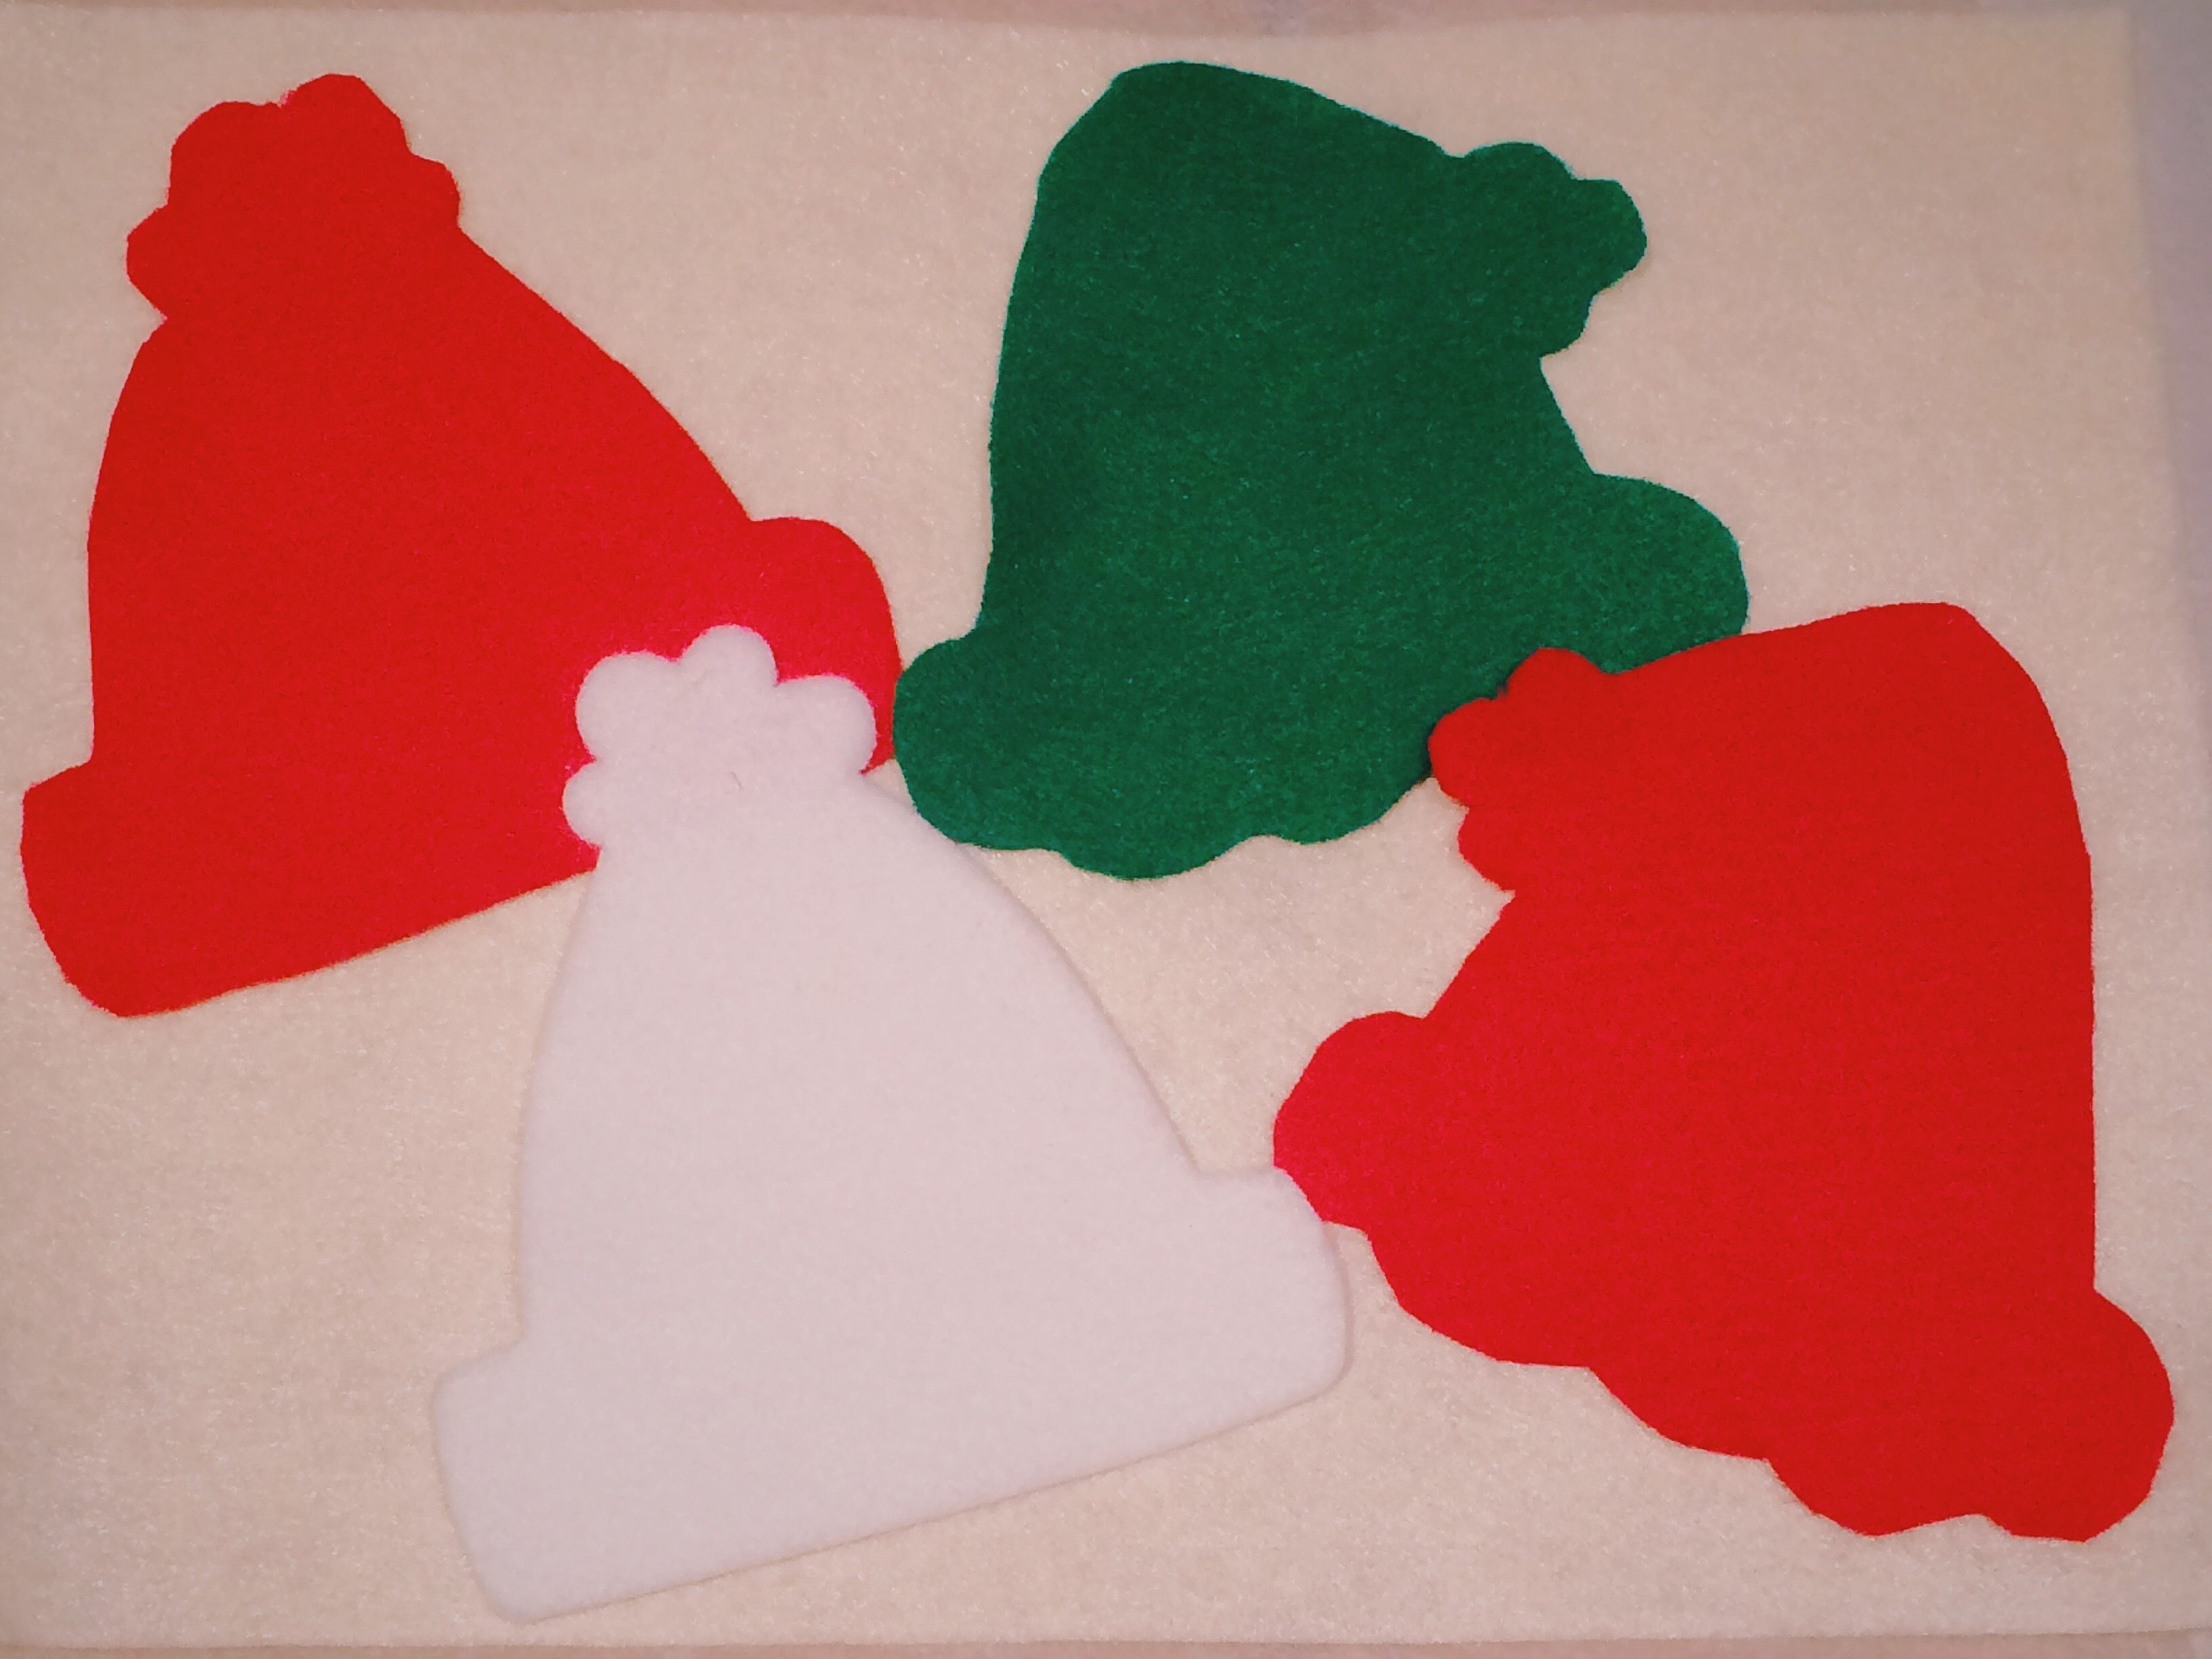 I repeated the stenciling and cut-outs for the rest of the Christmas hats.
 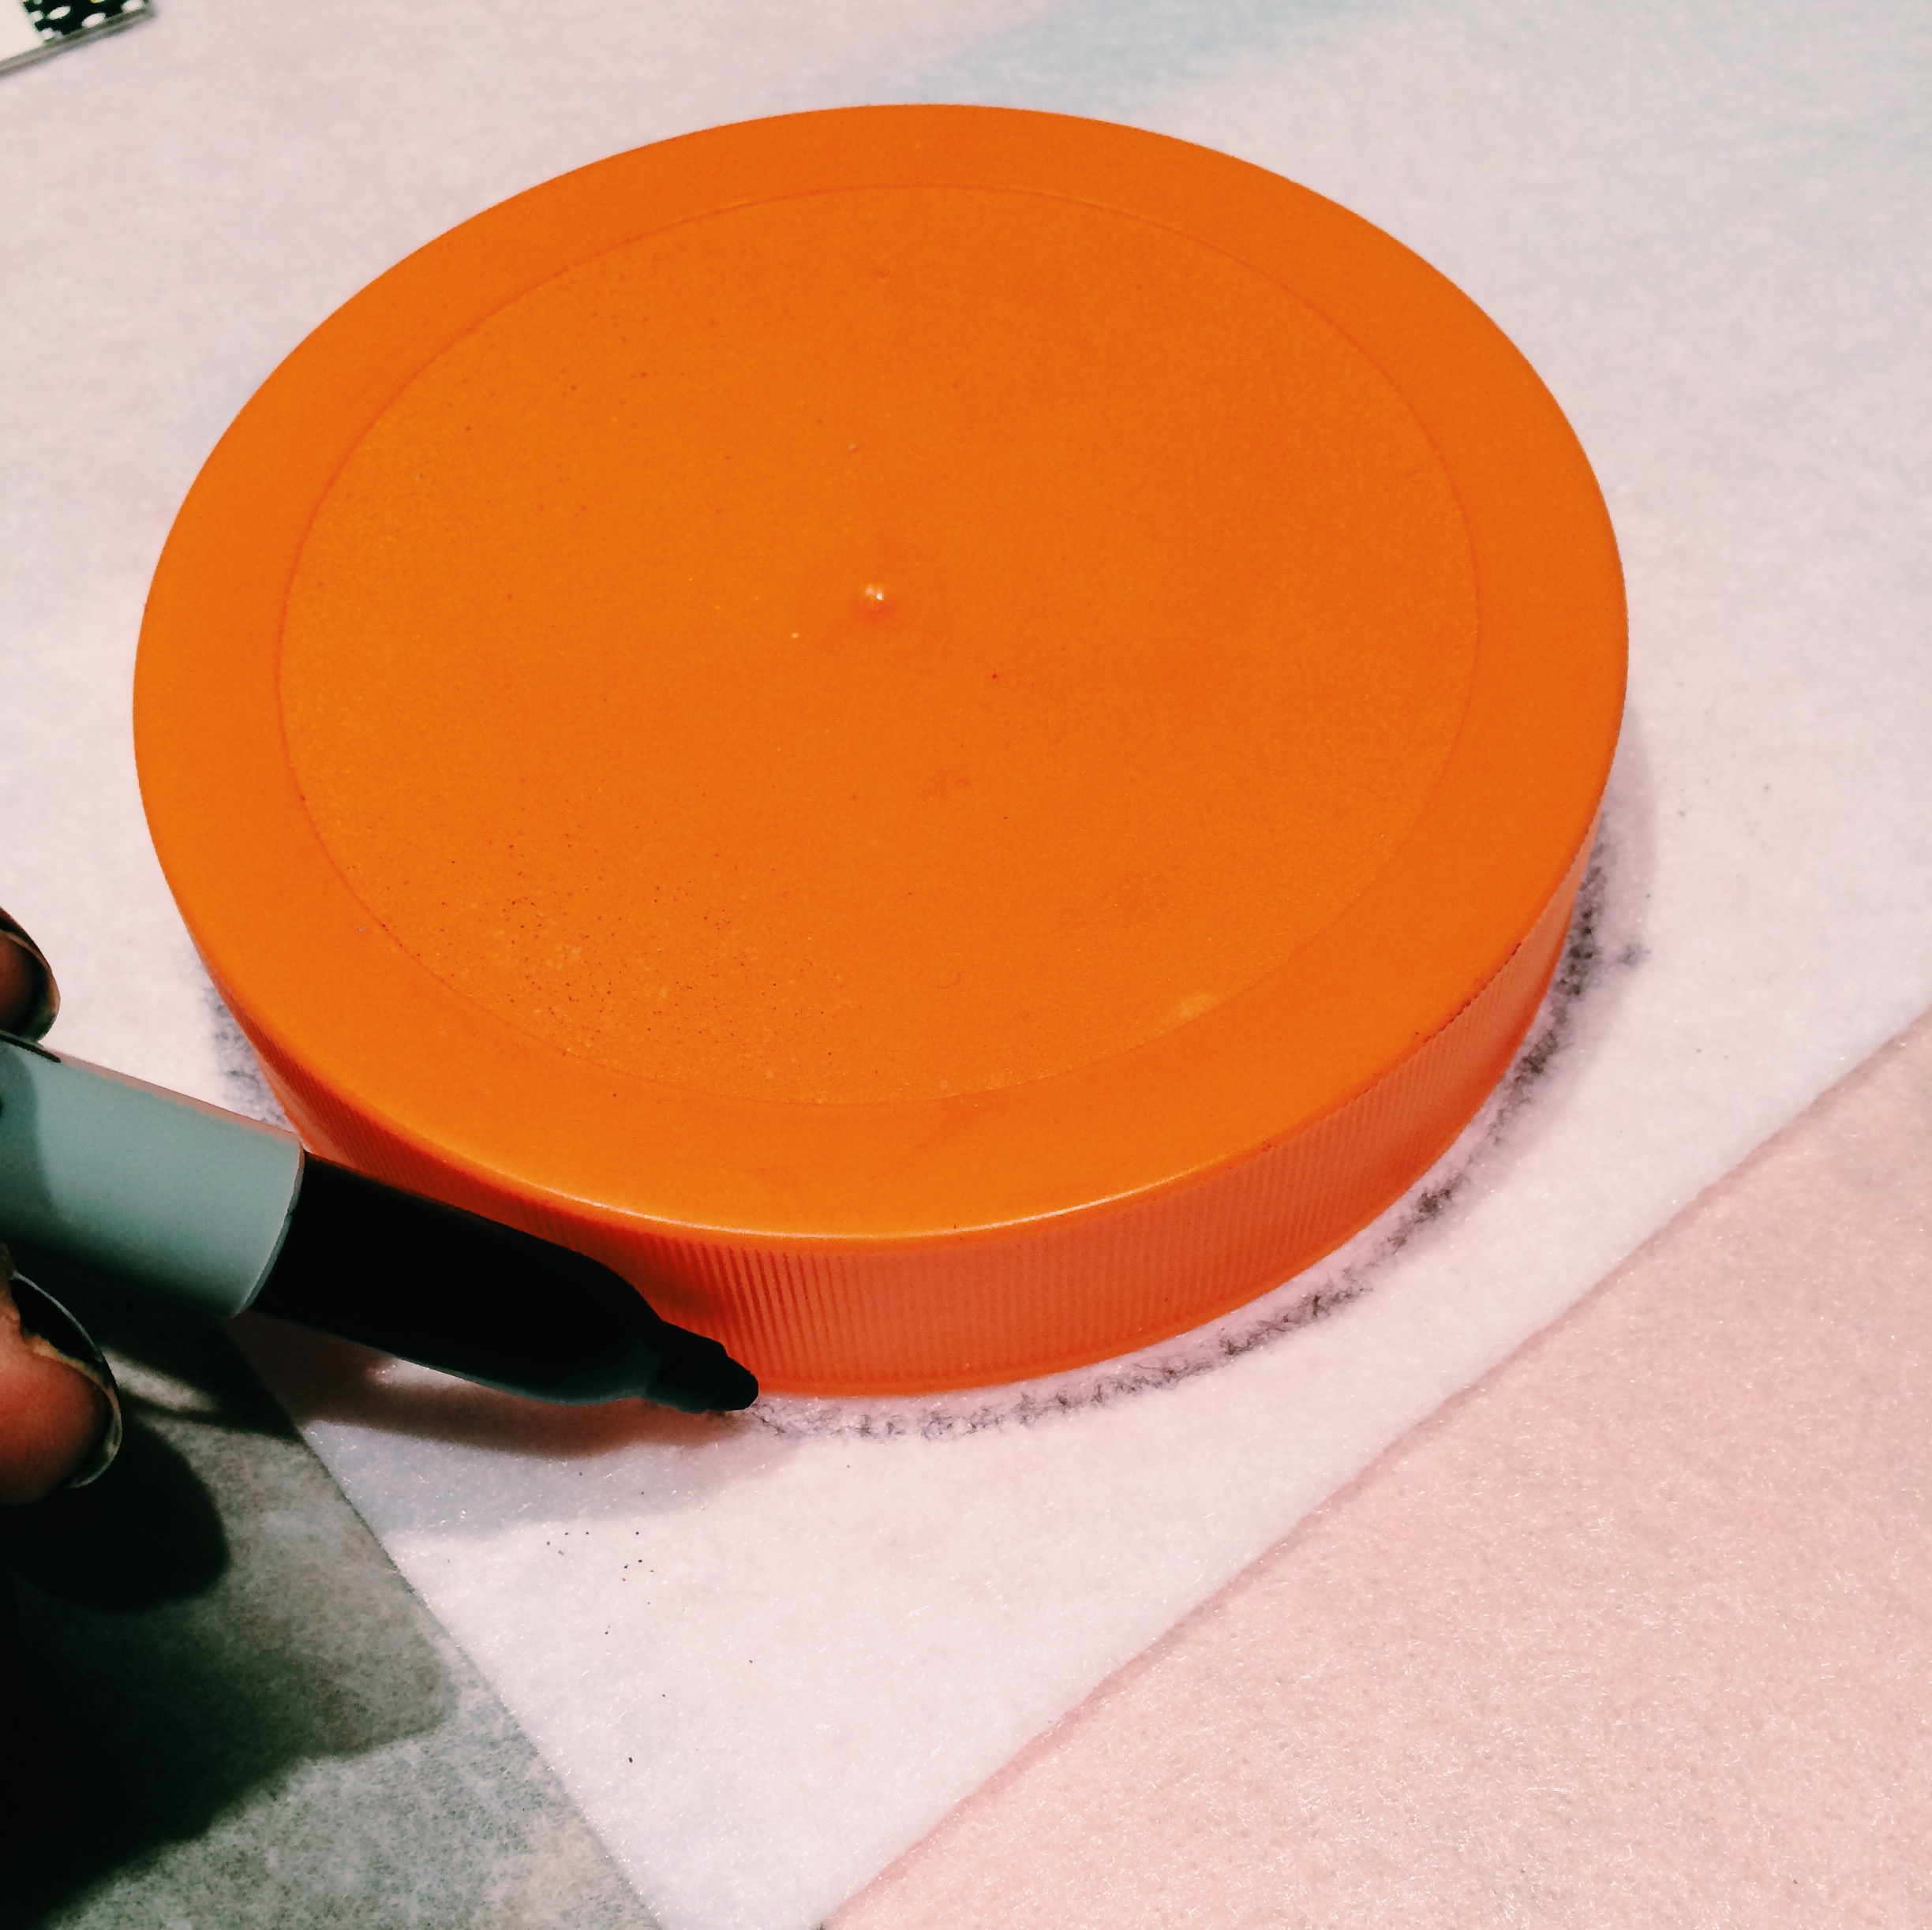 I used the top of a plastic container to stencil the round shapes for the faces.
 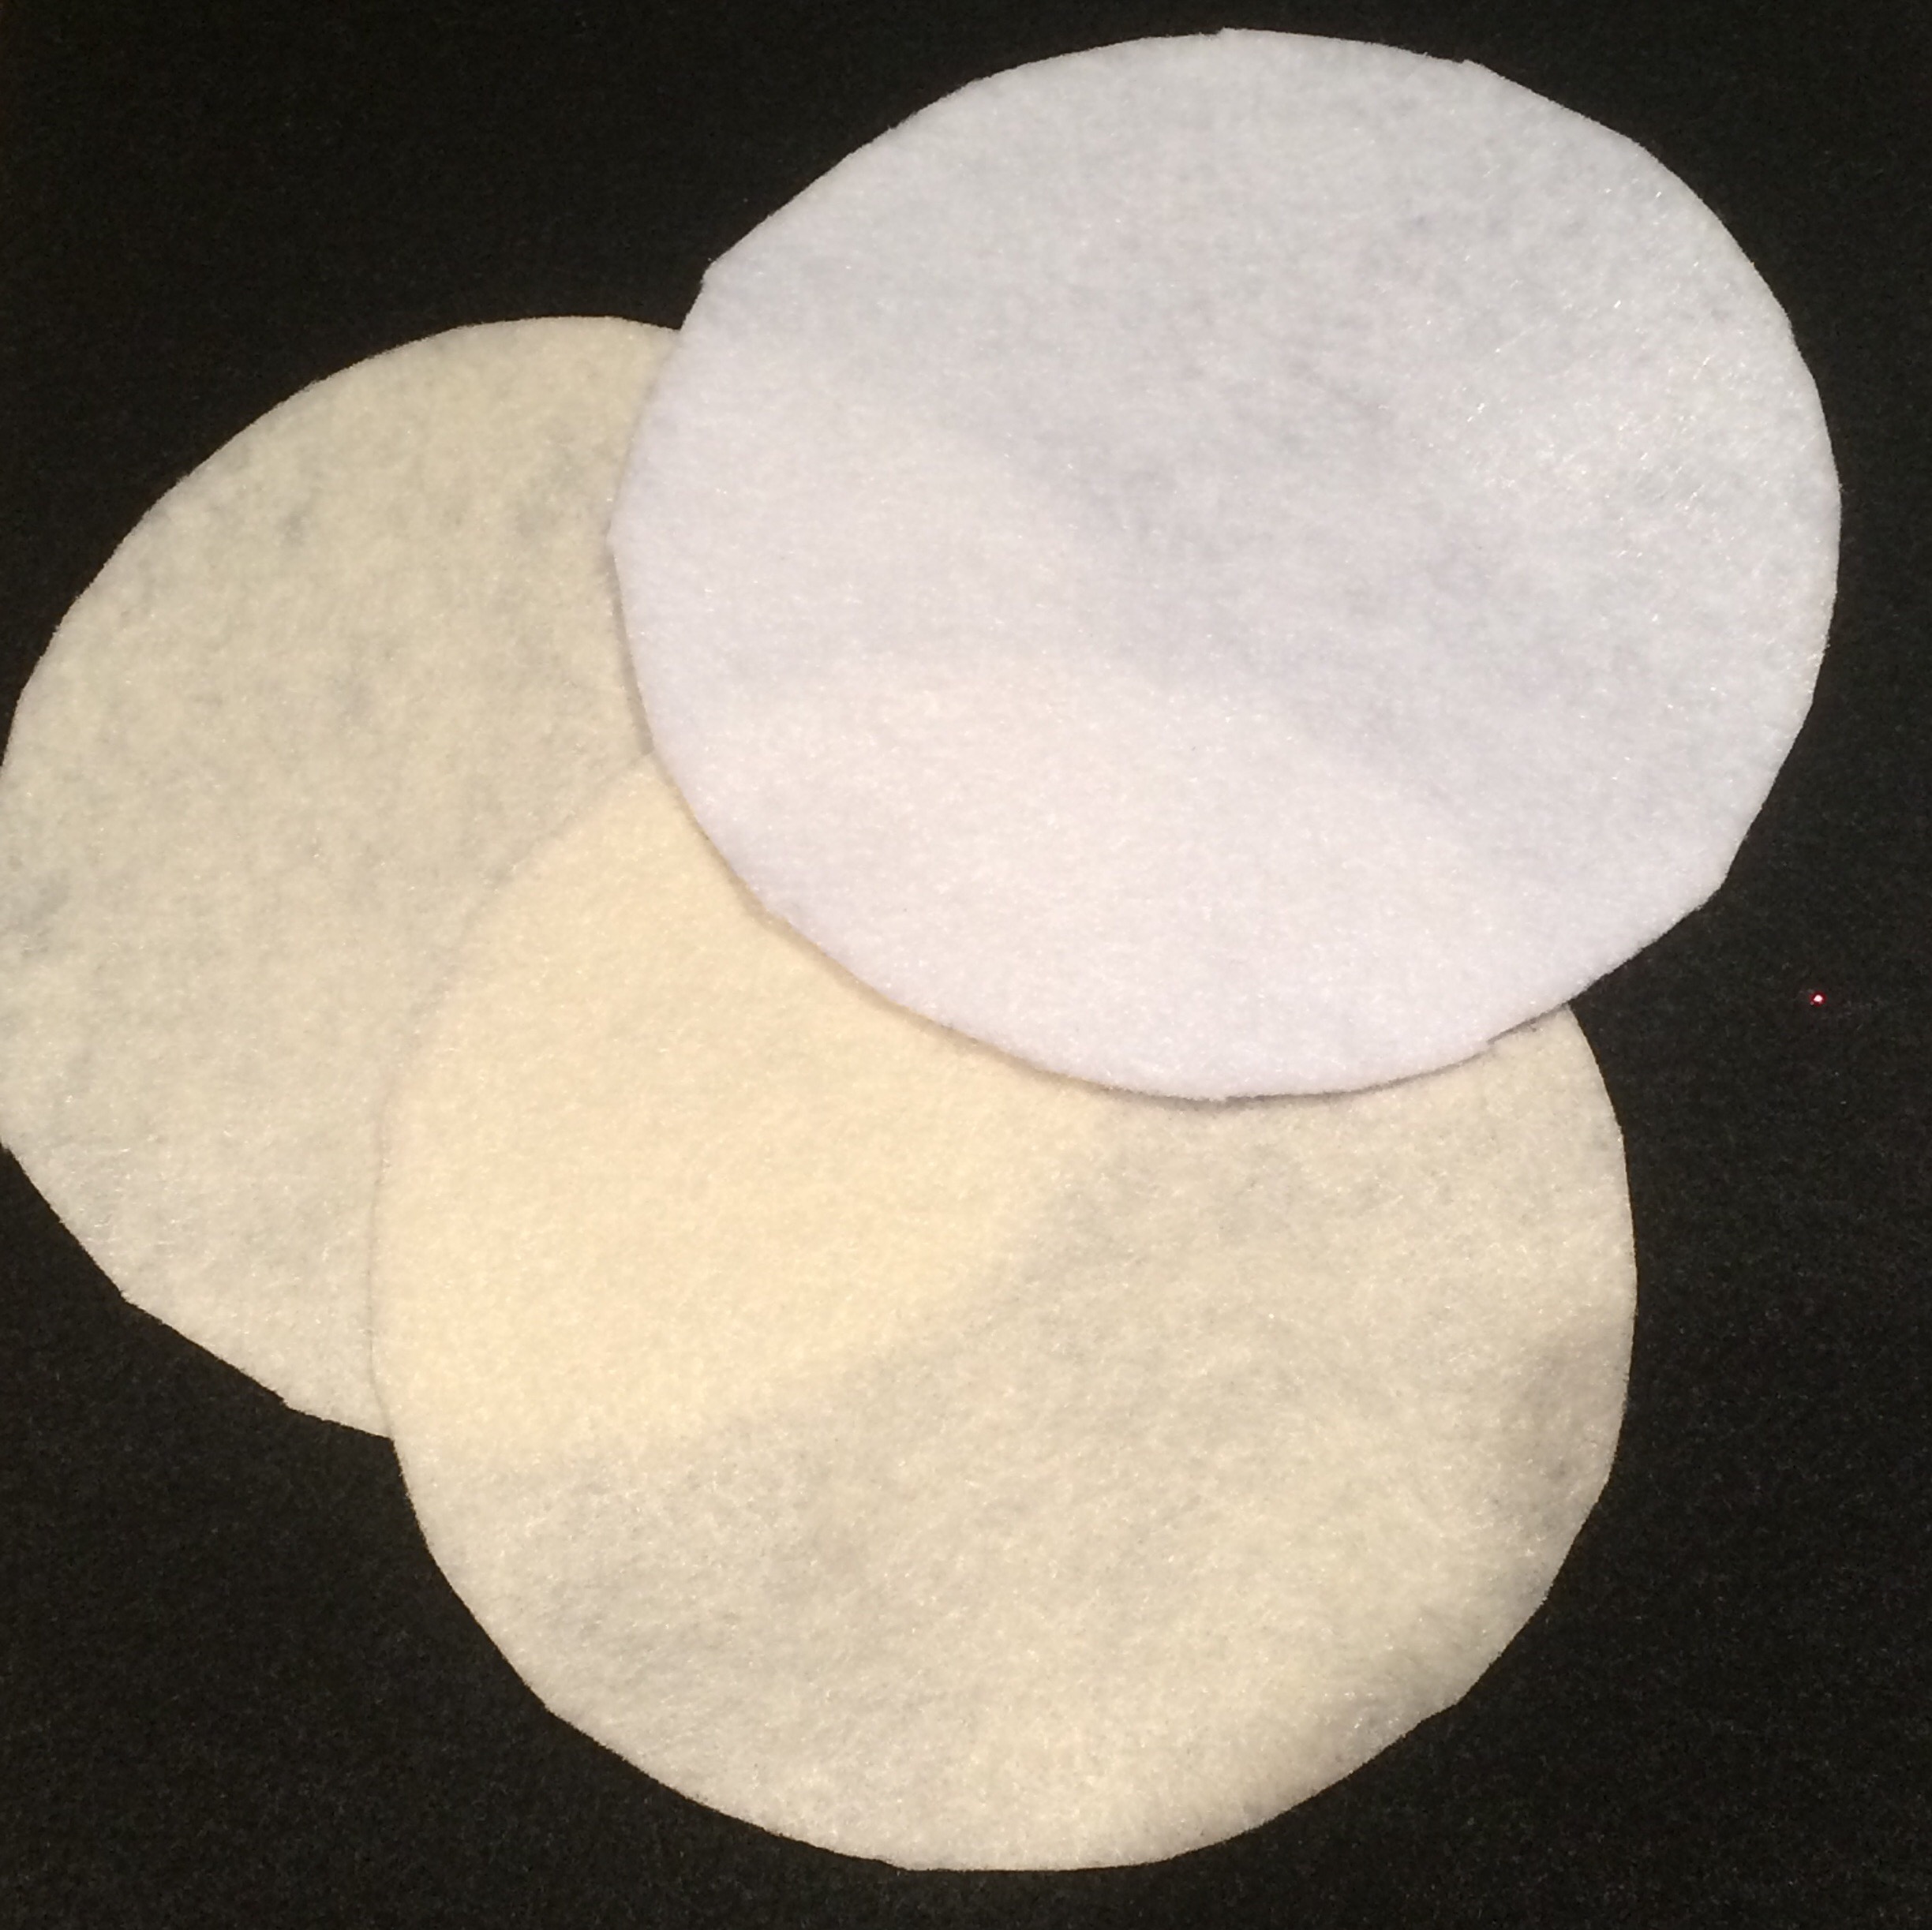 I made three circles, one in white for the Snowman, and two in flesh for Santa and the Elf.
 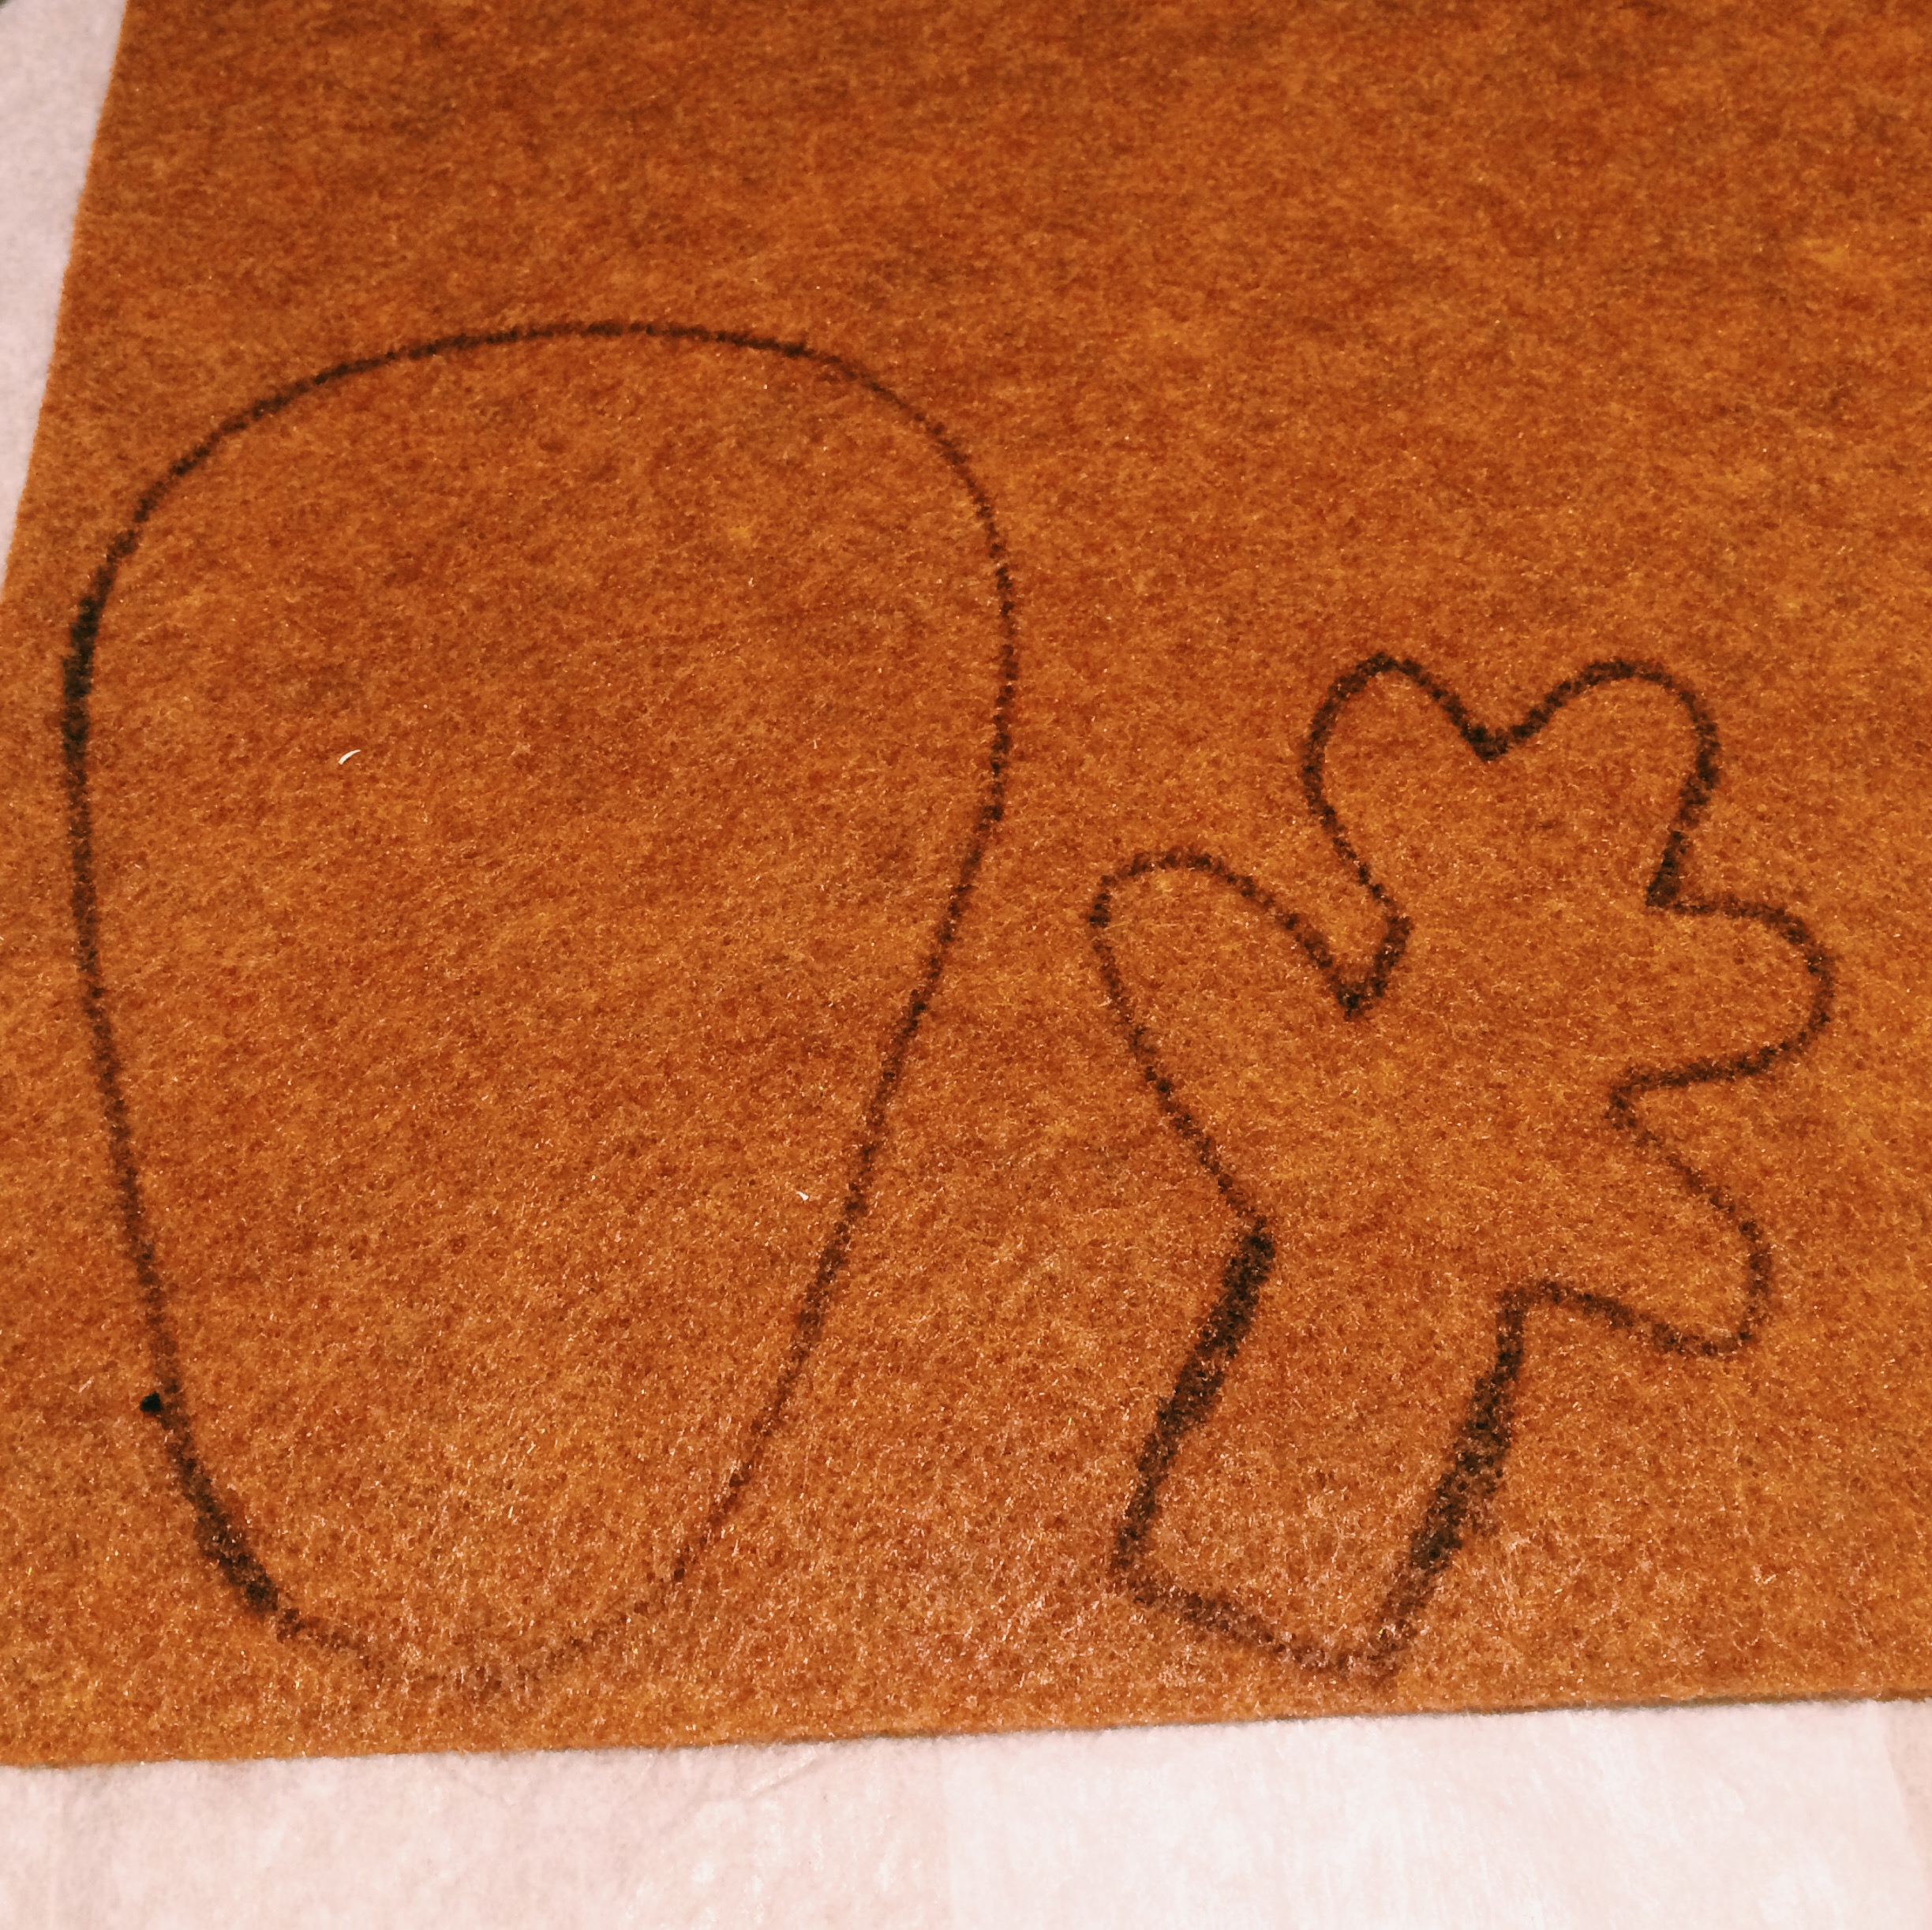 I drew the reindeer head shape, antlers and cut them.
 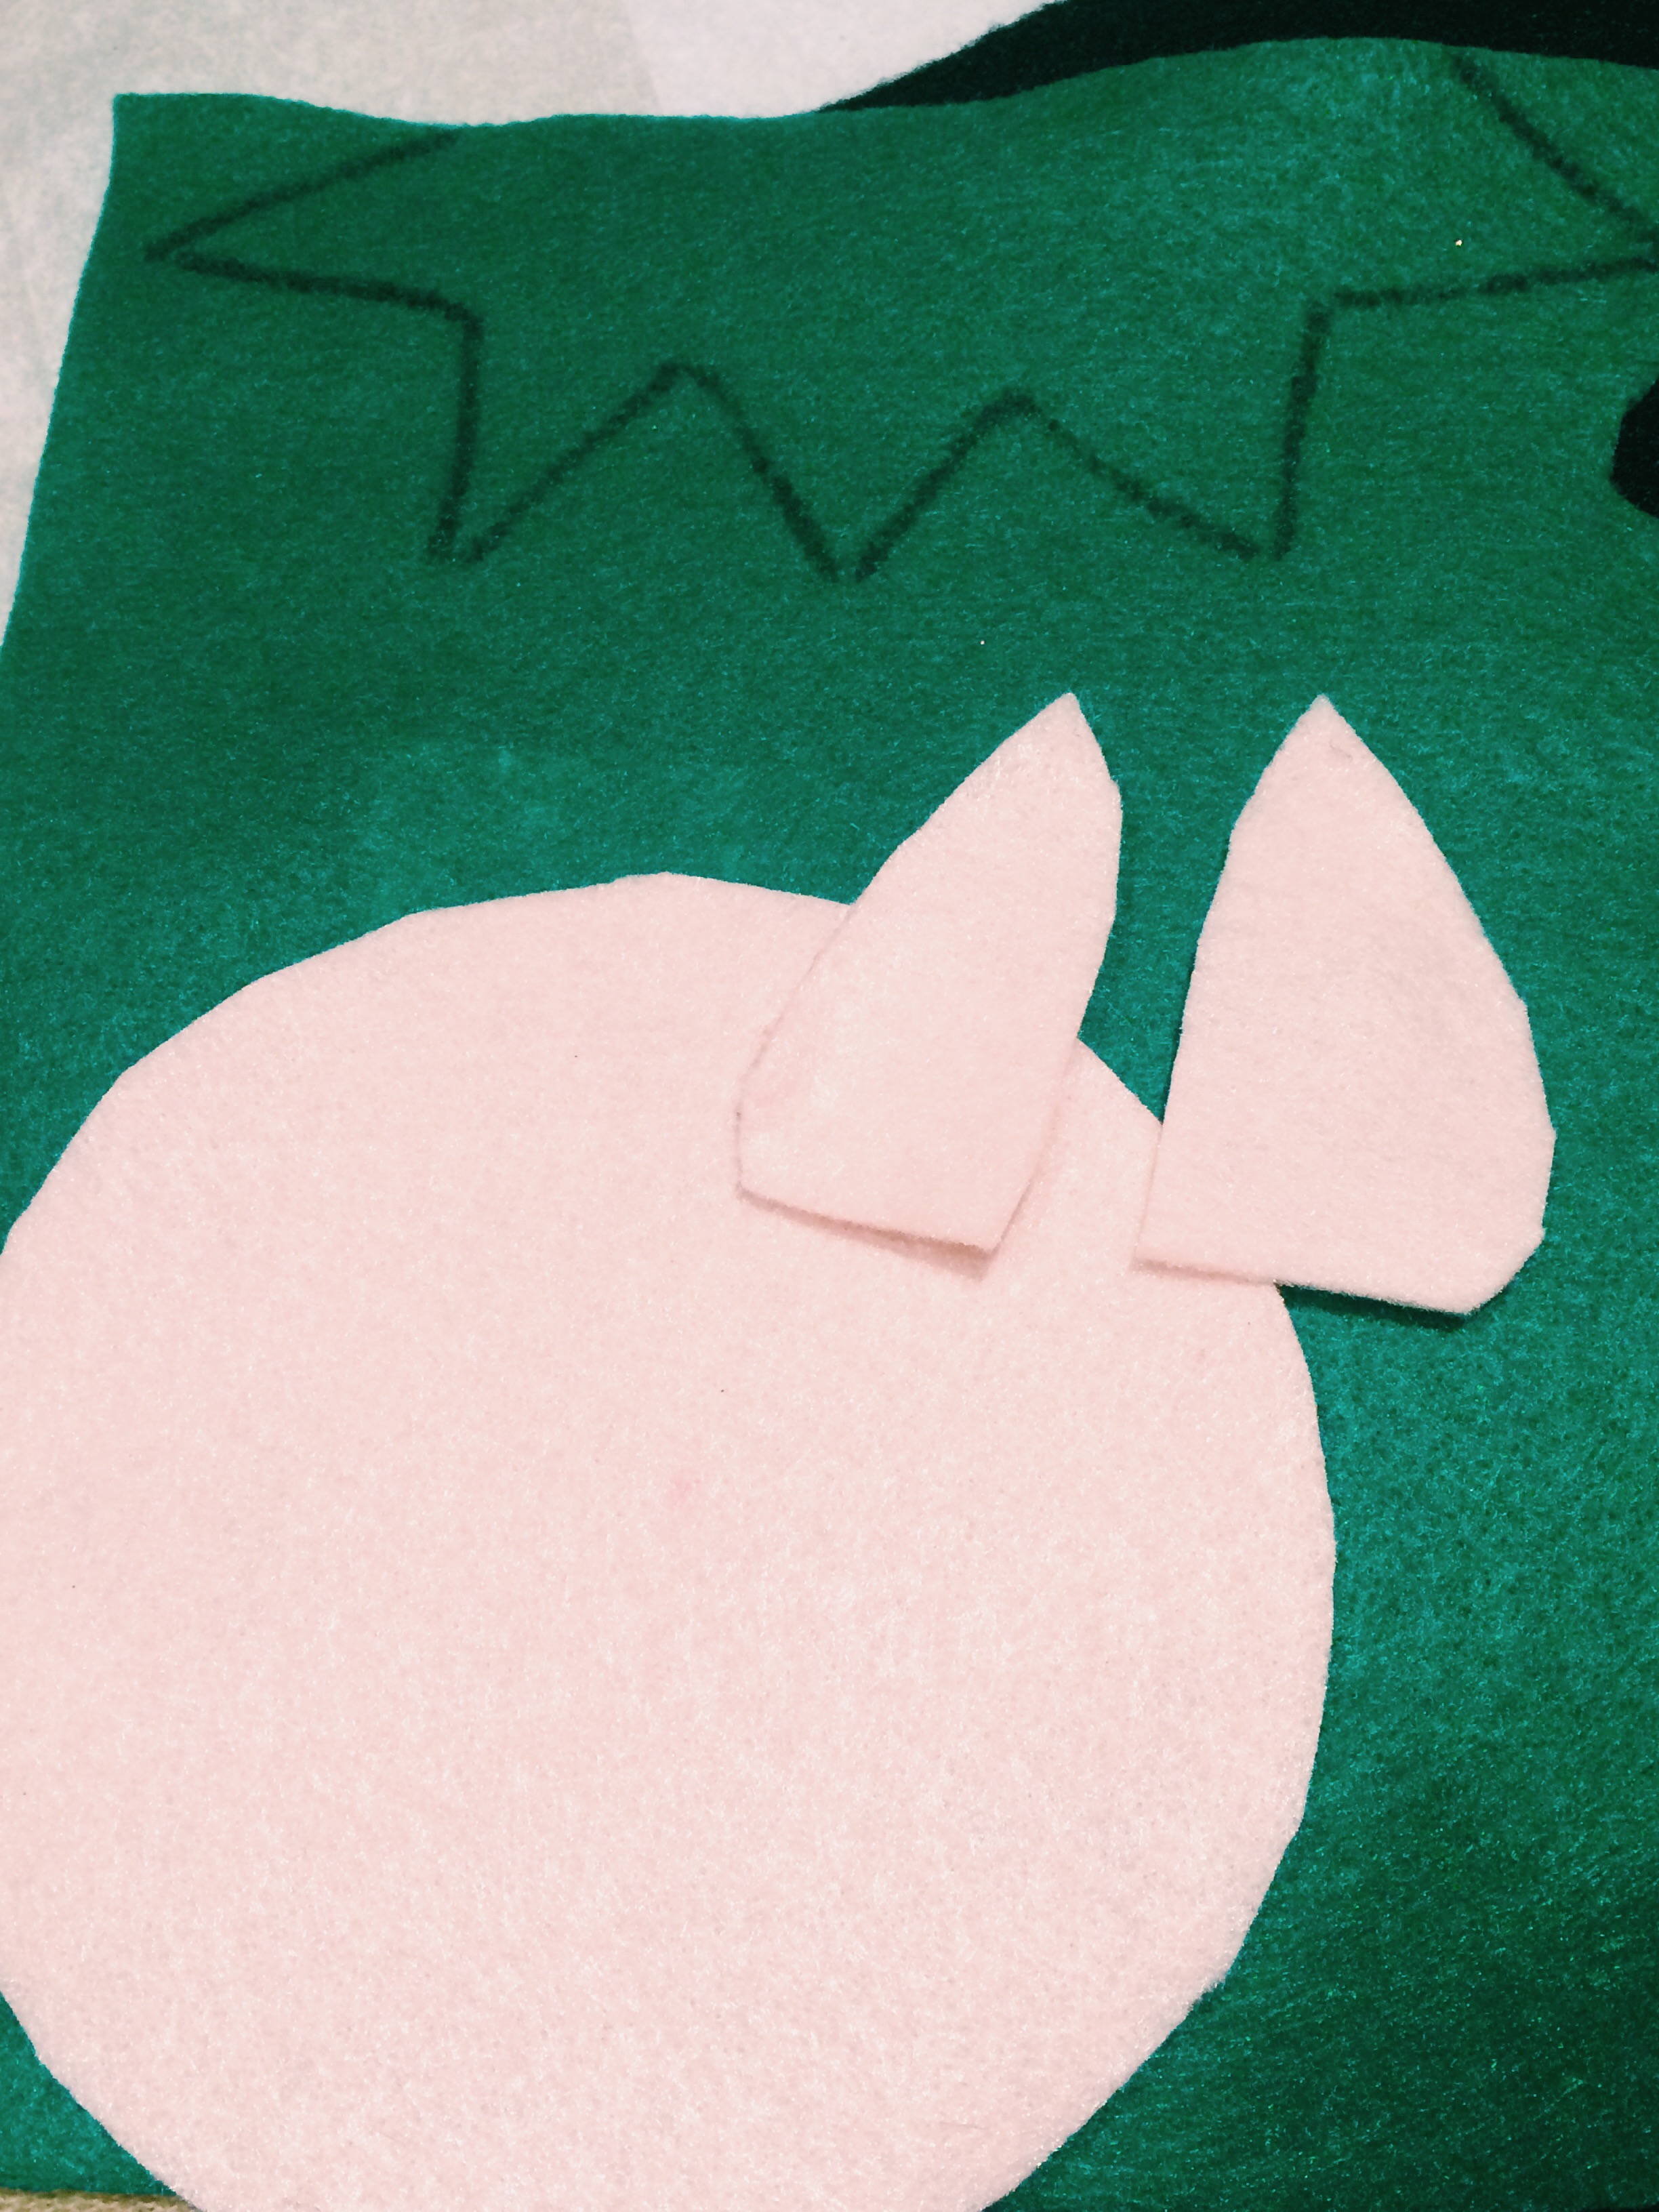 I cut out the round-shaped face for the elf.
  I used Aleene’s Tacky glue on the elf ears to the face, as well as the eyes and nose.
 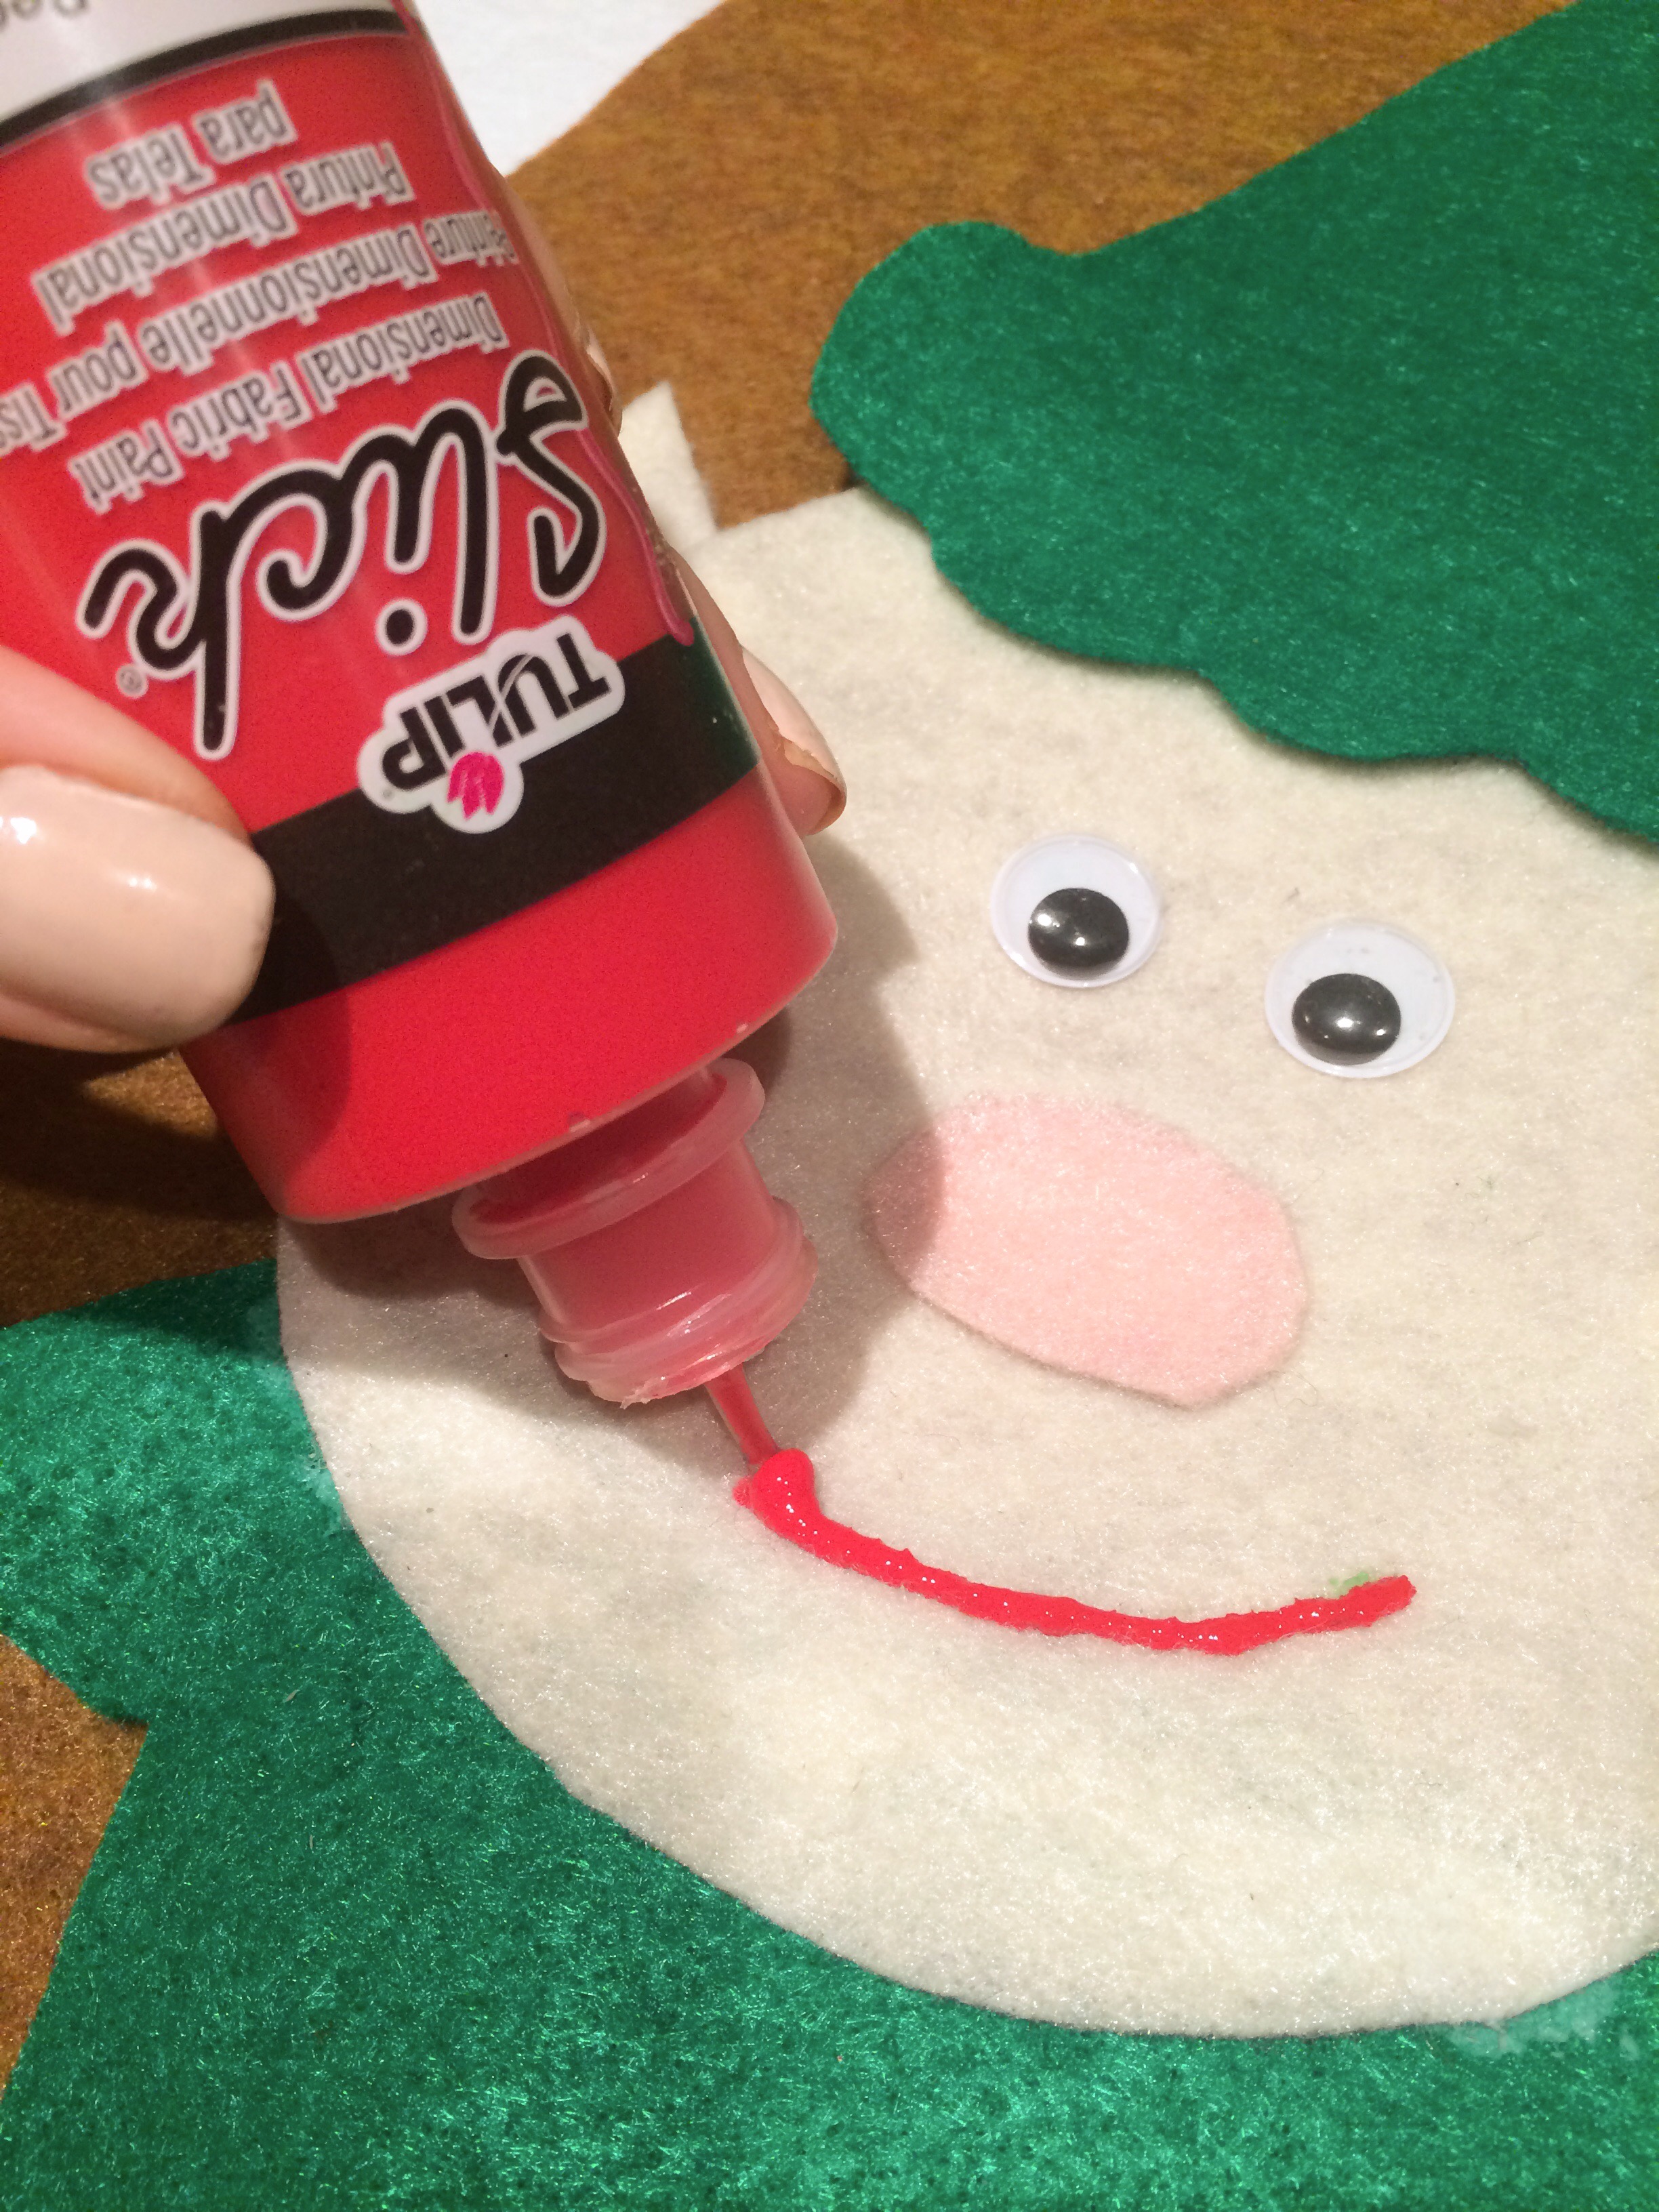 I created the mouth for the elf with Tulip Fabric Paint in Deep Red.
 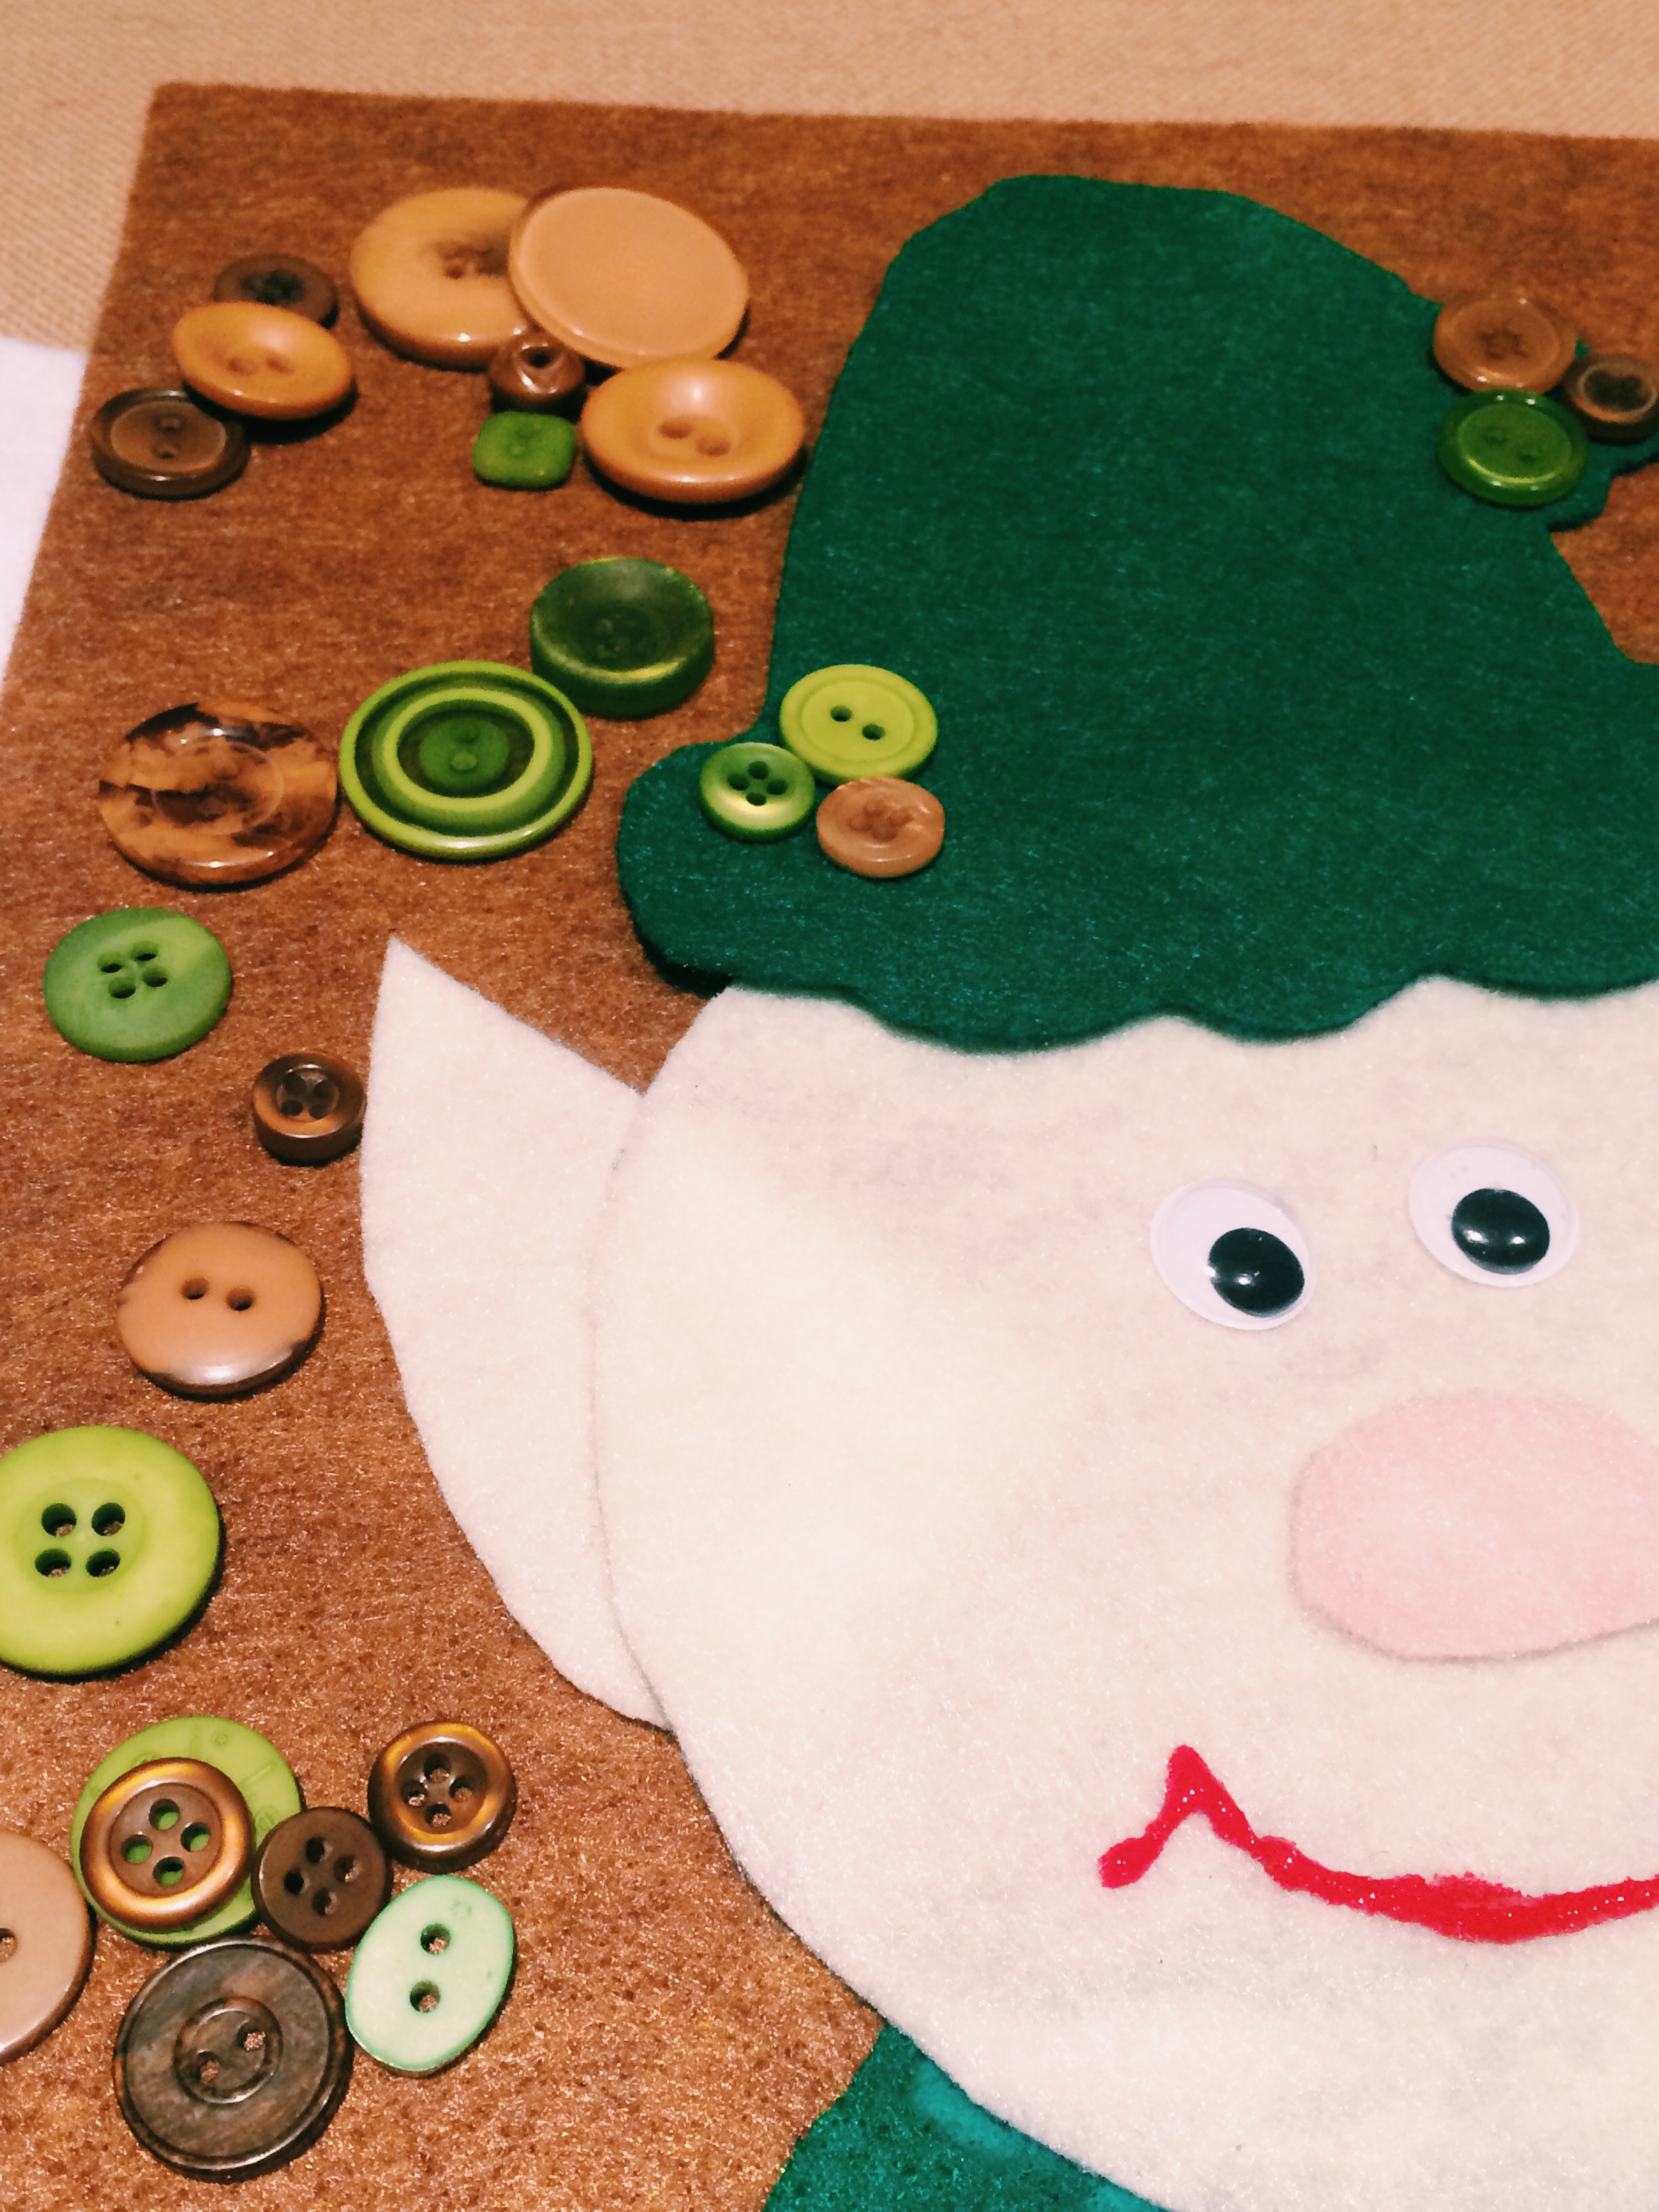 I used Aleene’s Tacky Glue to attach the buttons to the elf hat.
 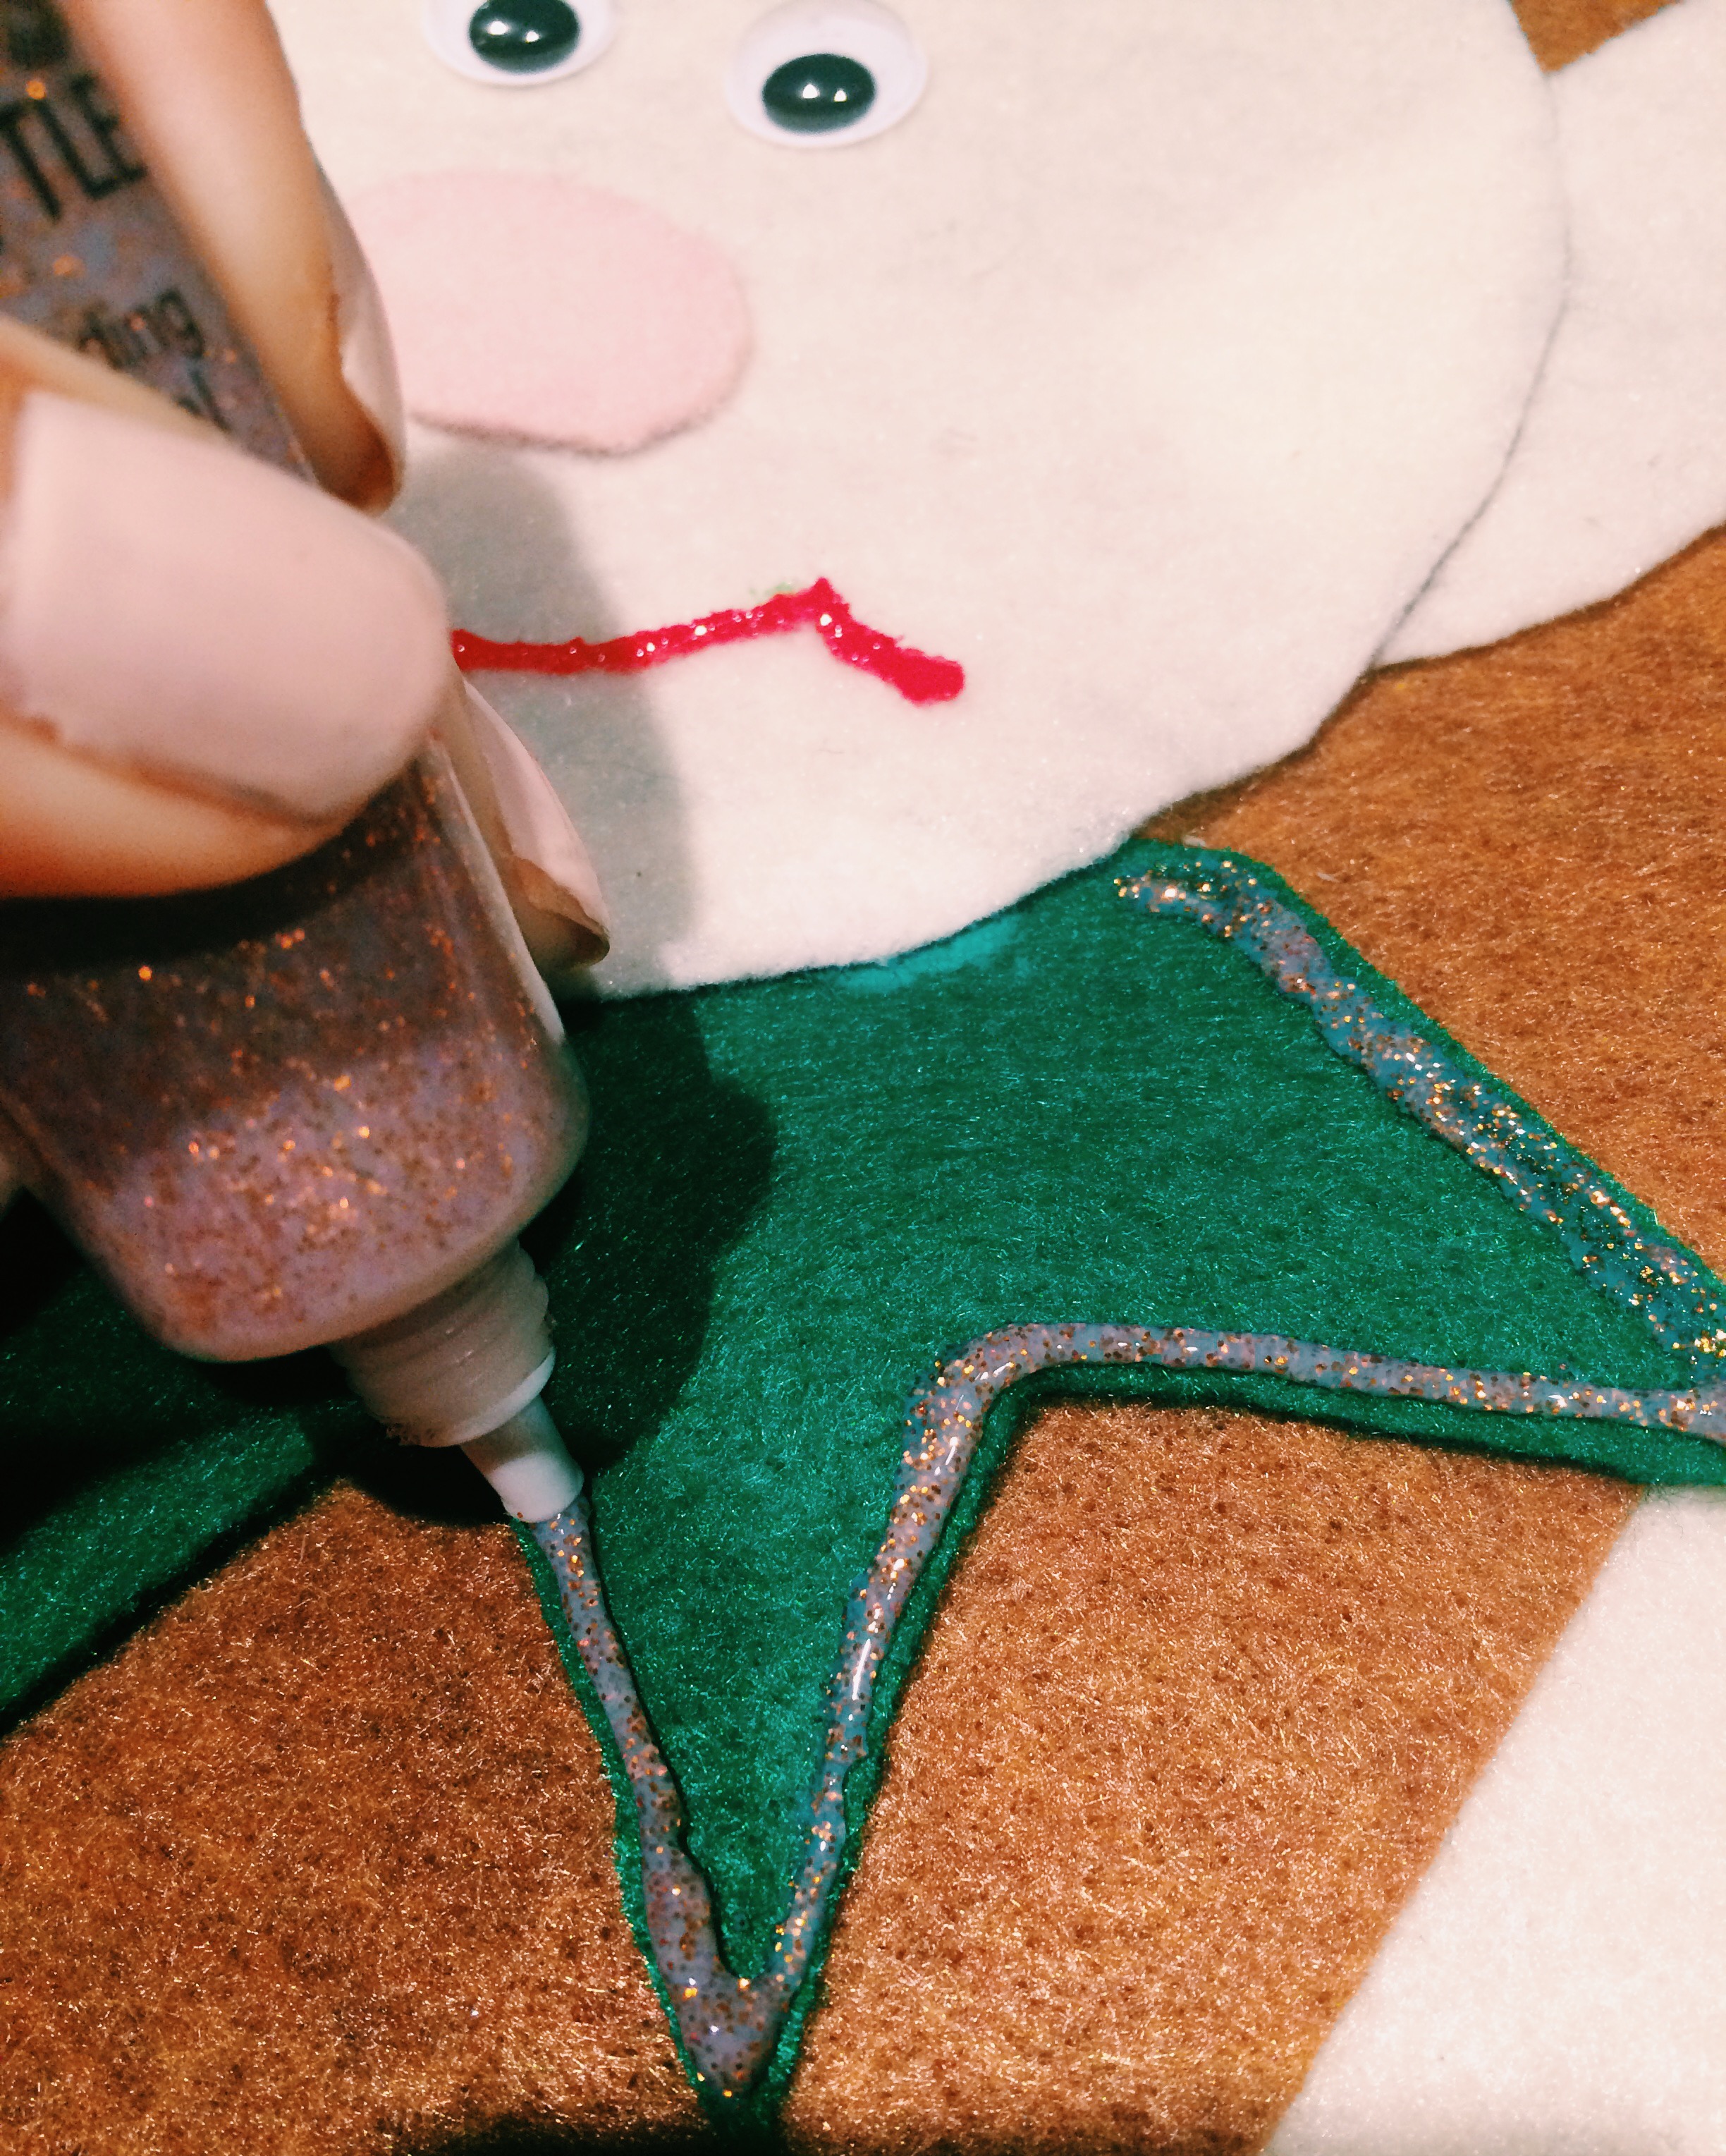 I lined the elf’s collar with the Tulip Beads in a bottle glitter.
  The completed elf’s face!
 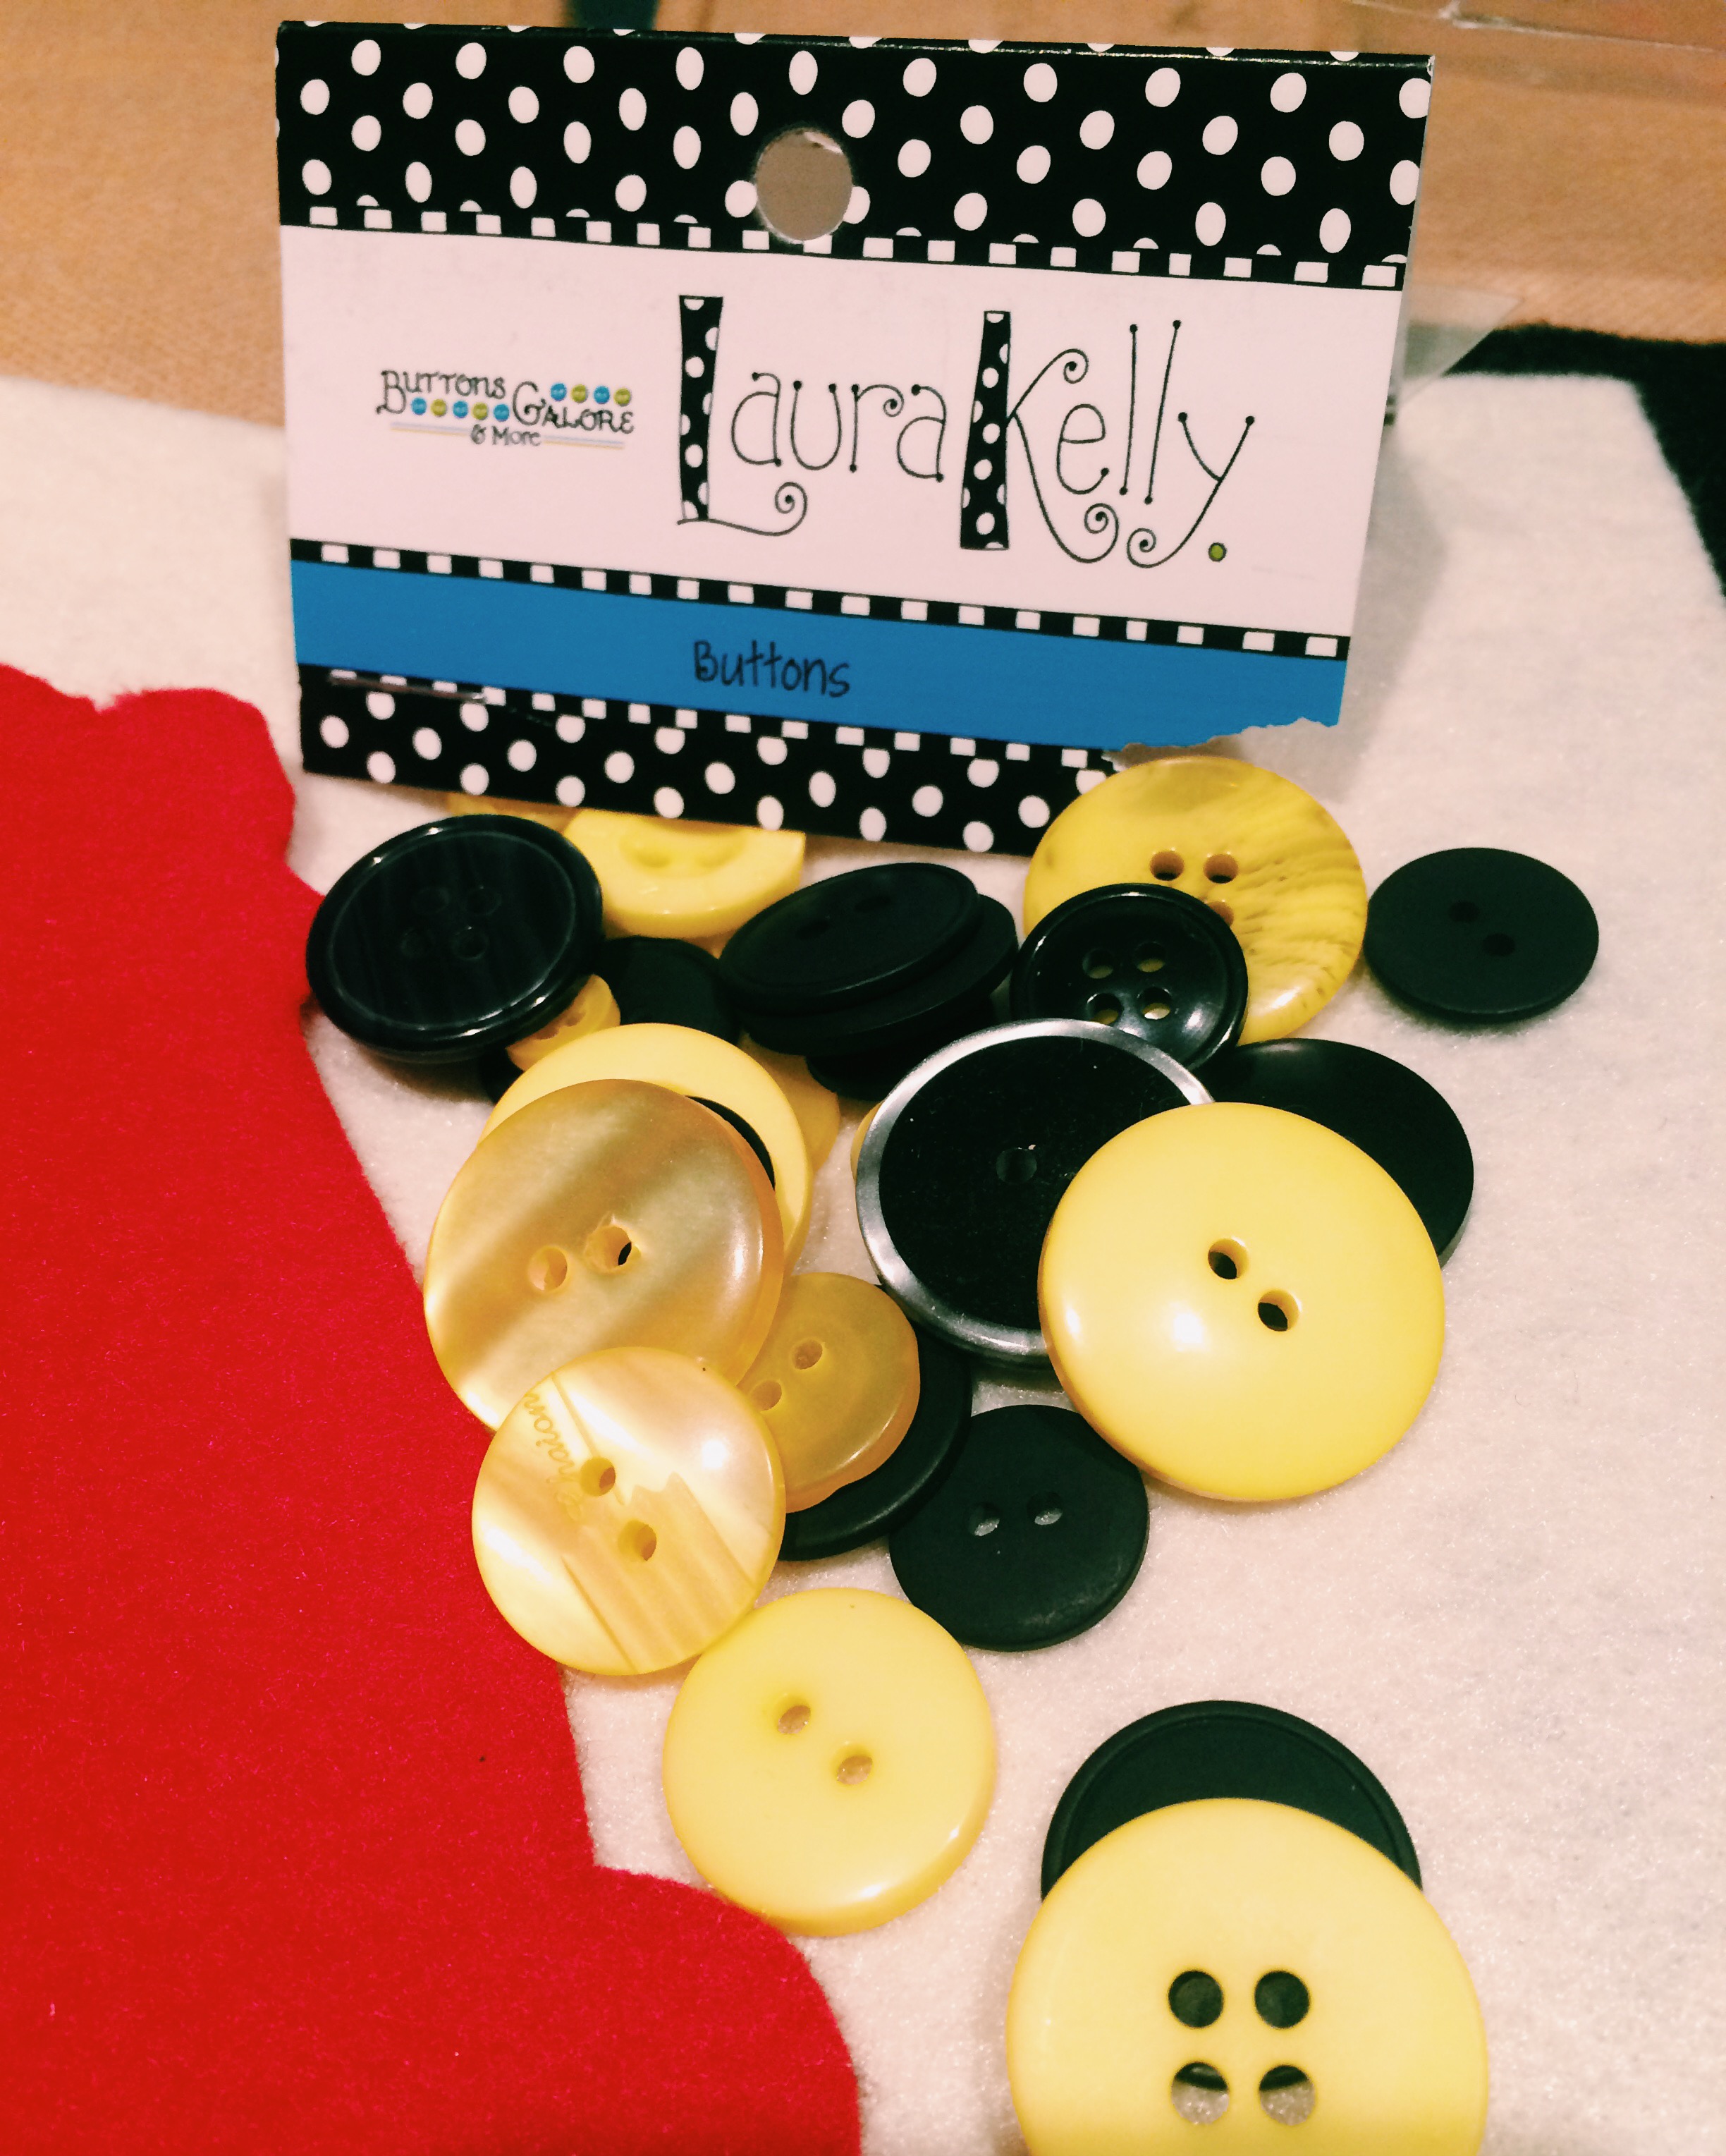 Next up was my Snowman and I wanted to use Laura Kelly Buttons for Buttons Galore in Bumble Bee to decorate his hat.
  I used Aleene’s Tacky Glue to attach the button eyes to the snowman’s face.
 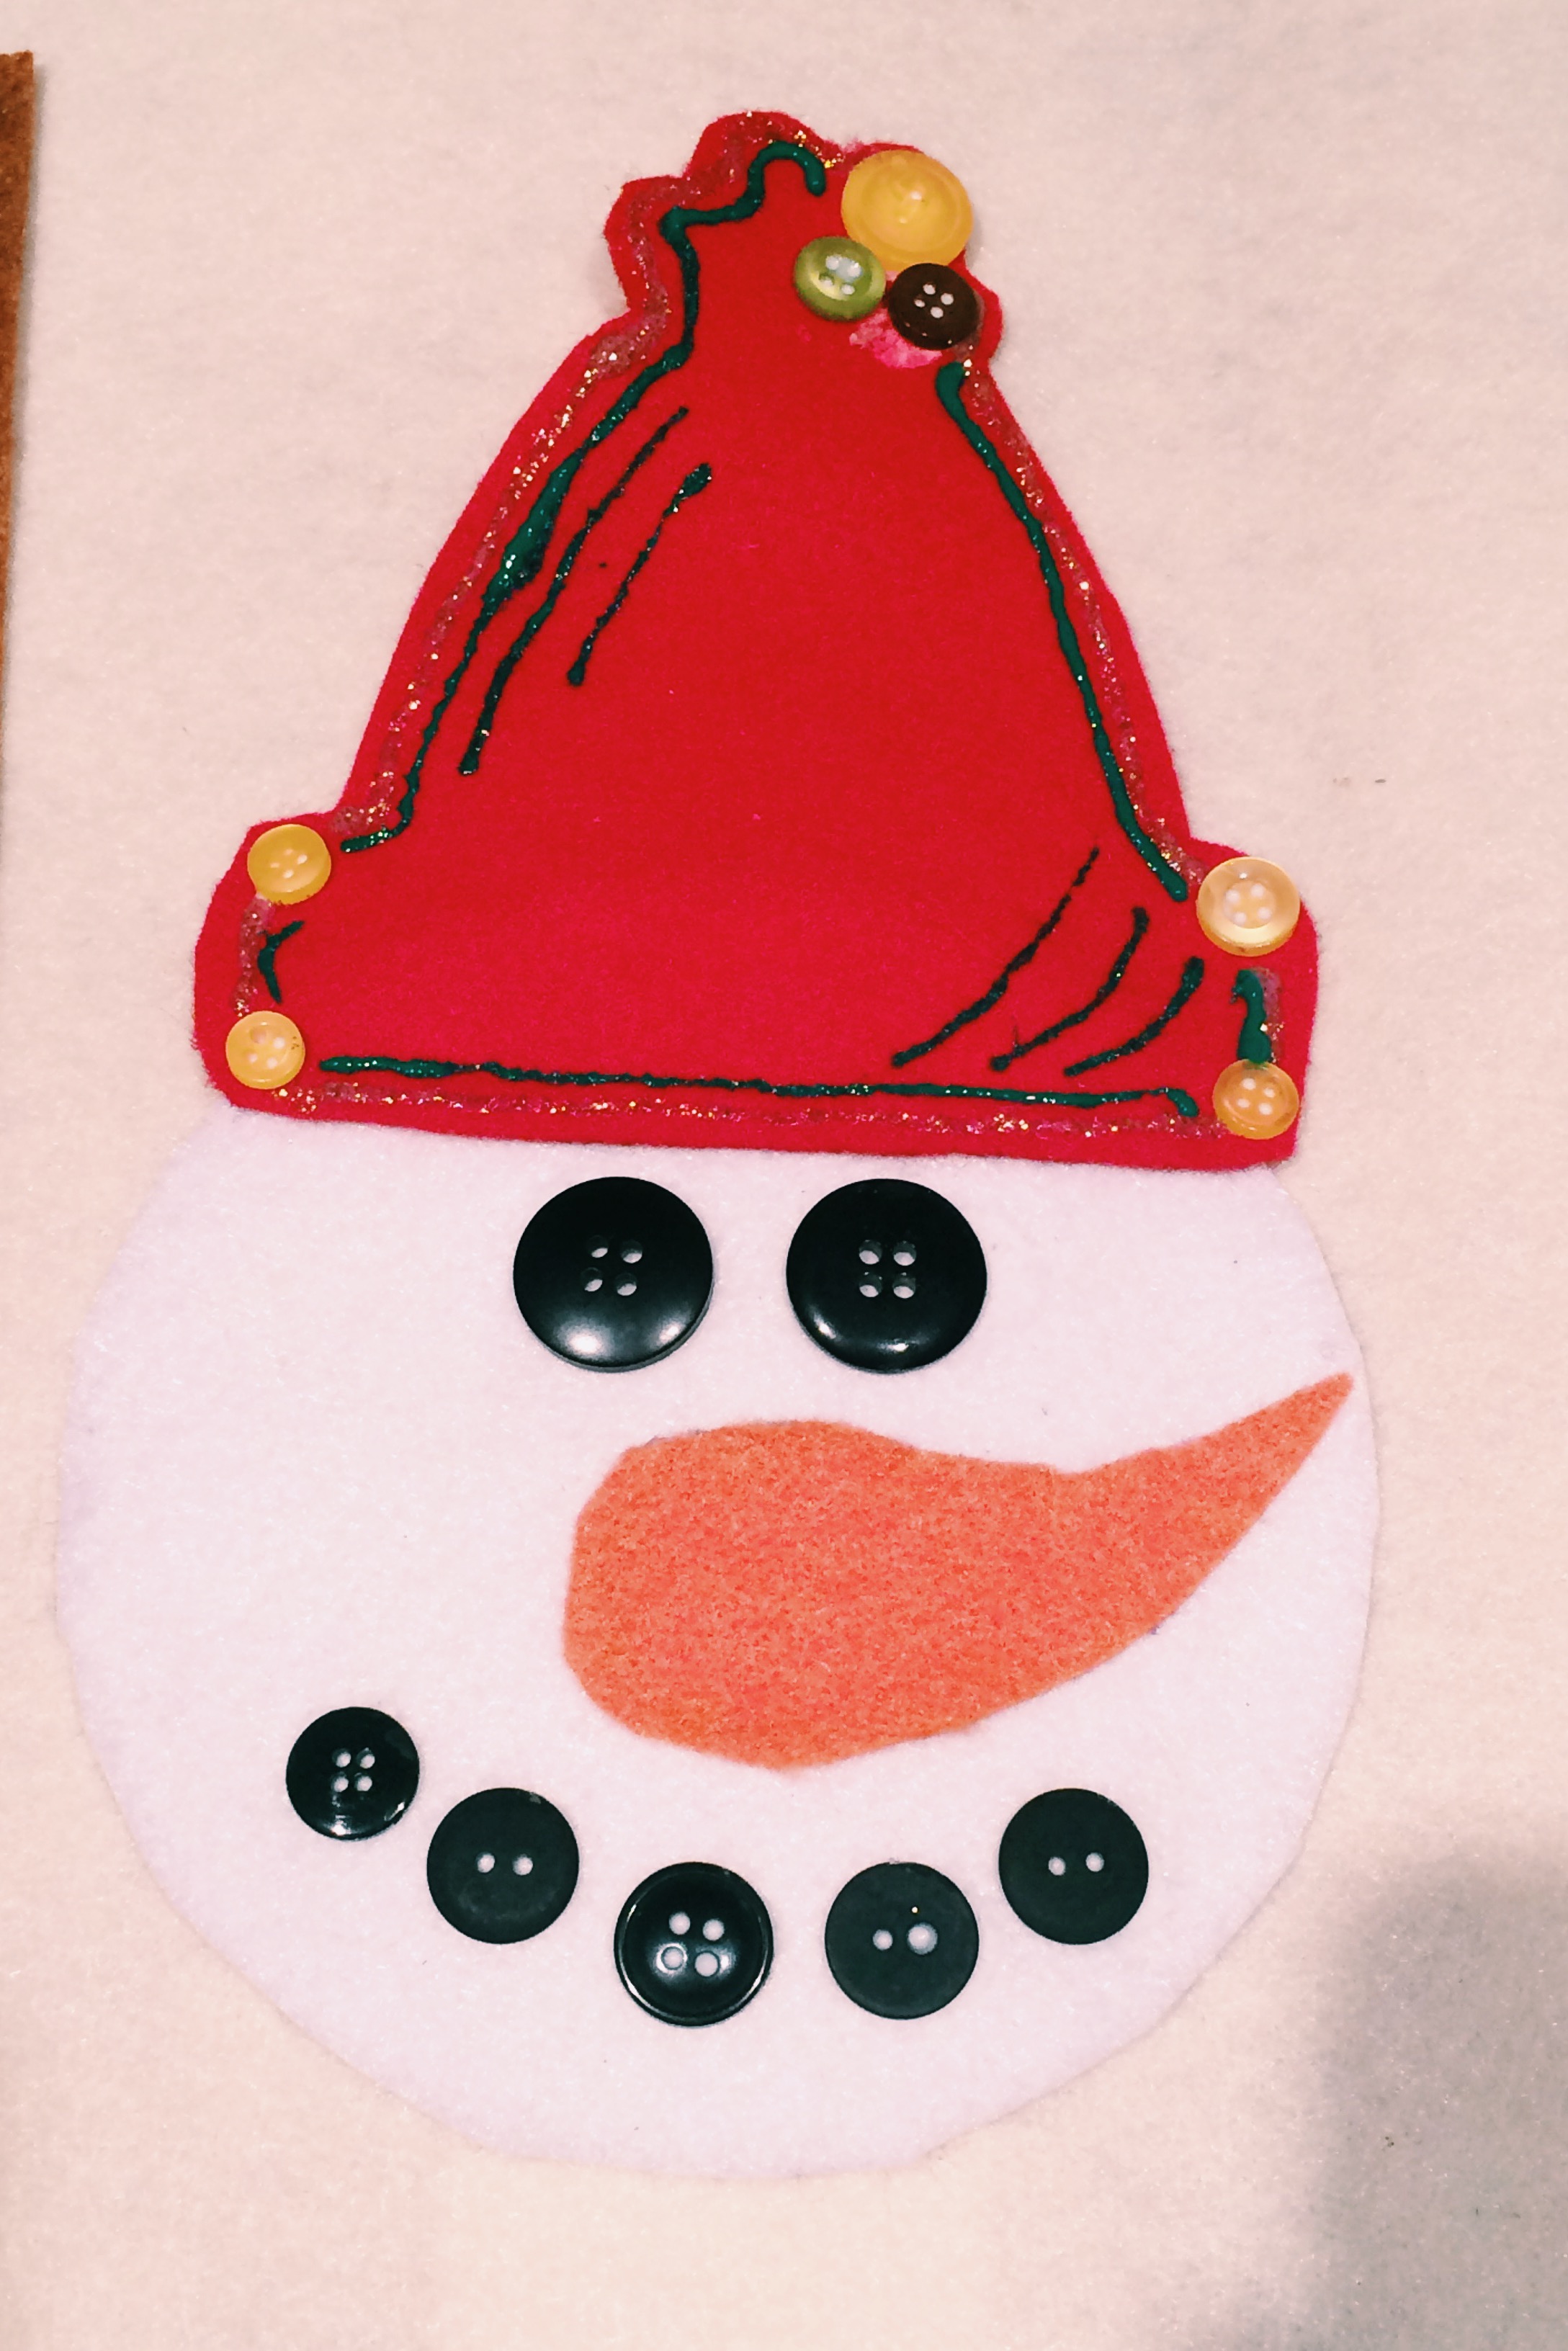 The completed snowman’s face!
 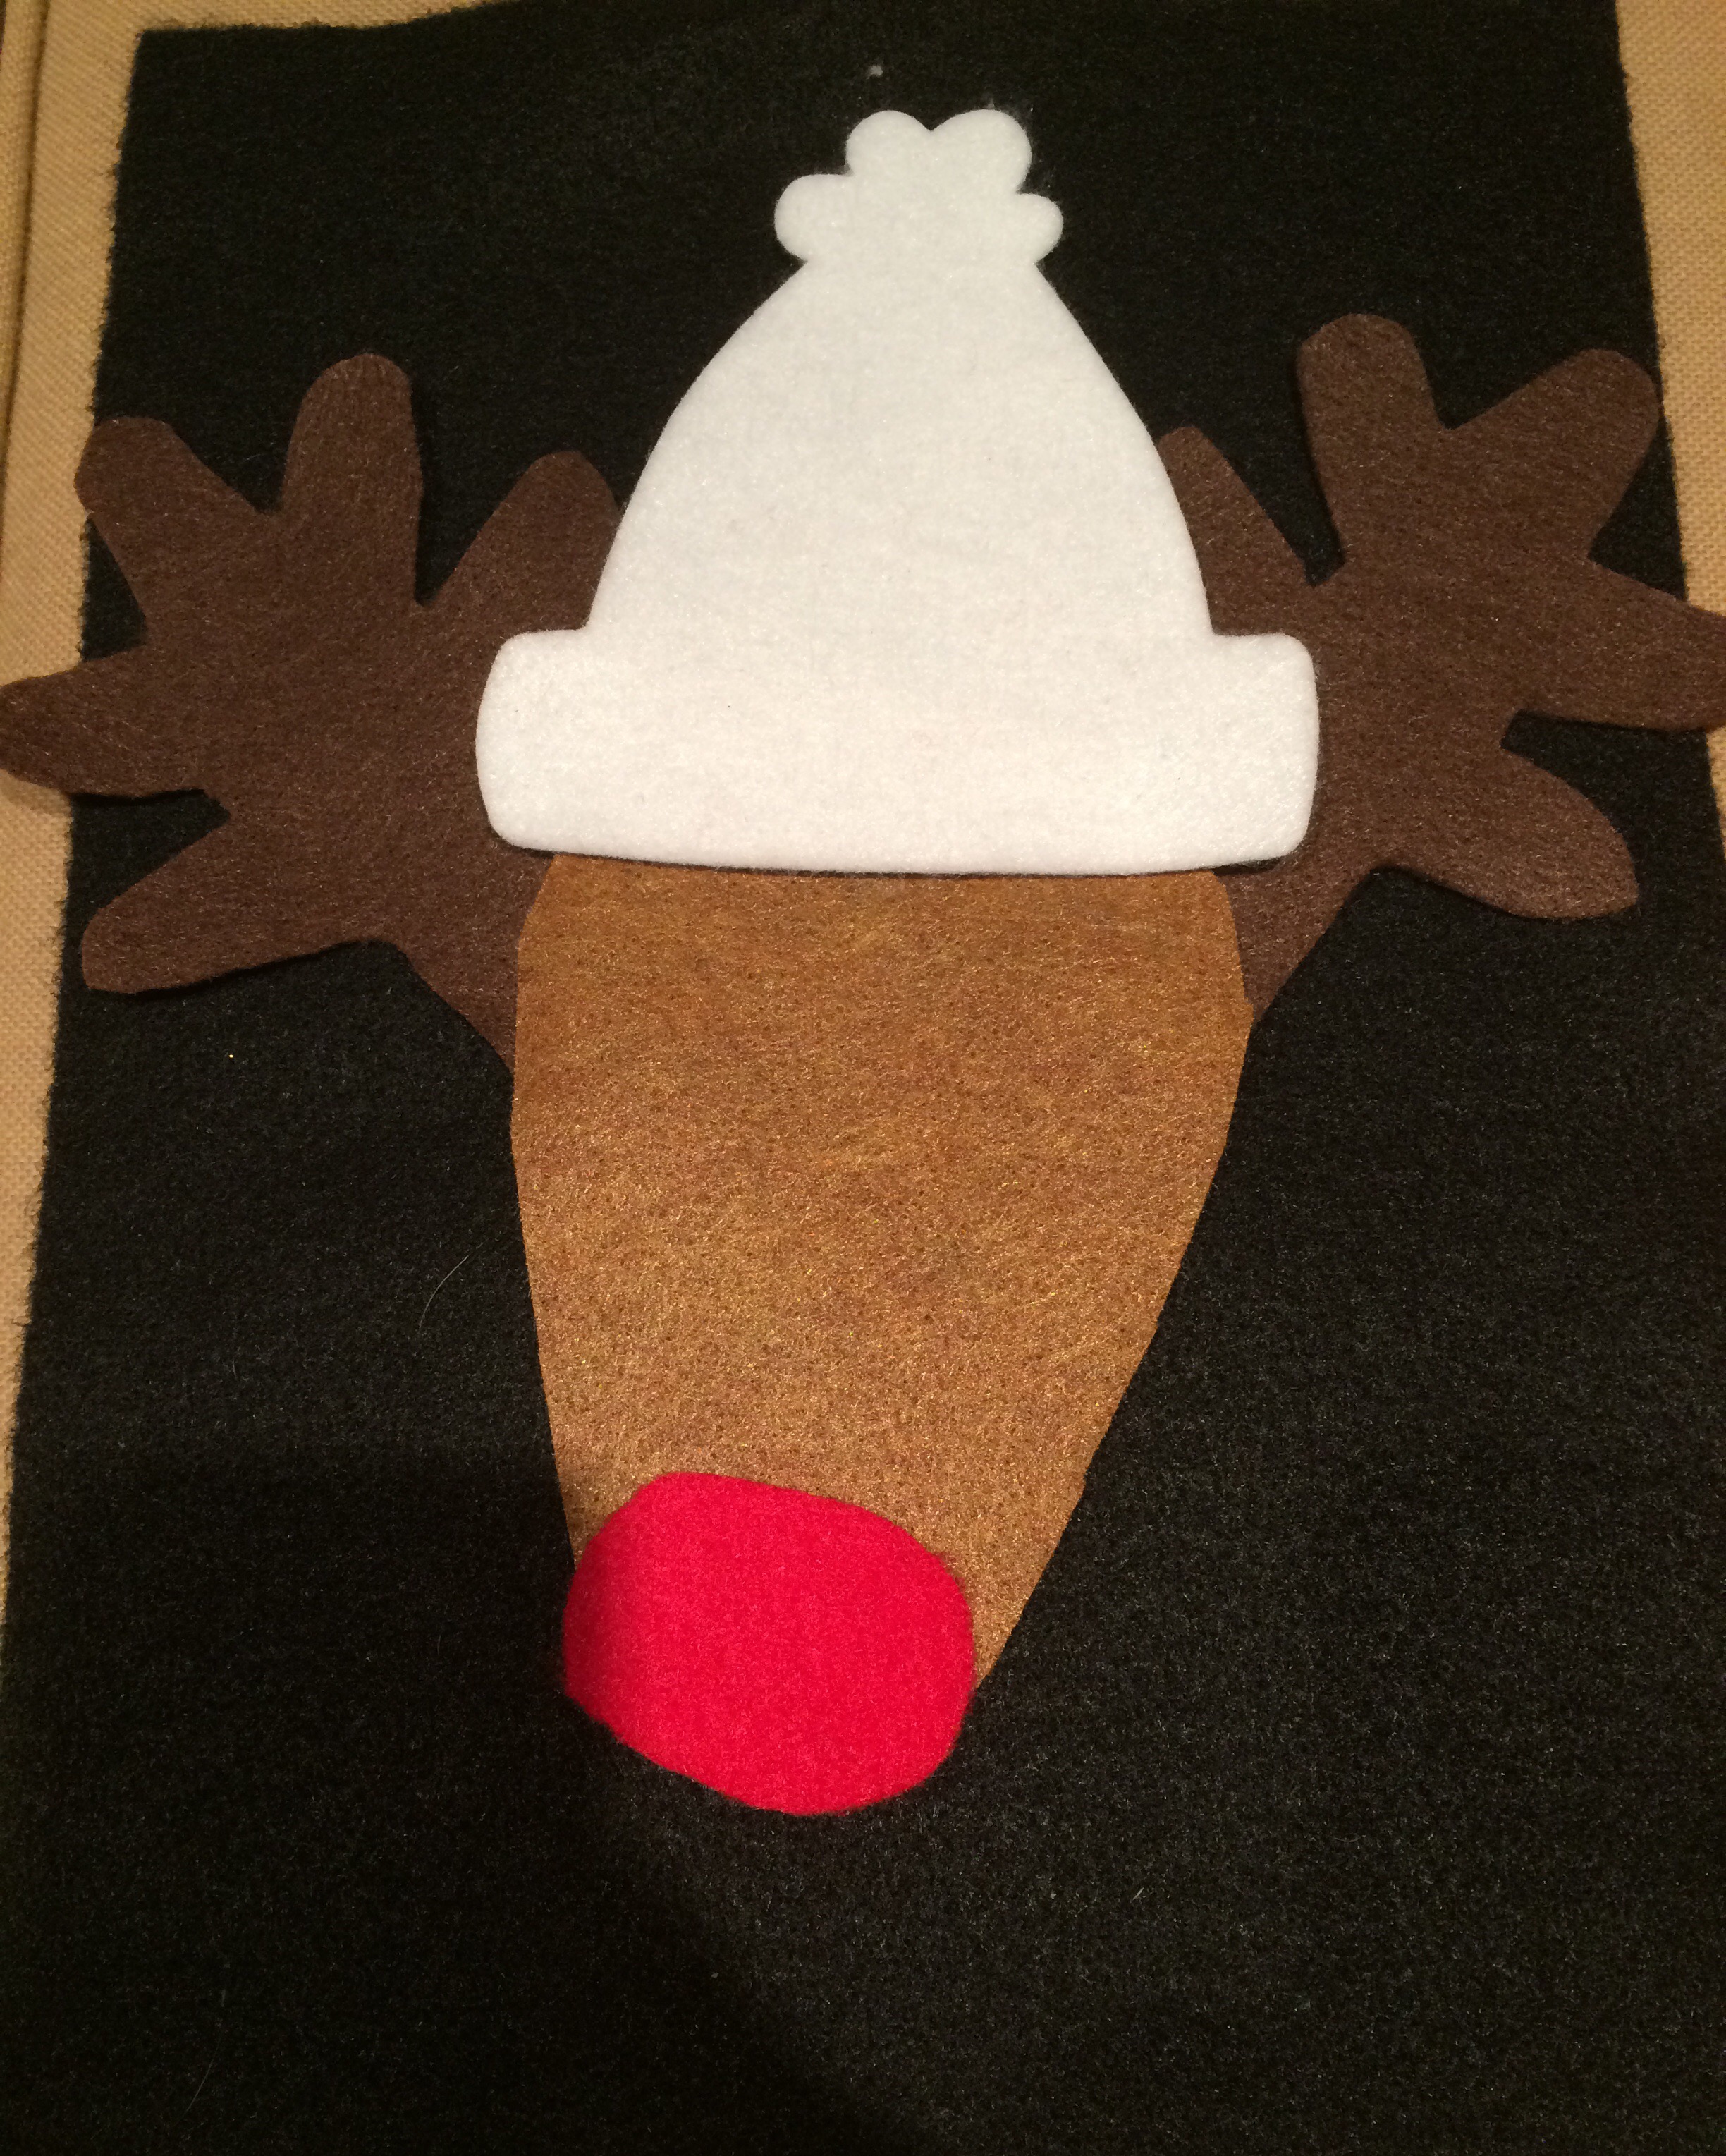 Here is the layout of the reindeer hat, face, nose, and antlers.
  The completed reindeer’s face!
 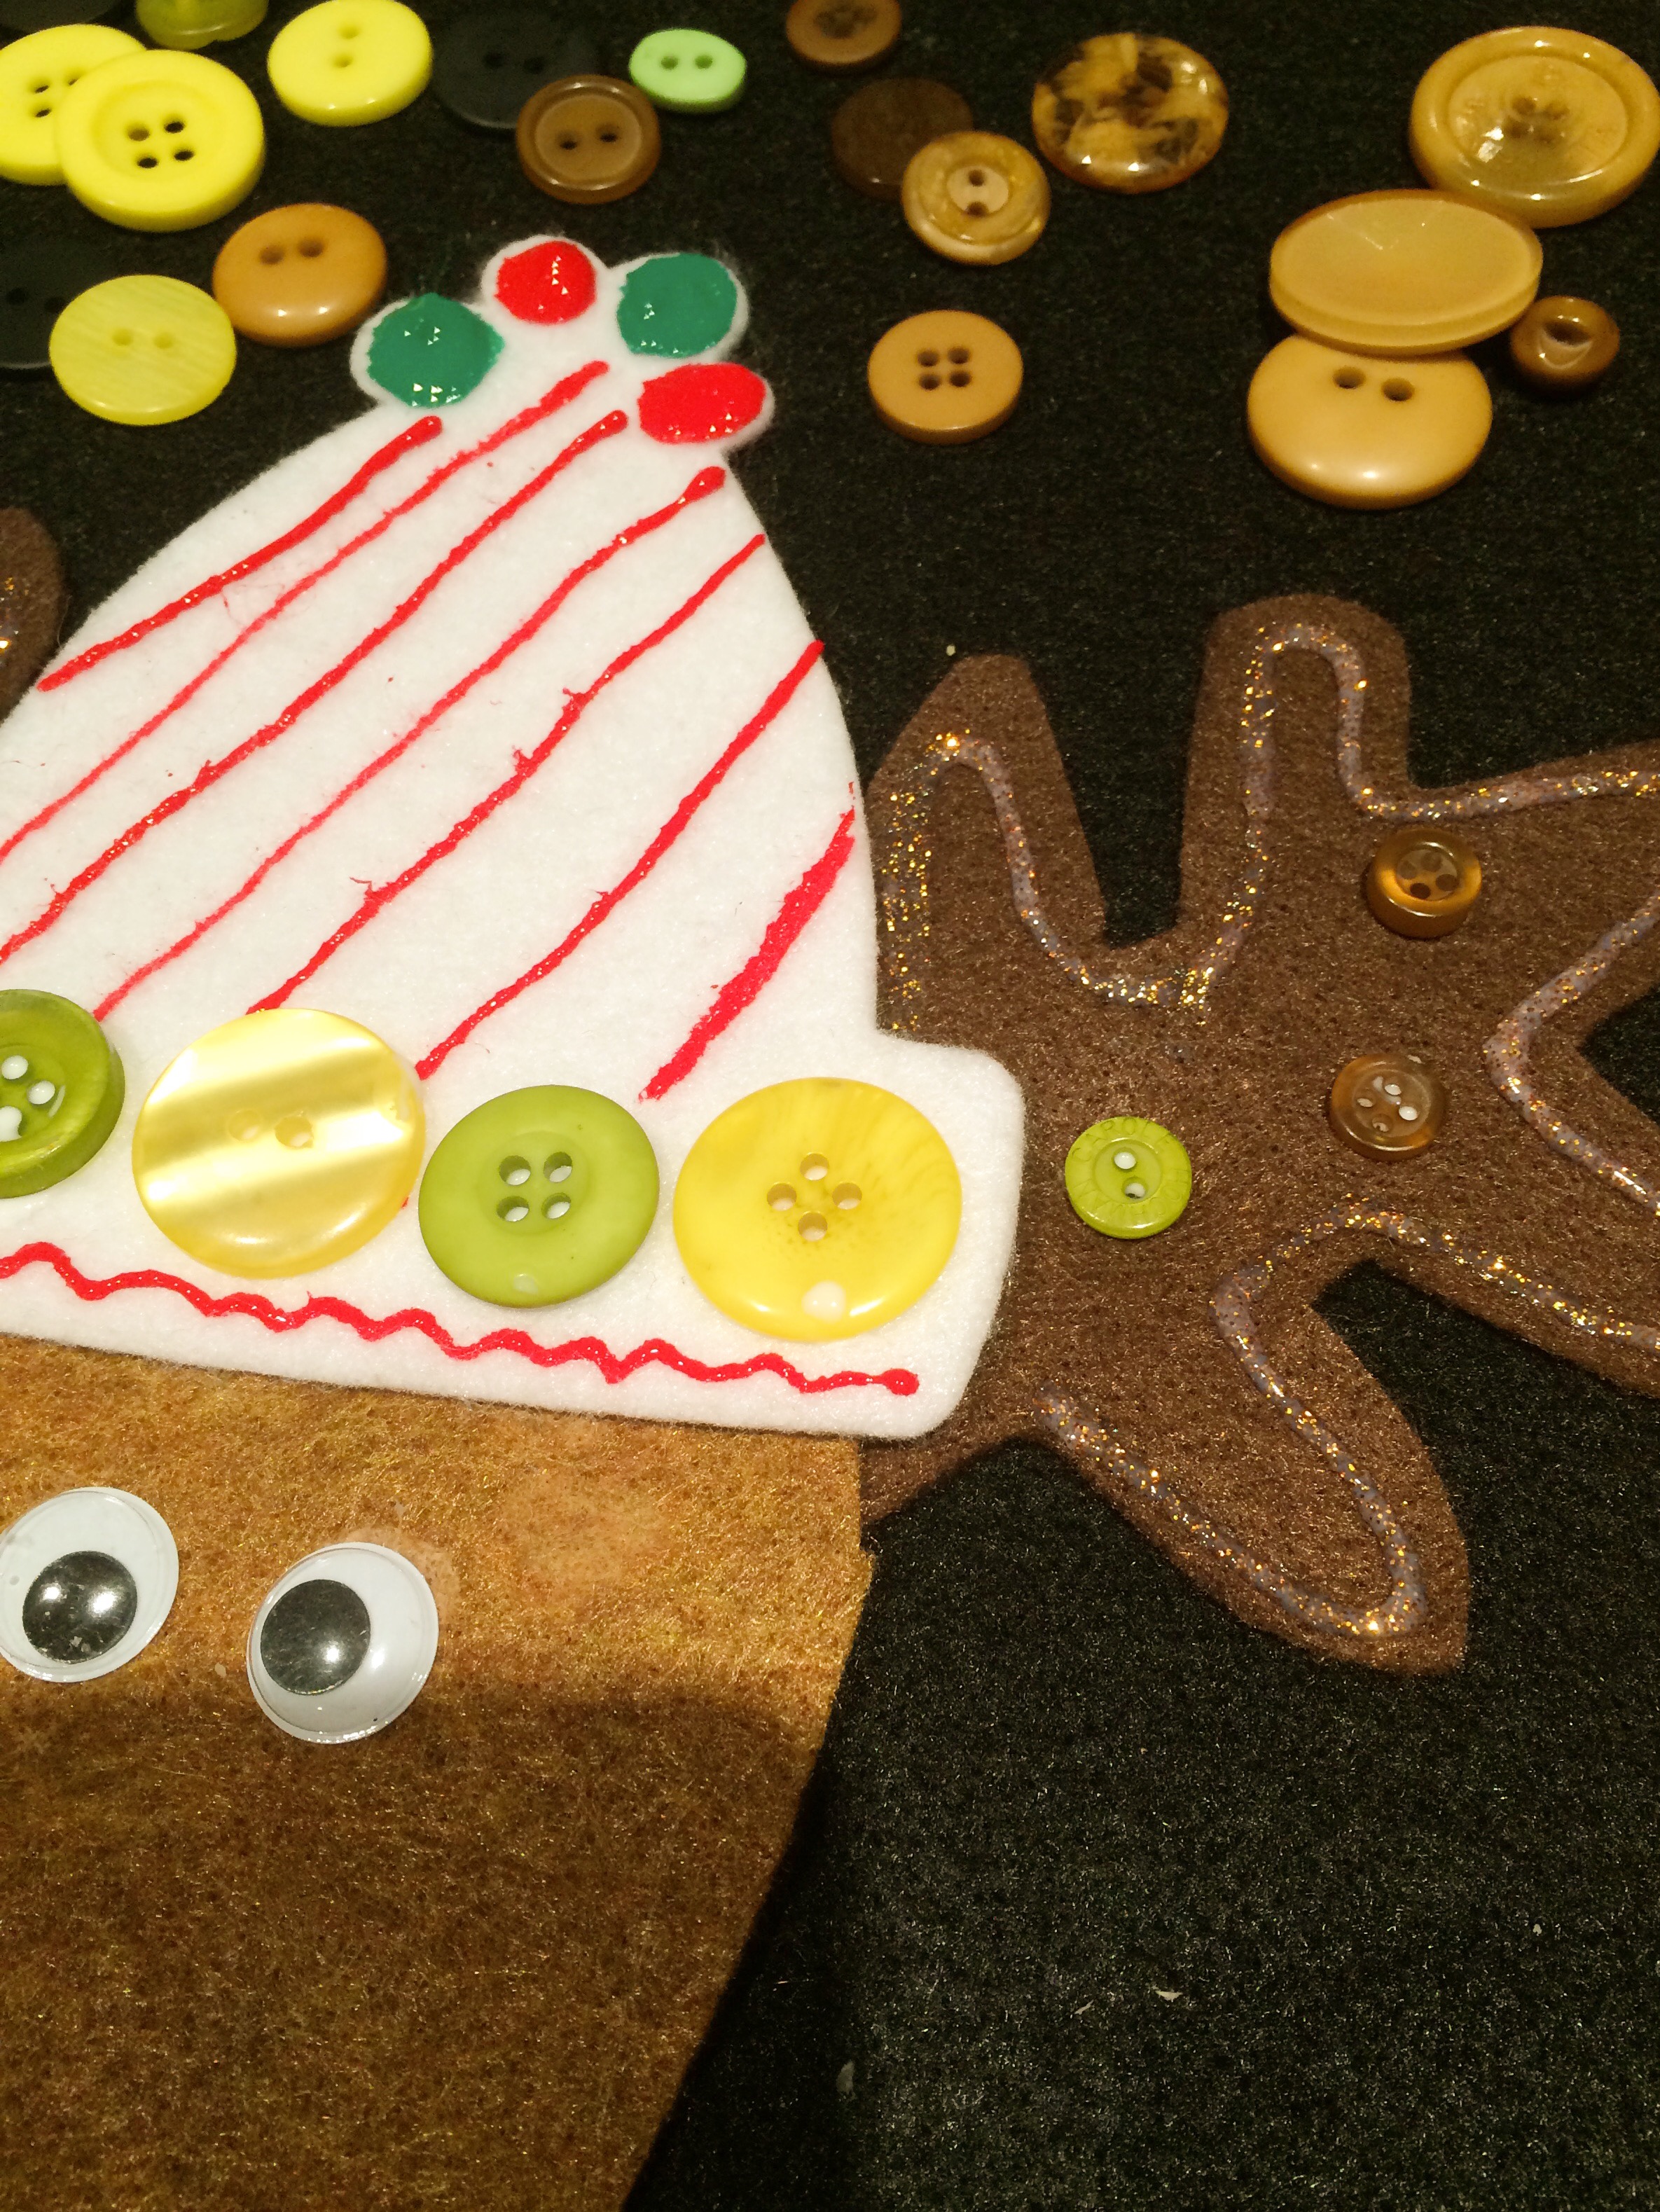 Close-up of the reindeer’s button-lined hat.
  The layout of the Santa Claus face.
 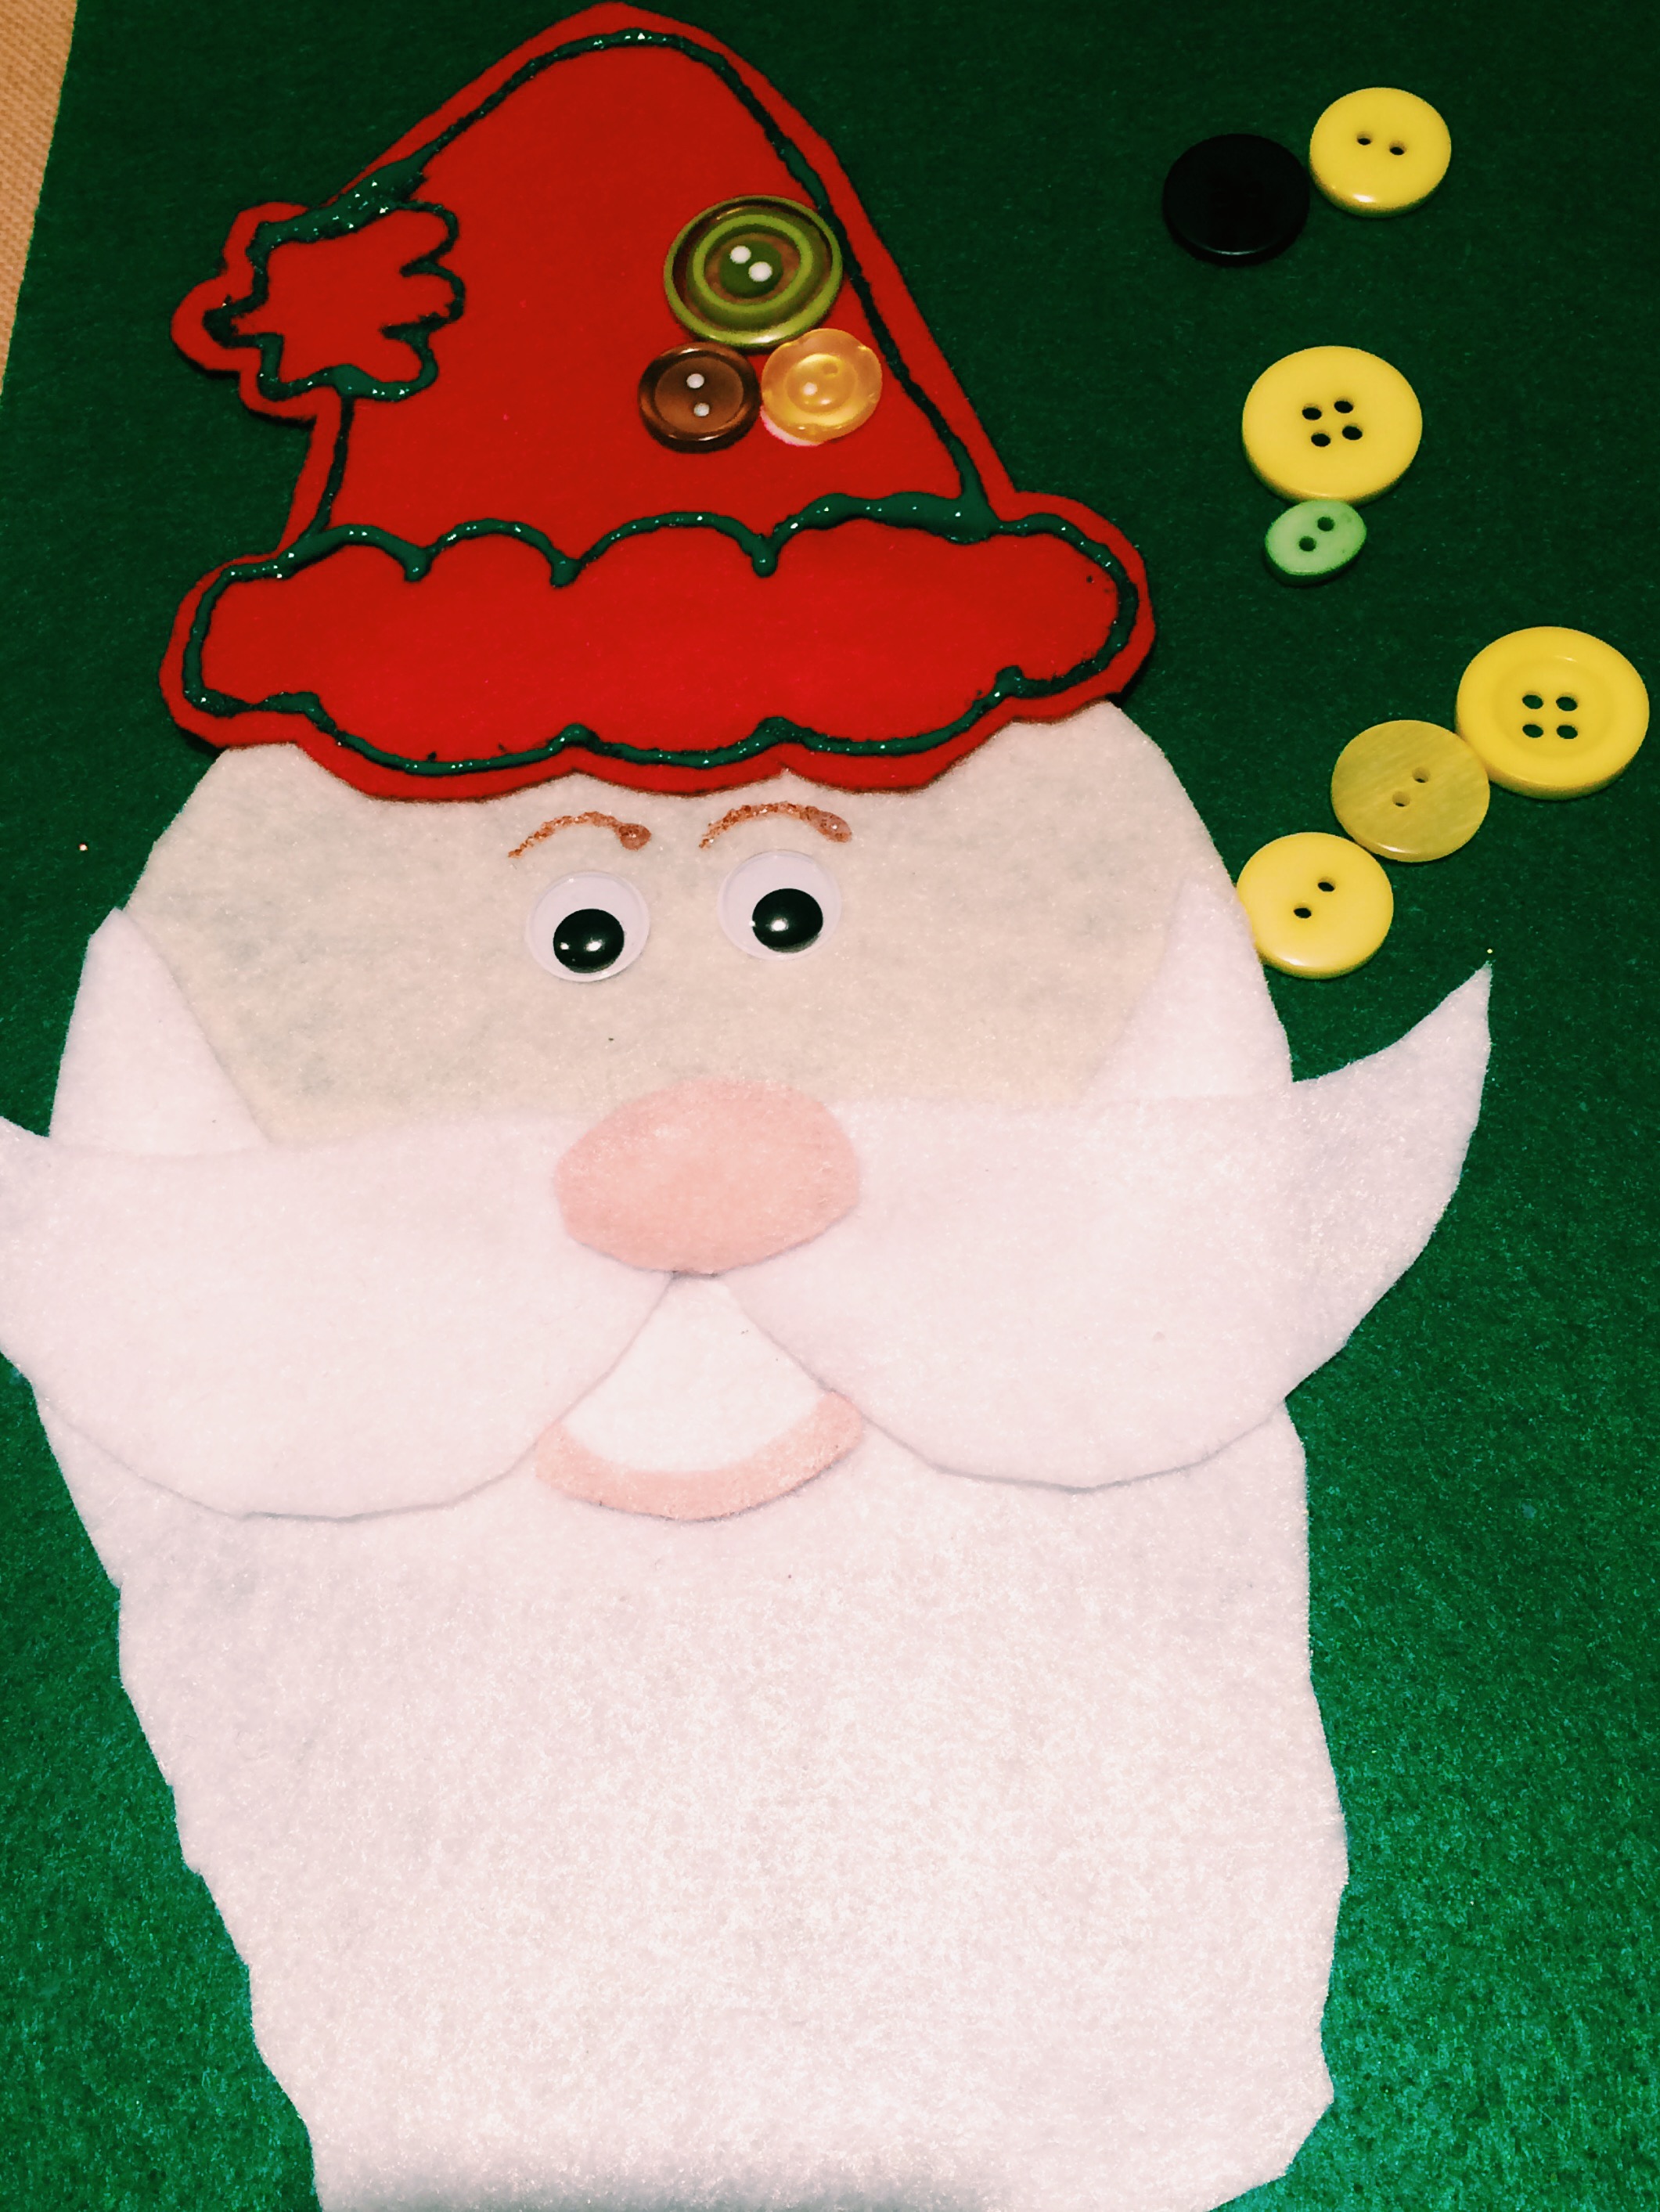 The completed Santa Claus face!
 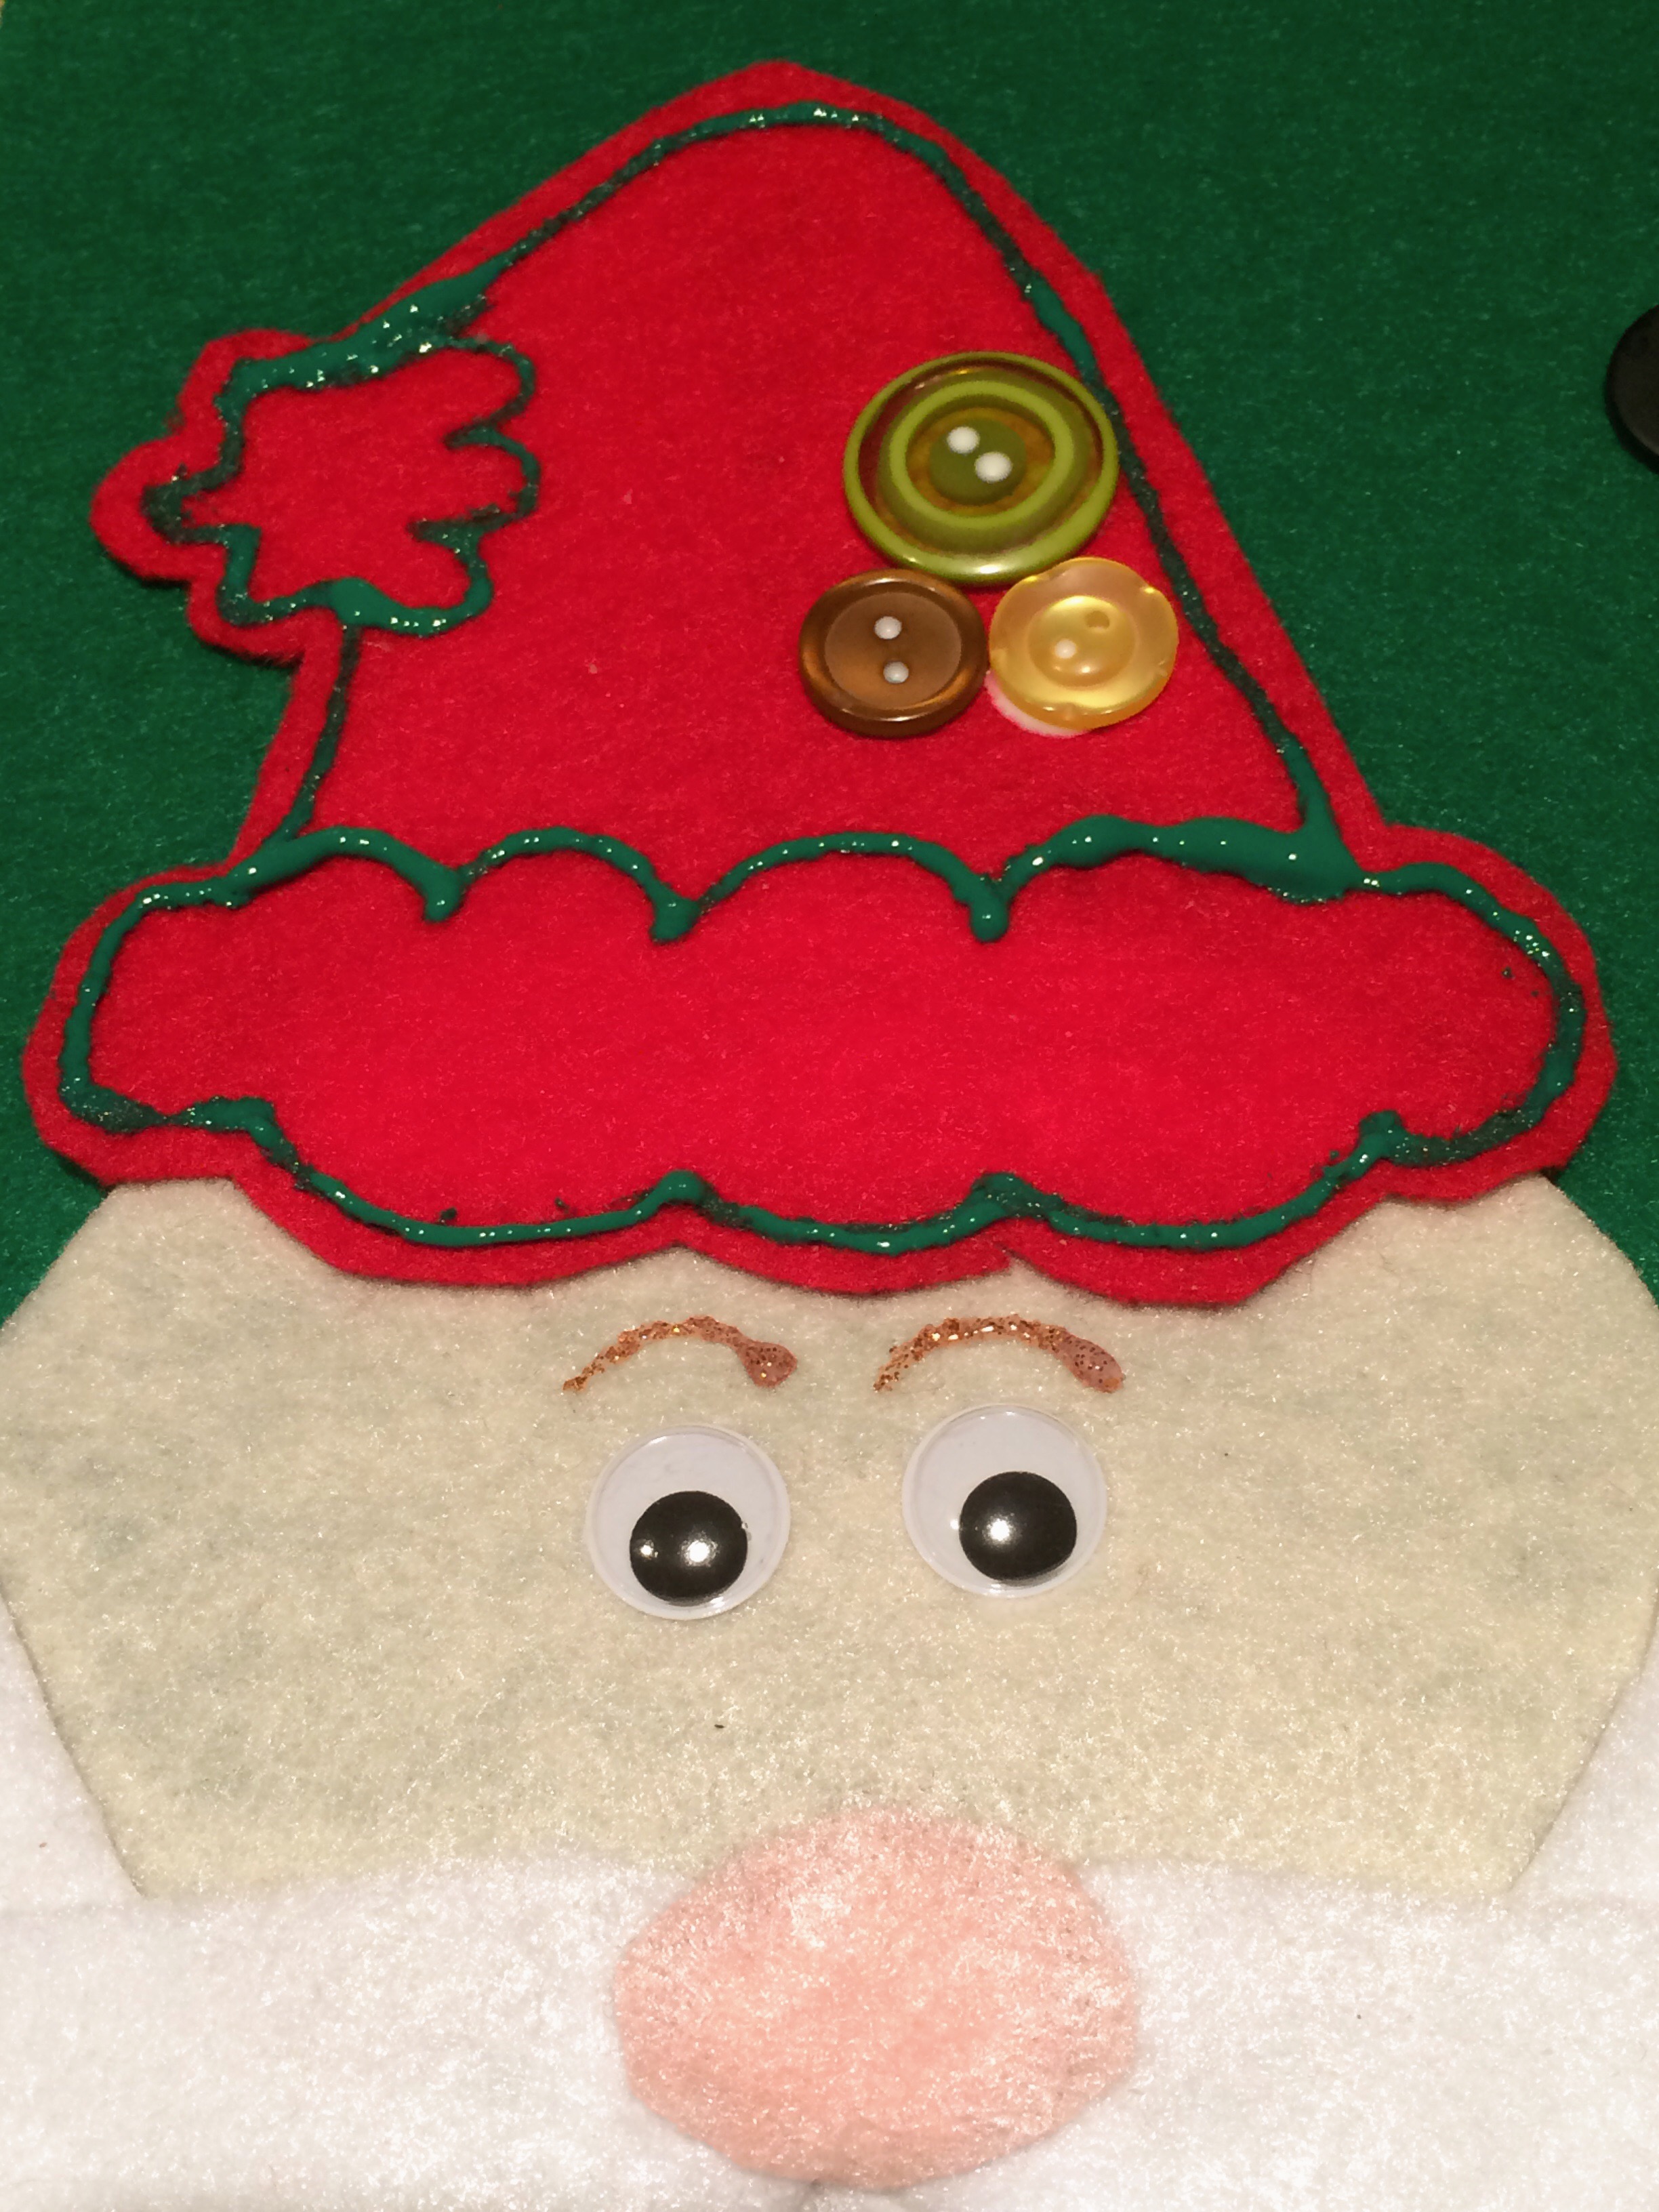 Close-up of the Santa Claus hat!
 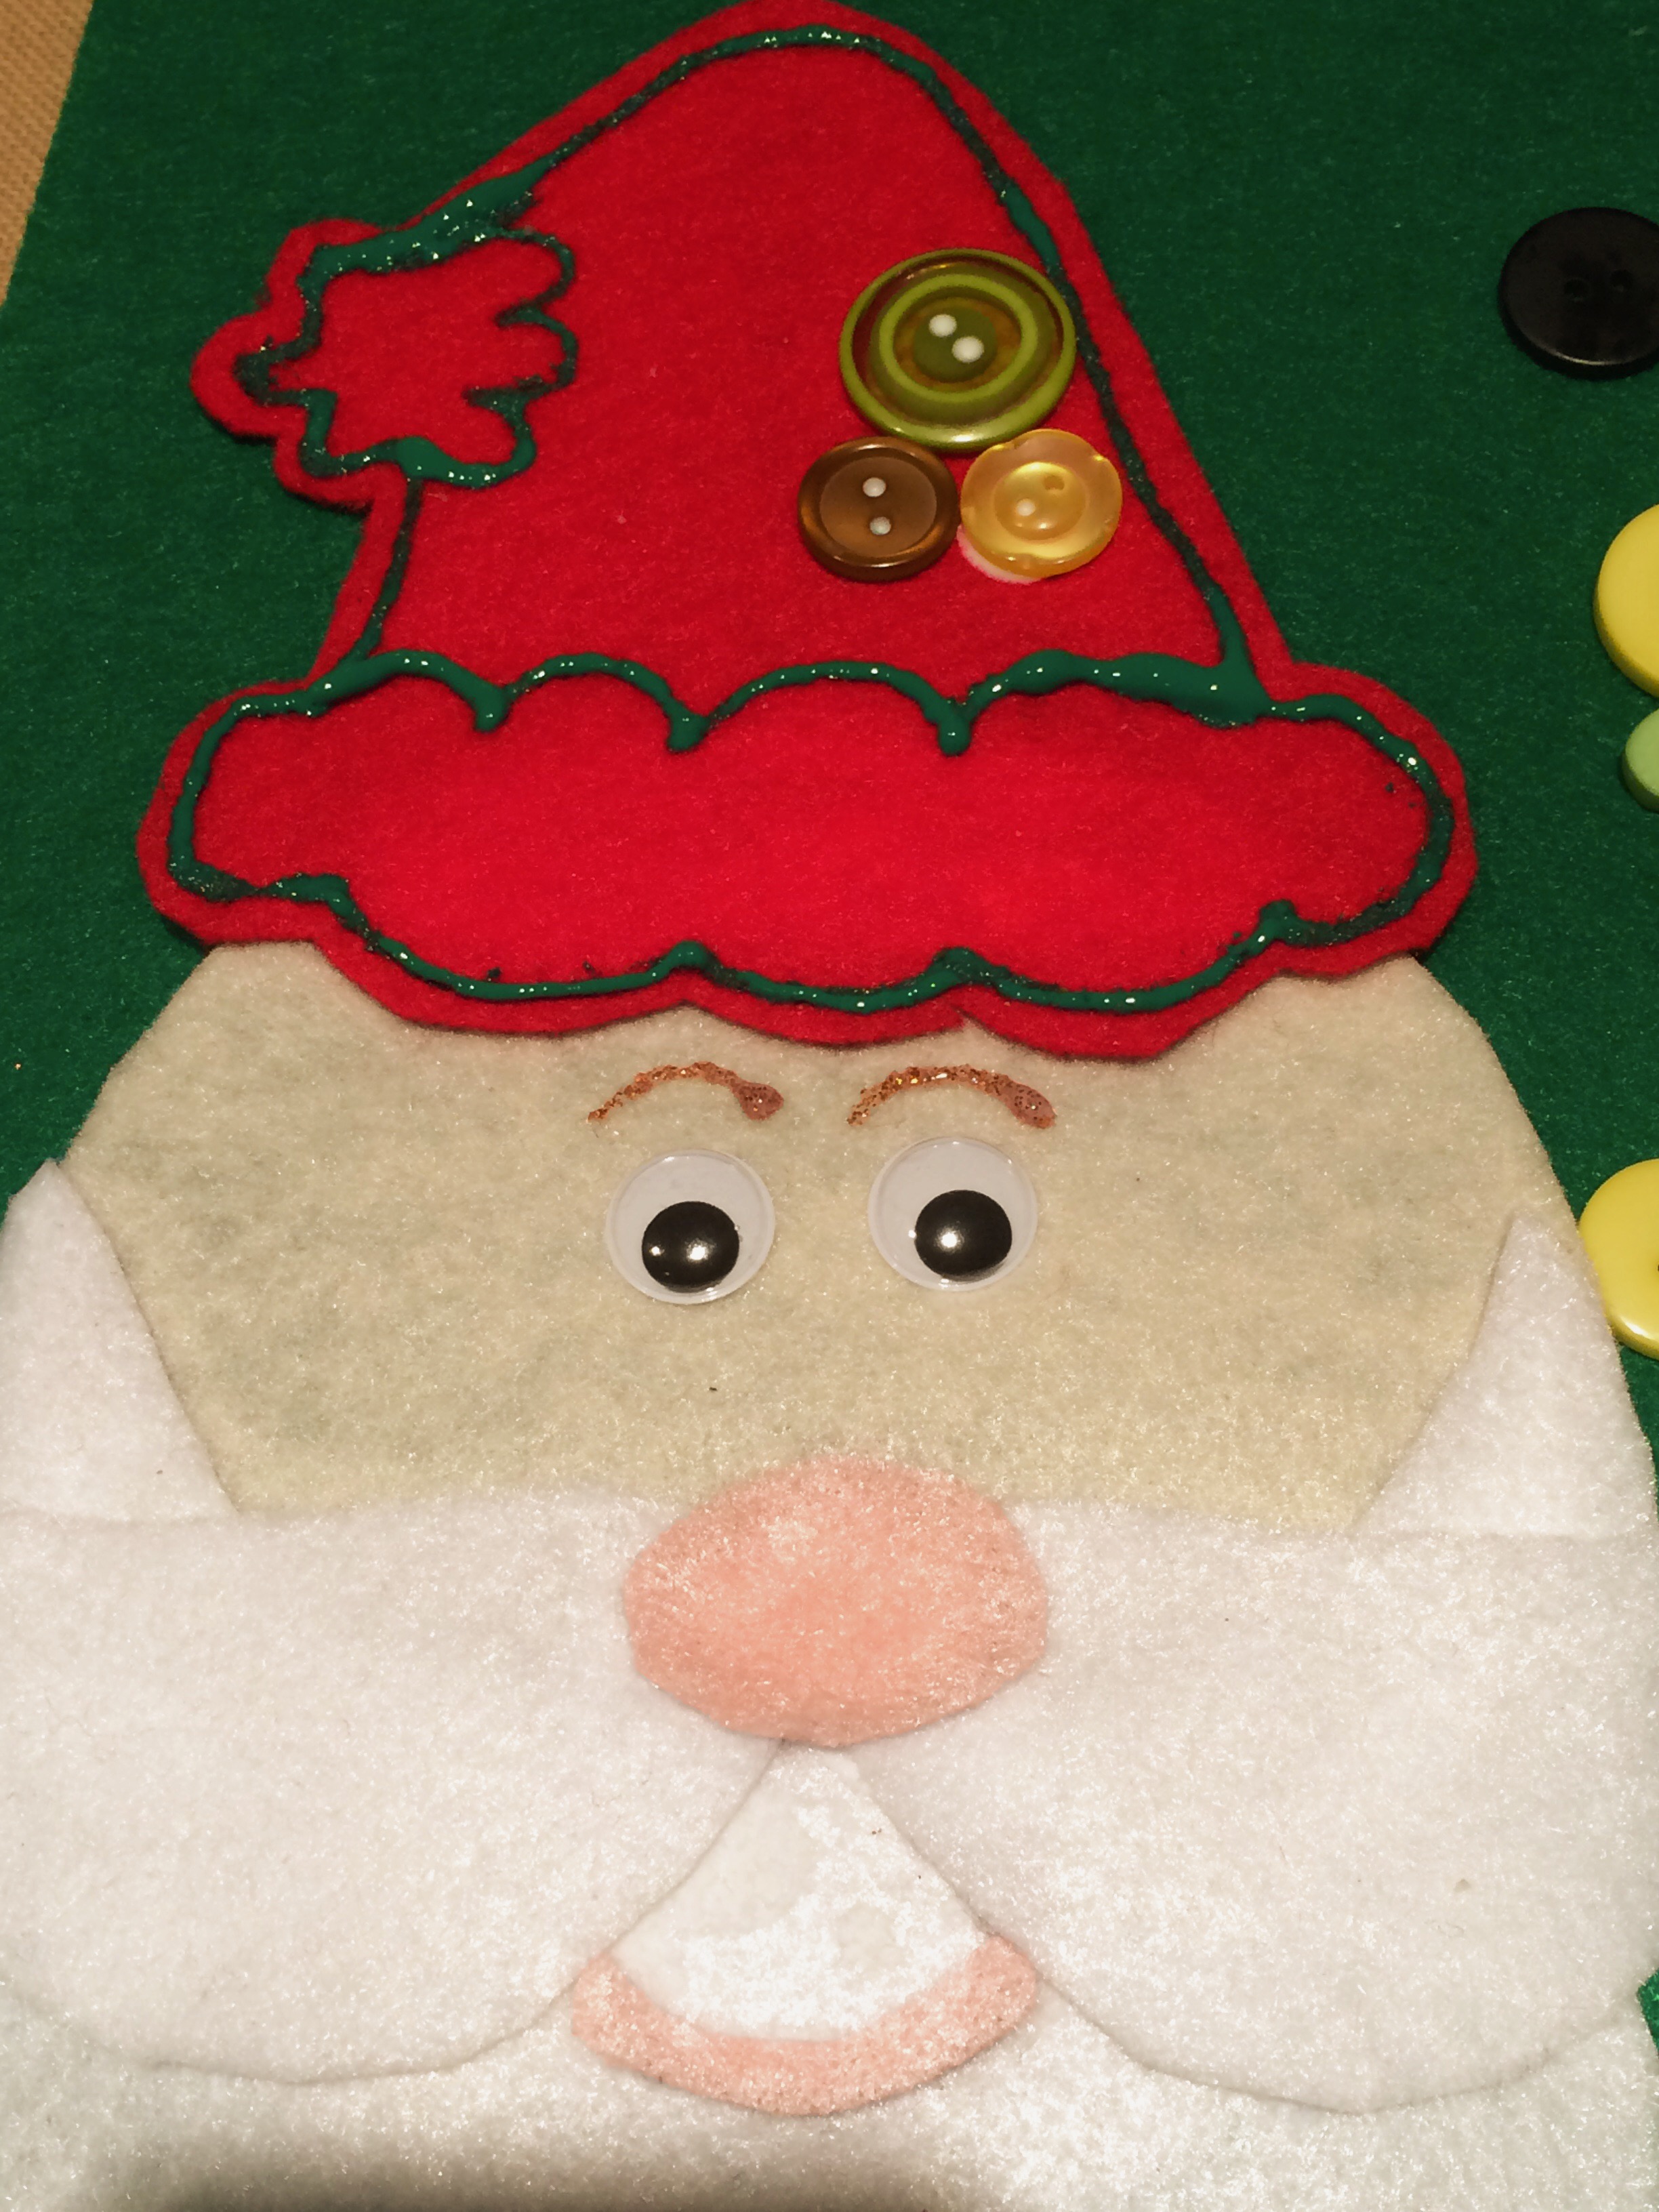 Another close-up of the Santa Claus face, hat, and buttons!
 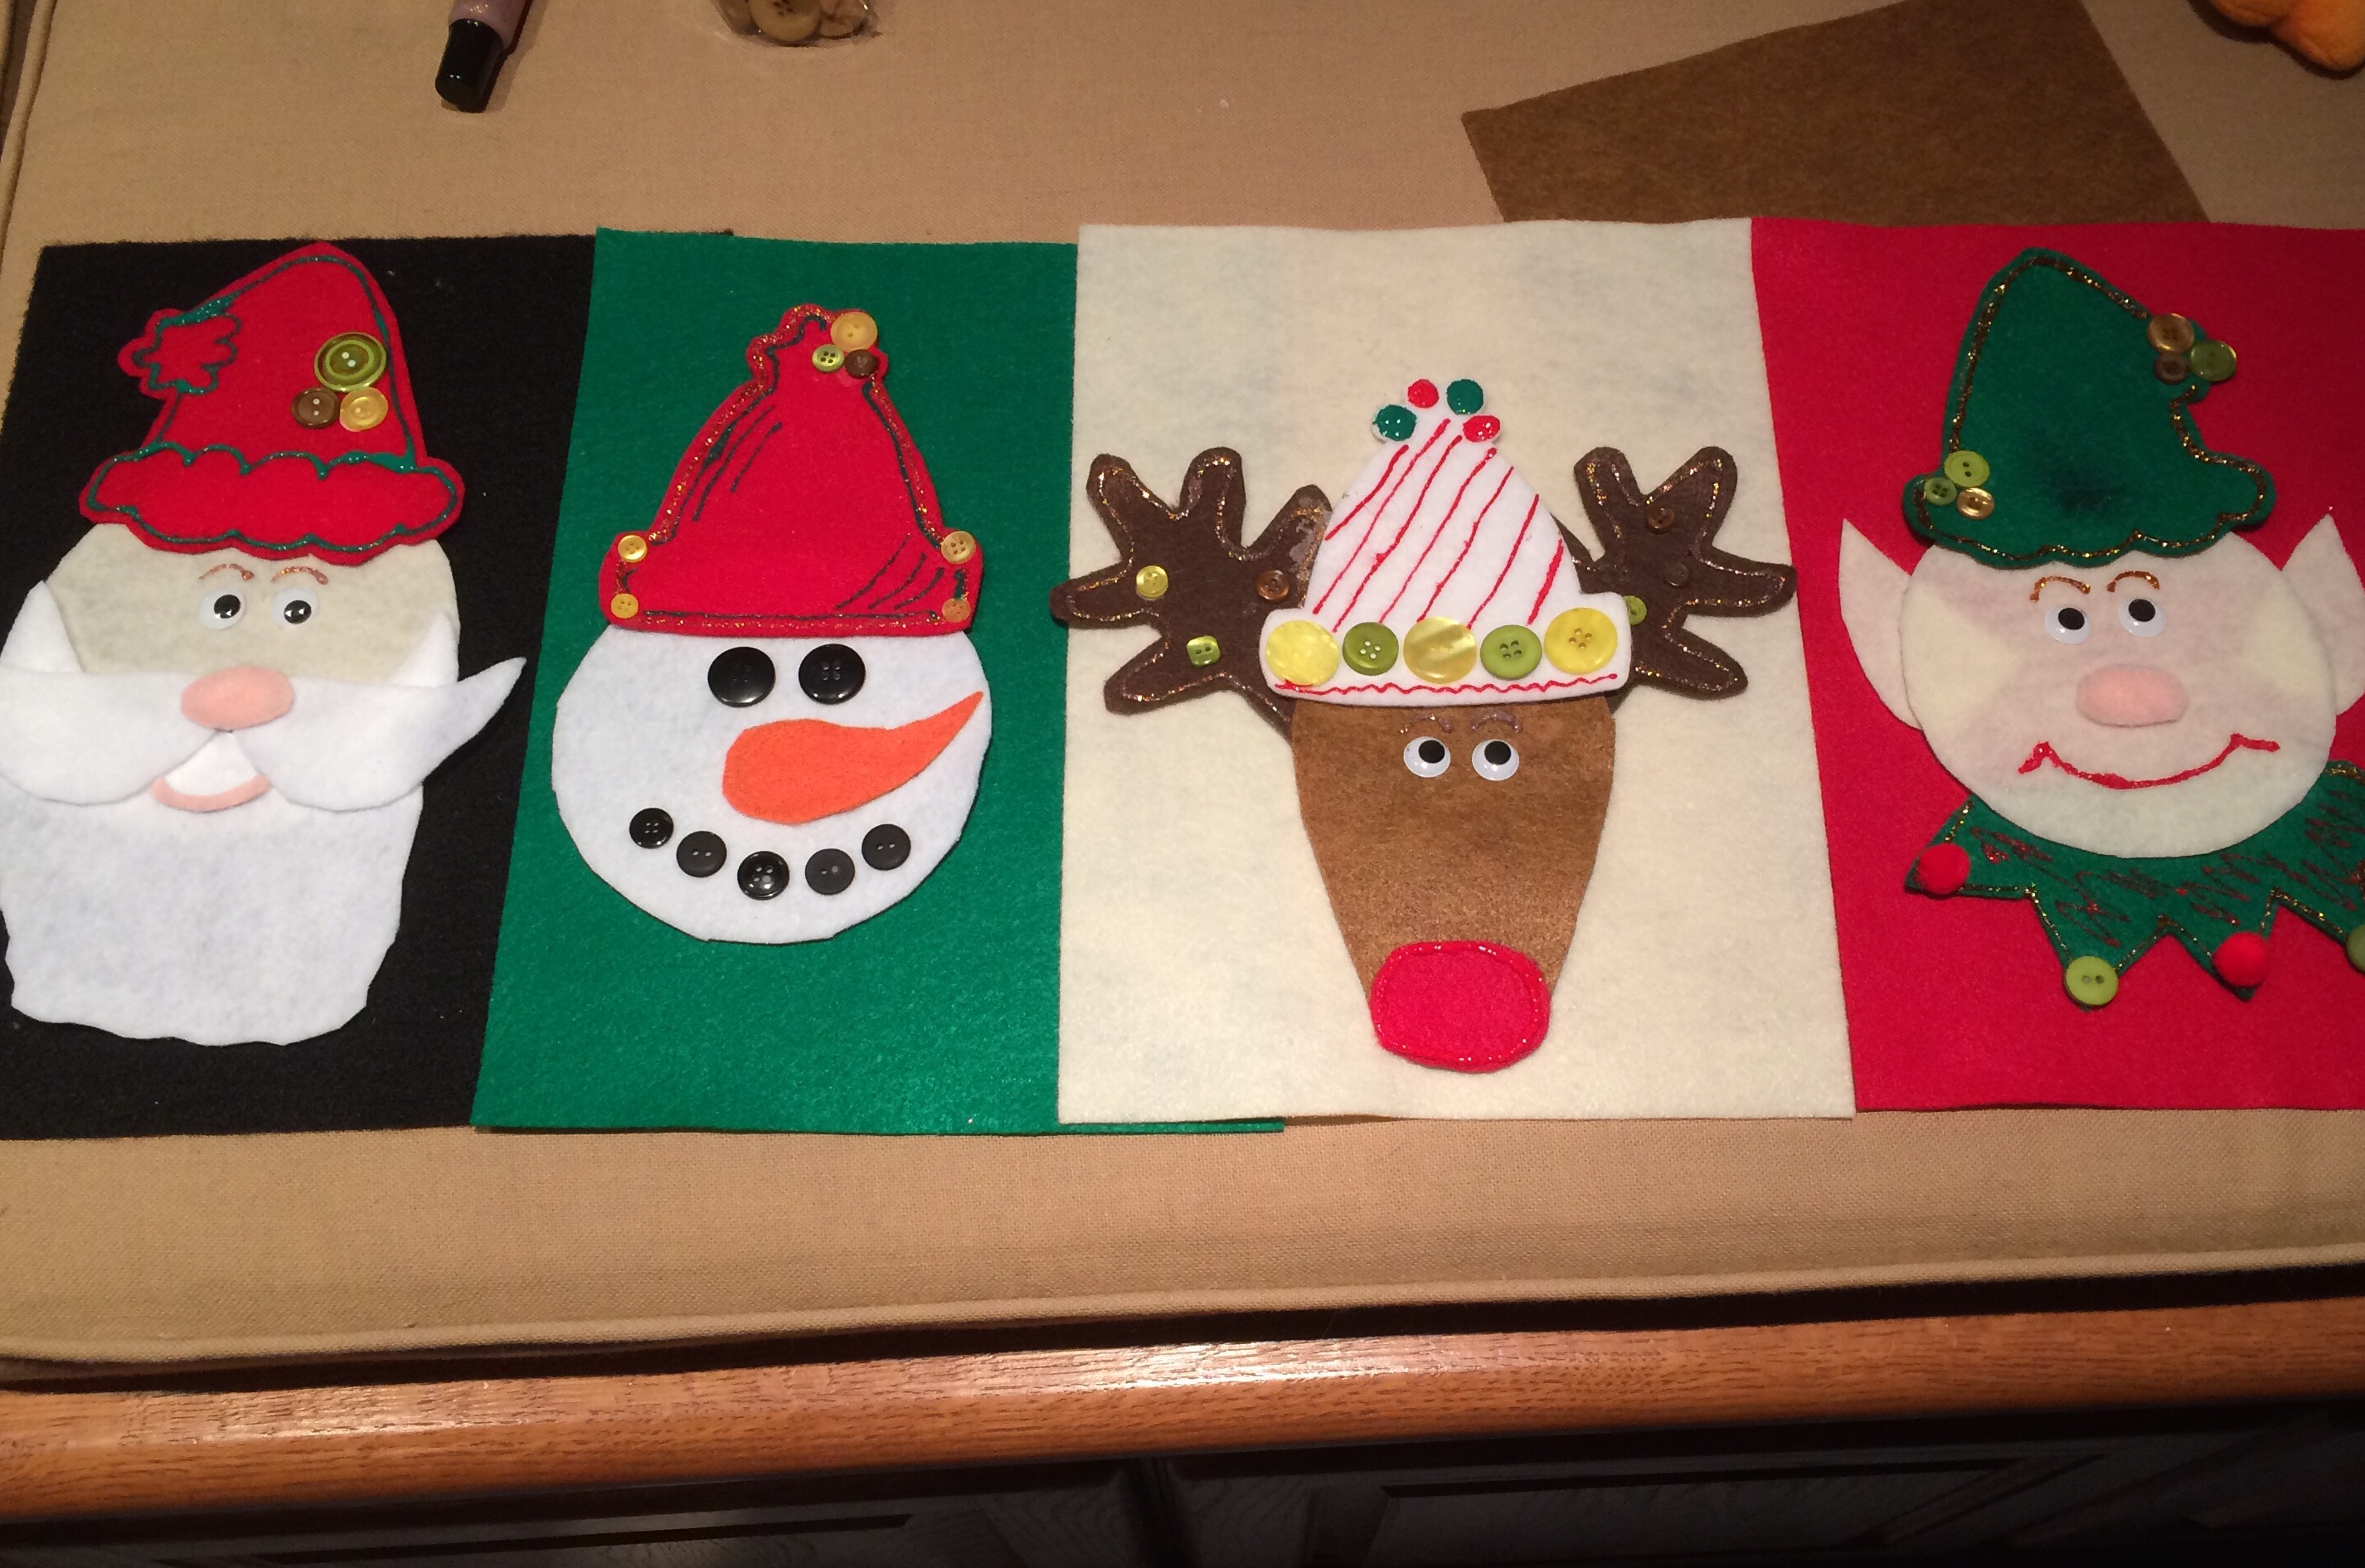 Here is a line-up of all the completed Christmas character faces!
 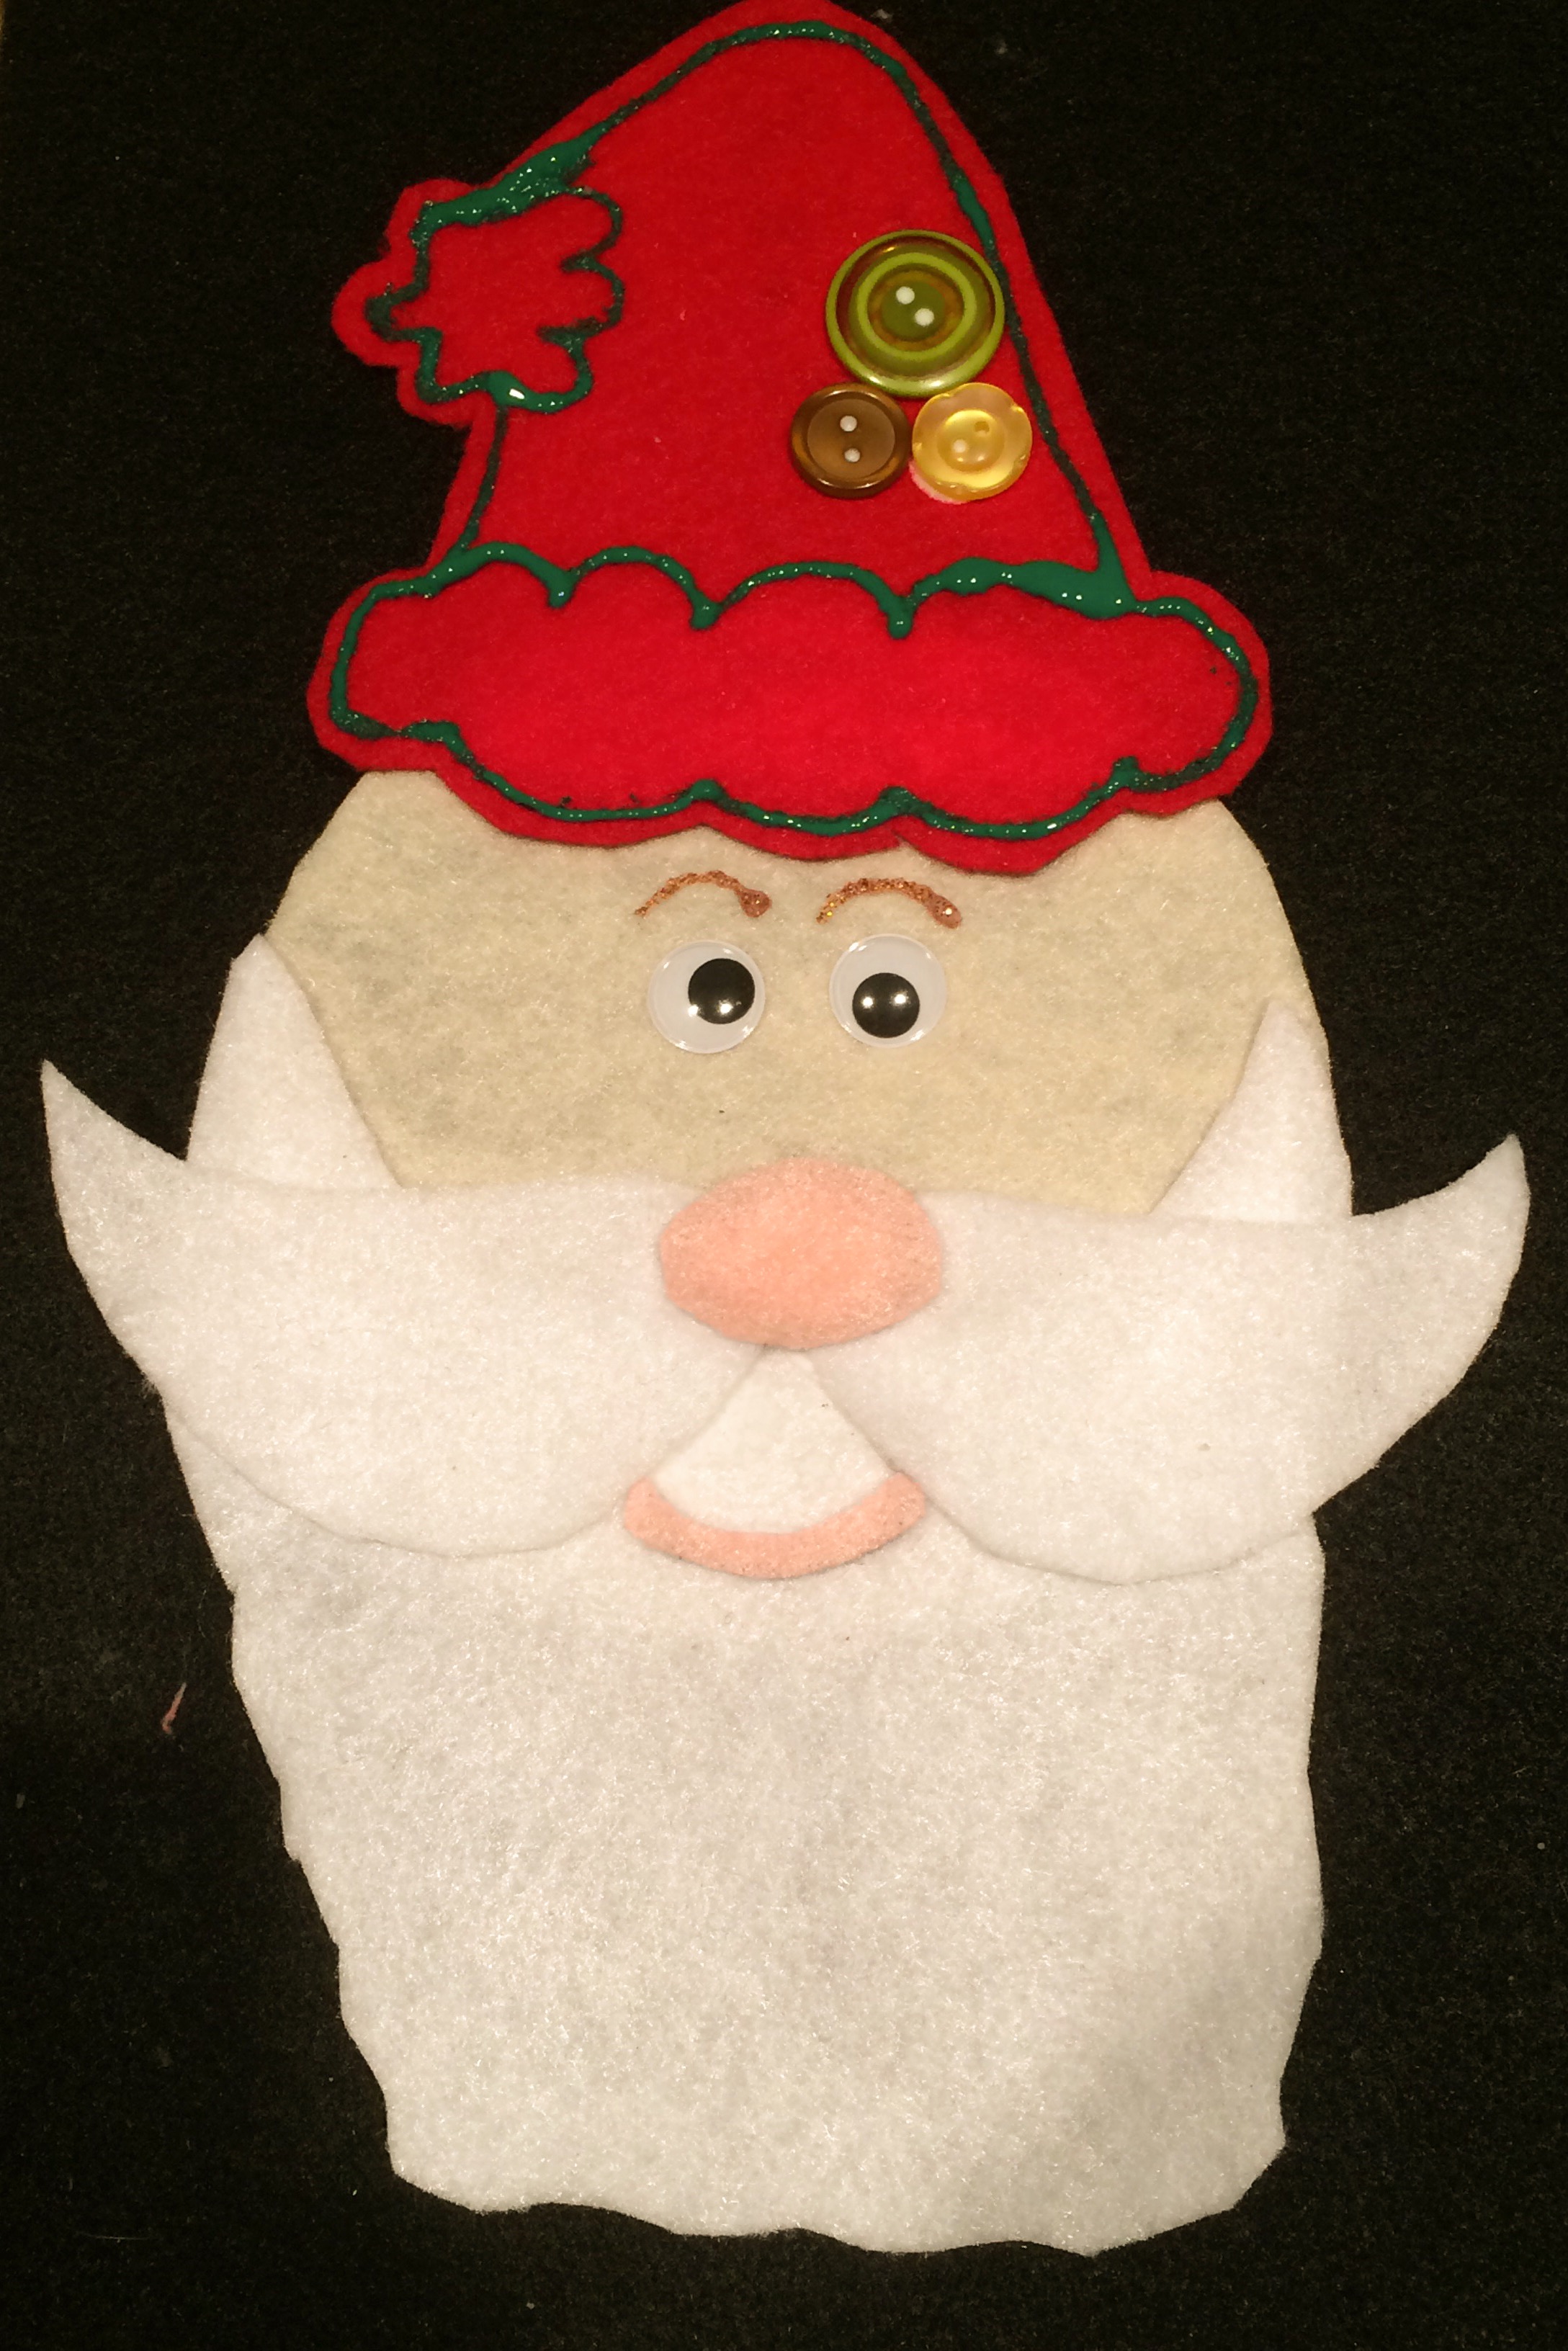 The completed Santa Claus character.
 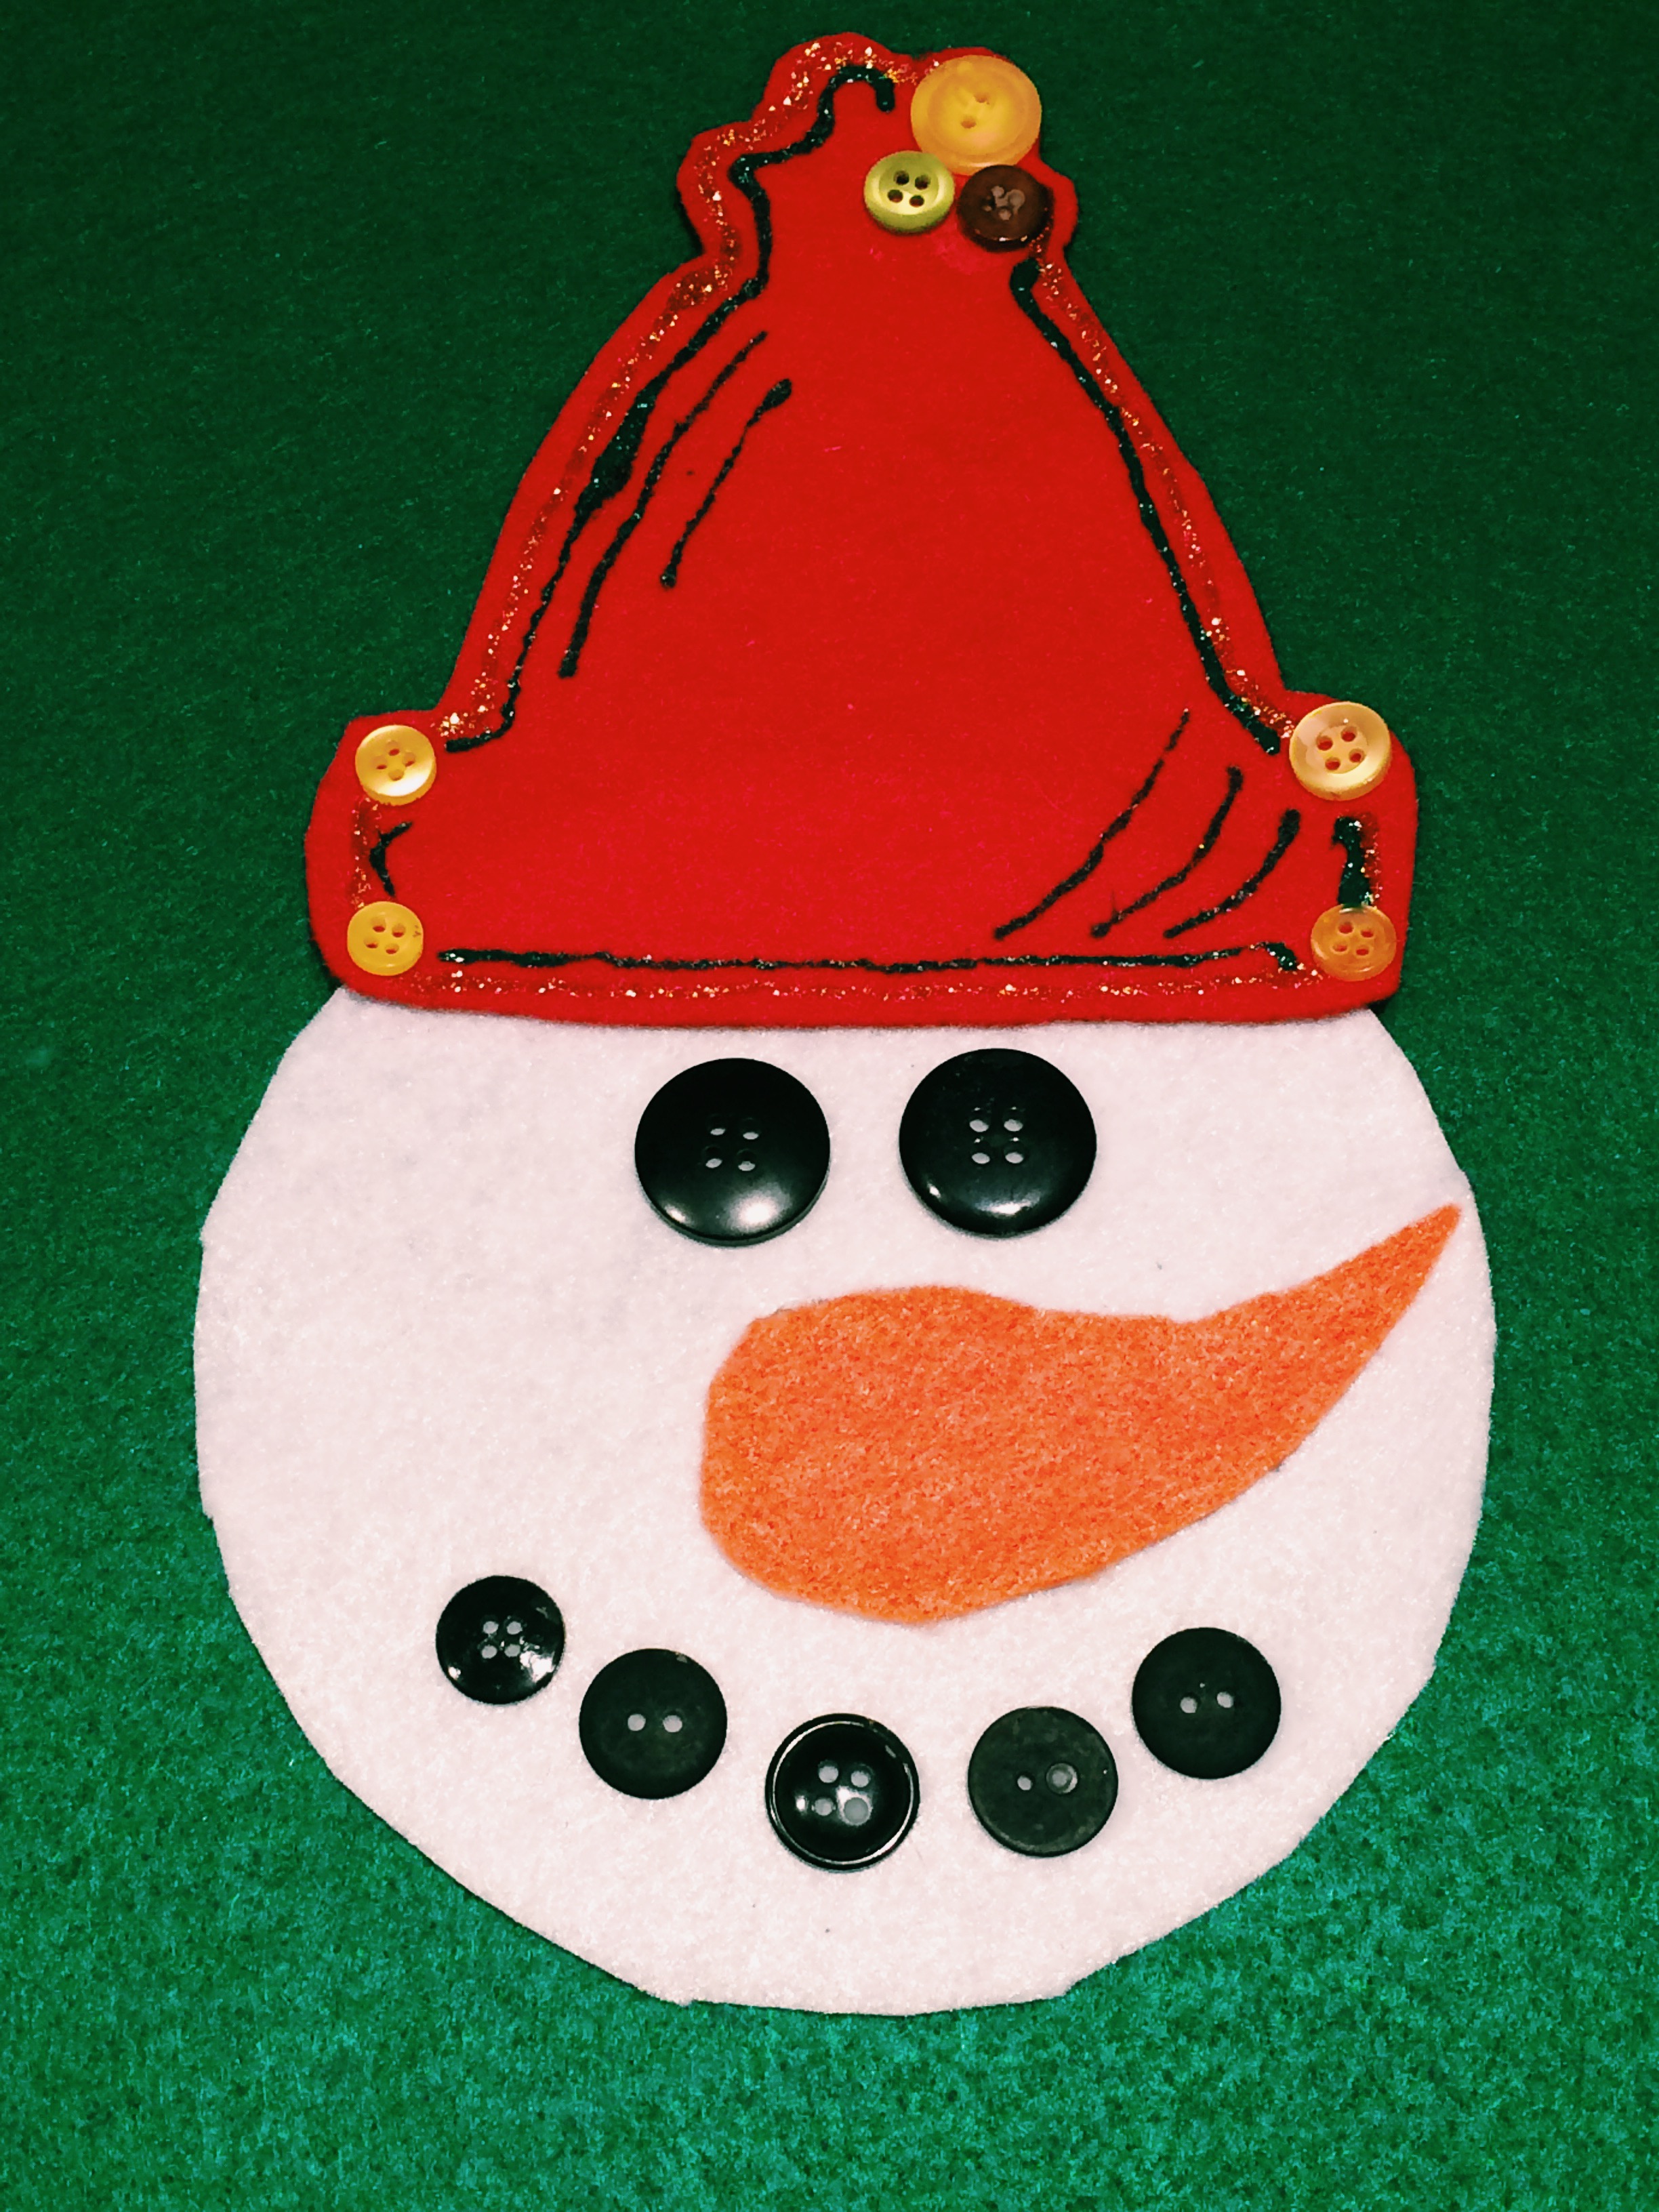 The completed snowman character.
 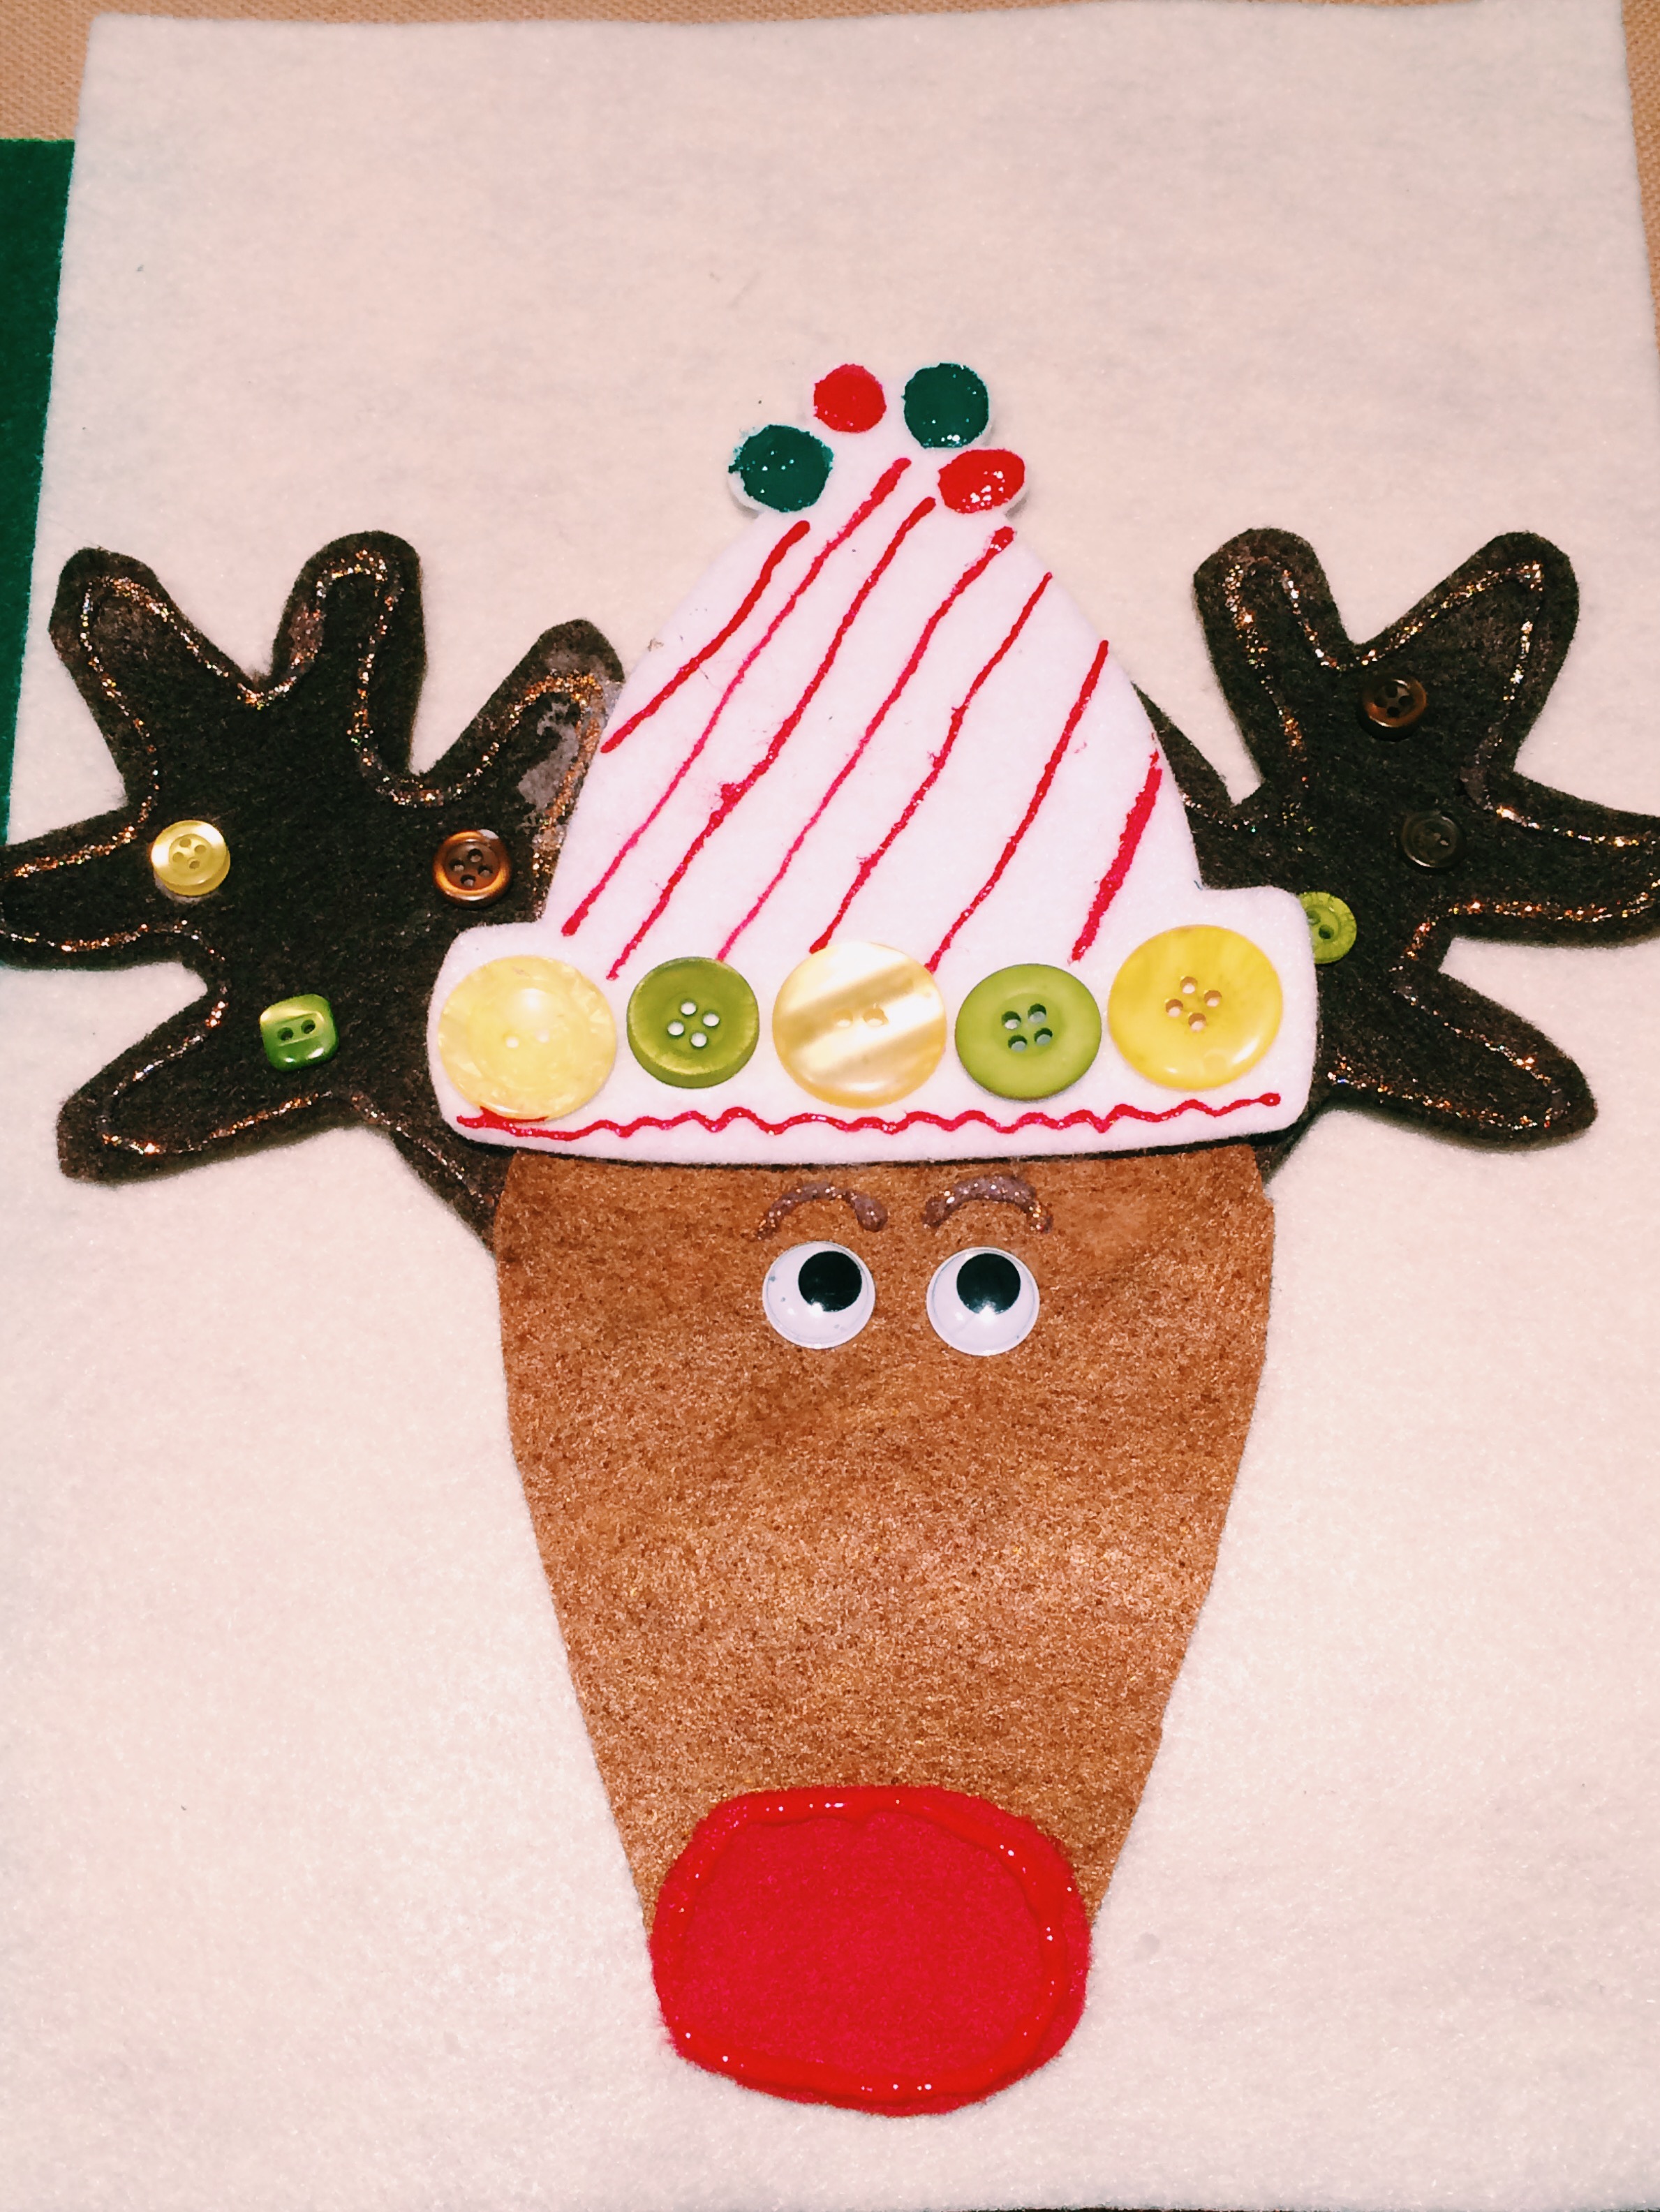 The completed reindeer character.
 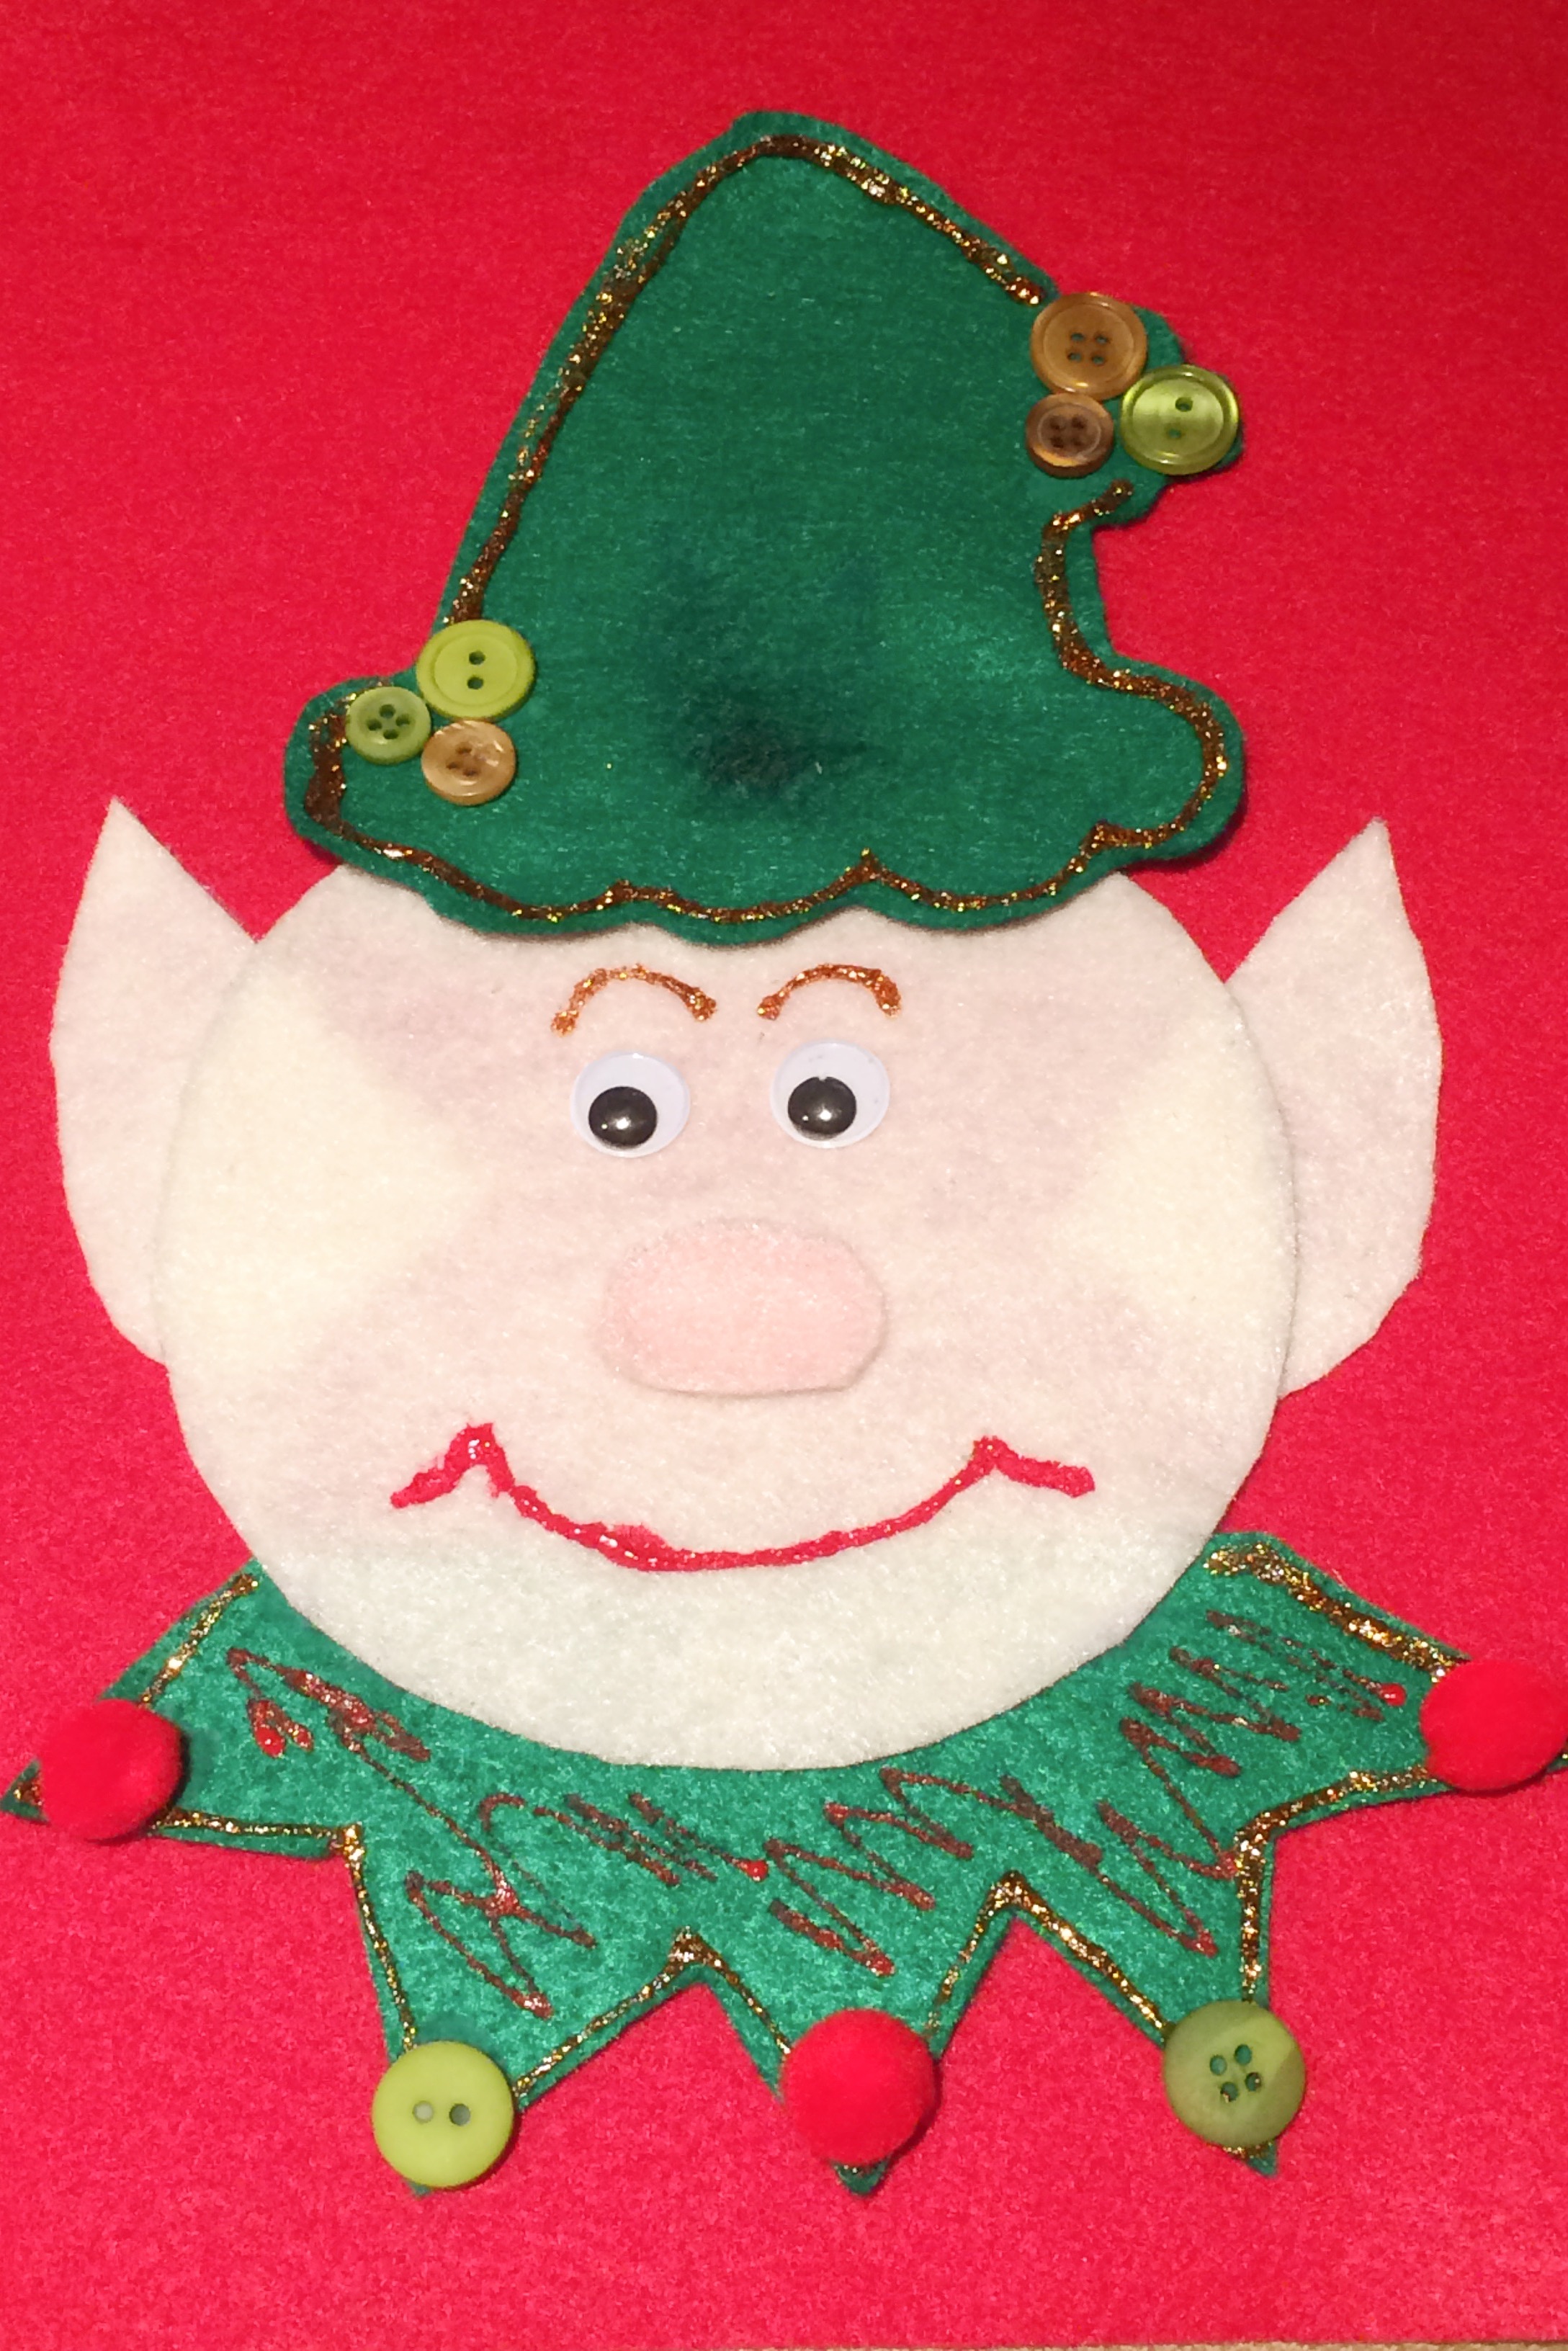 The completed elf character.
 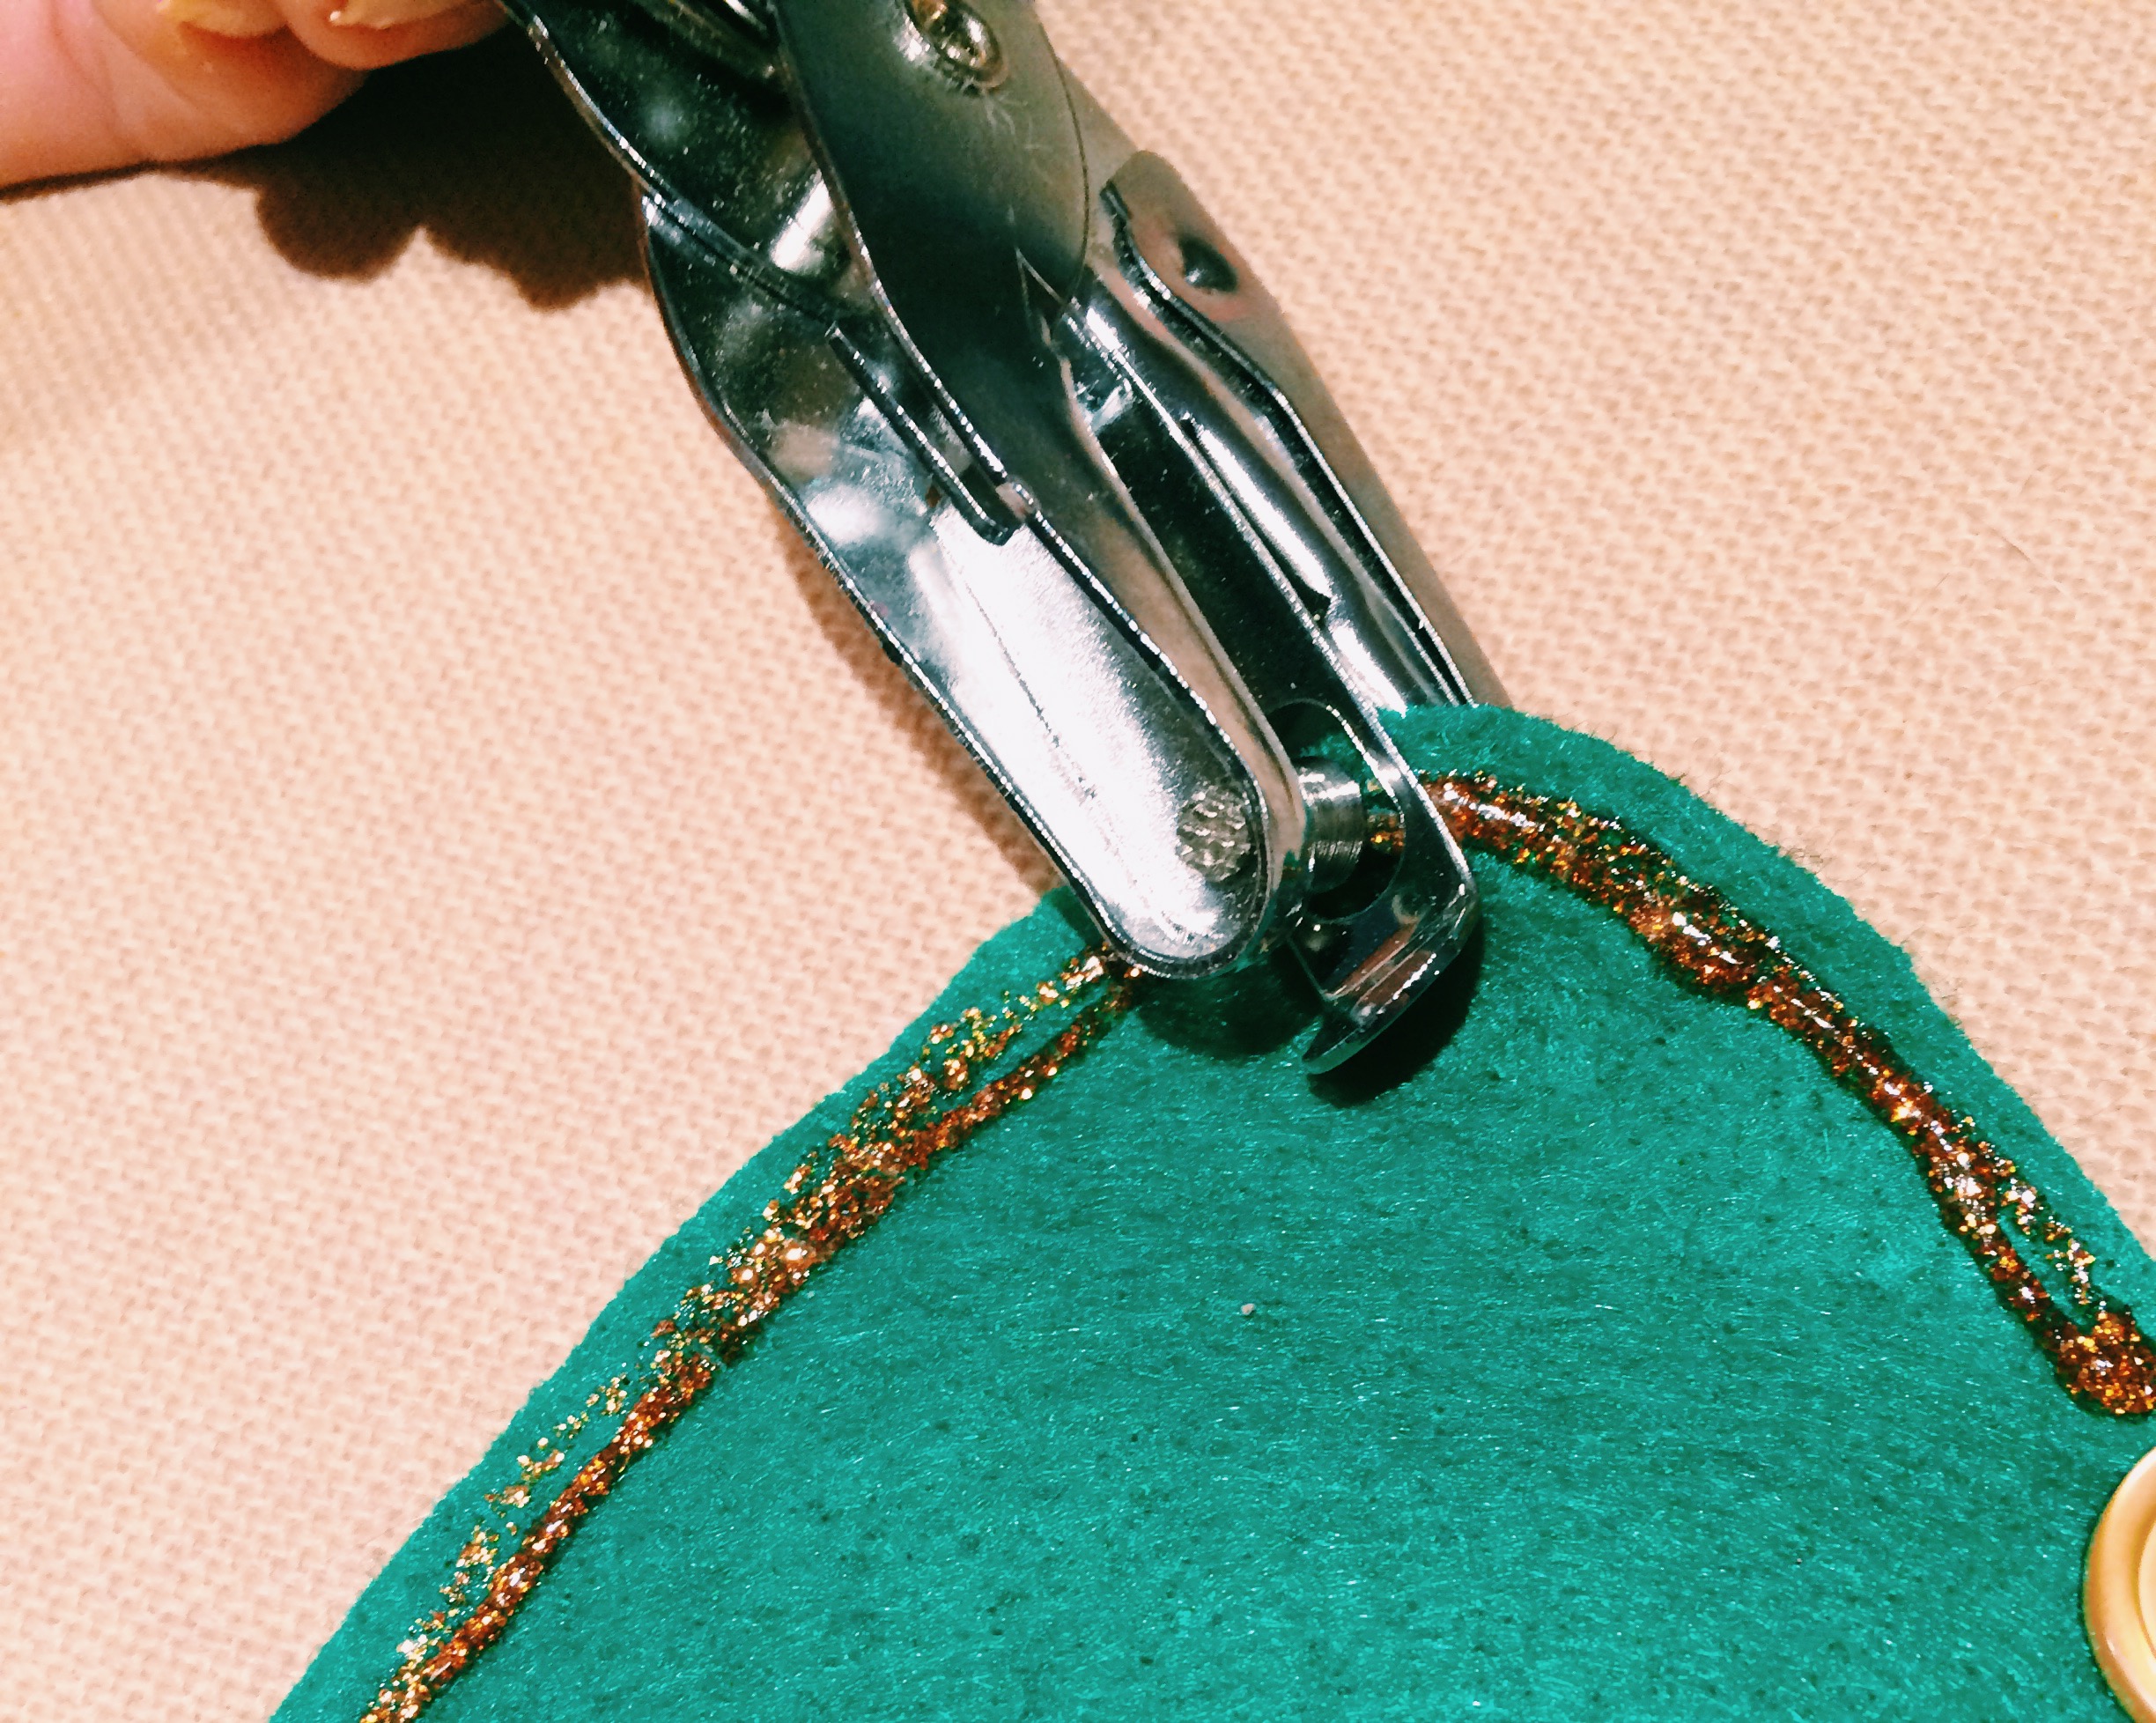 Next, I punched the holes with a hole-puncher for stringing the characters…
  I attached each hat through the hole and tied my two red bows to the end of each string.
 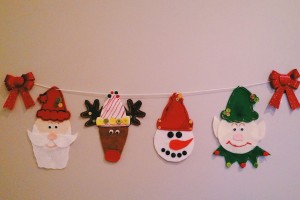 The hung Christmas Character Banner!
  The finished Christmas characters.
 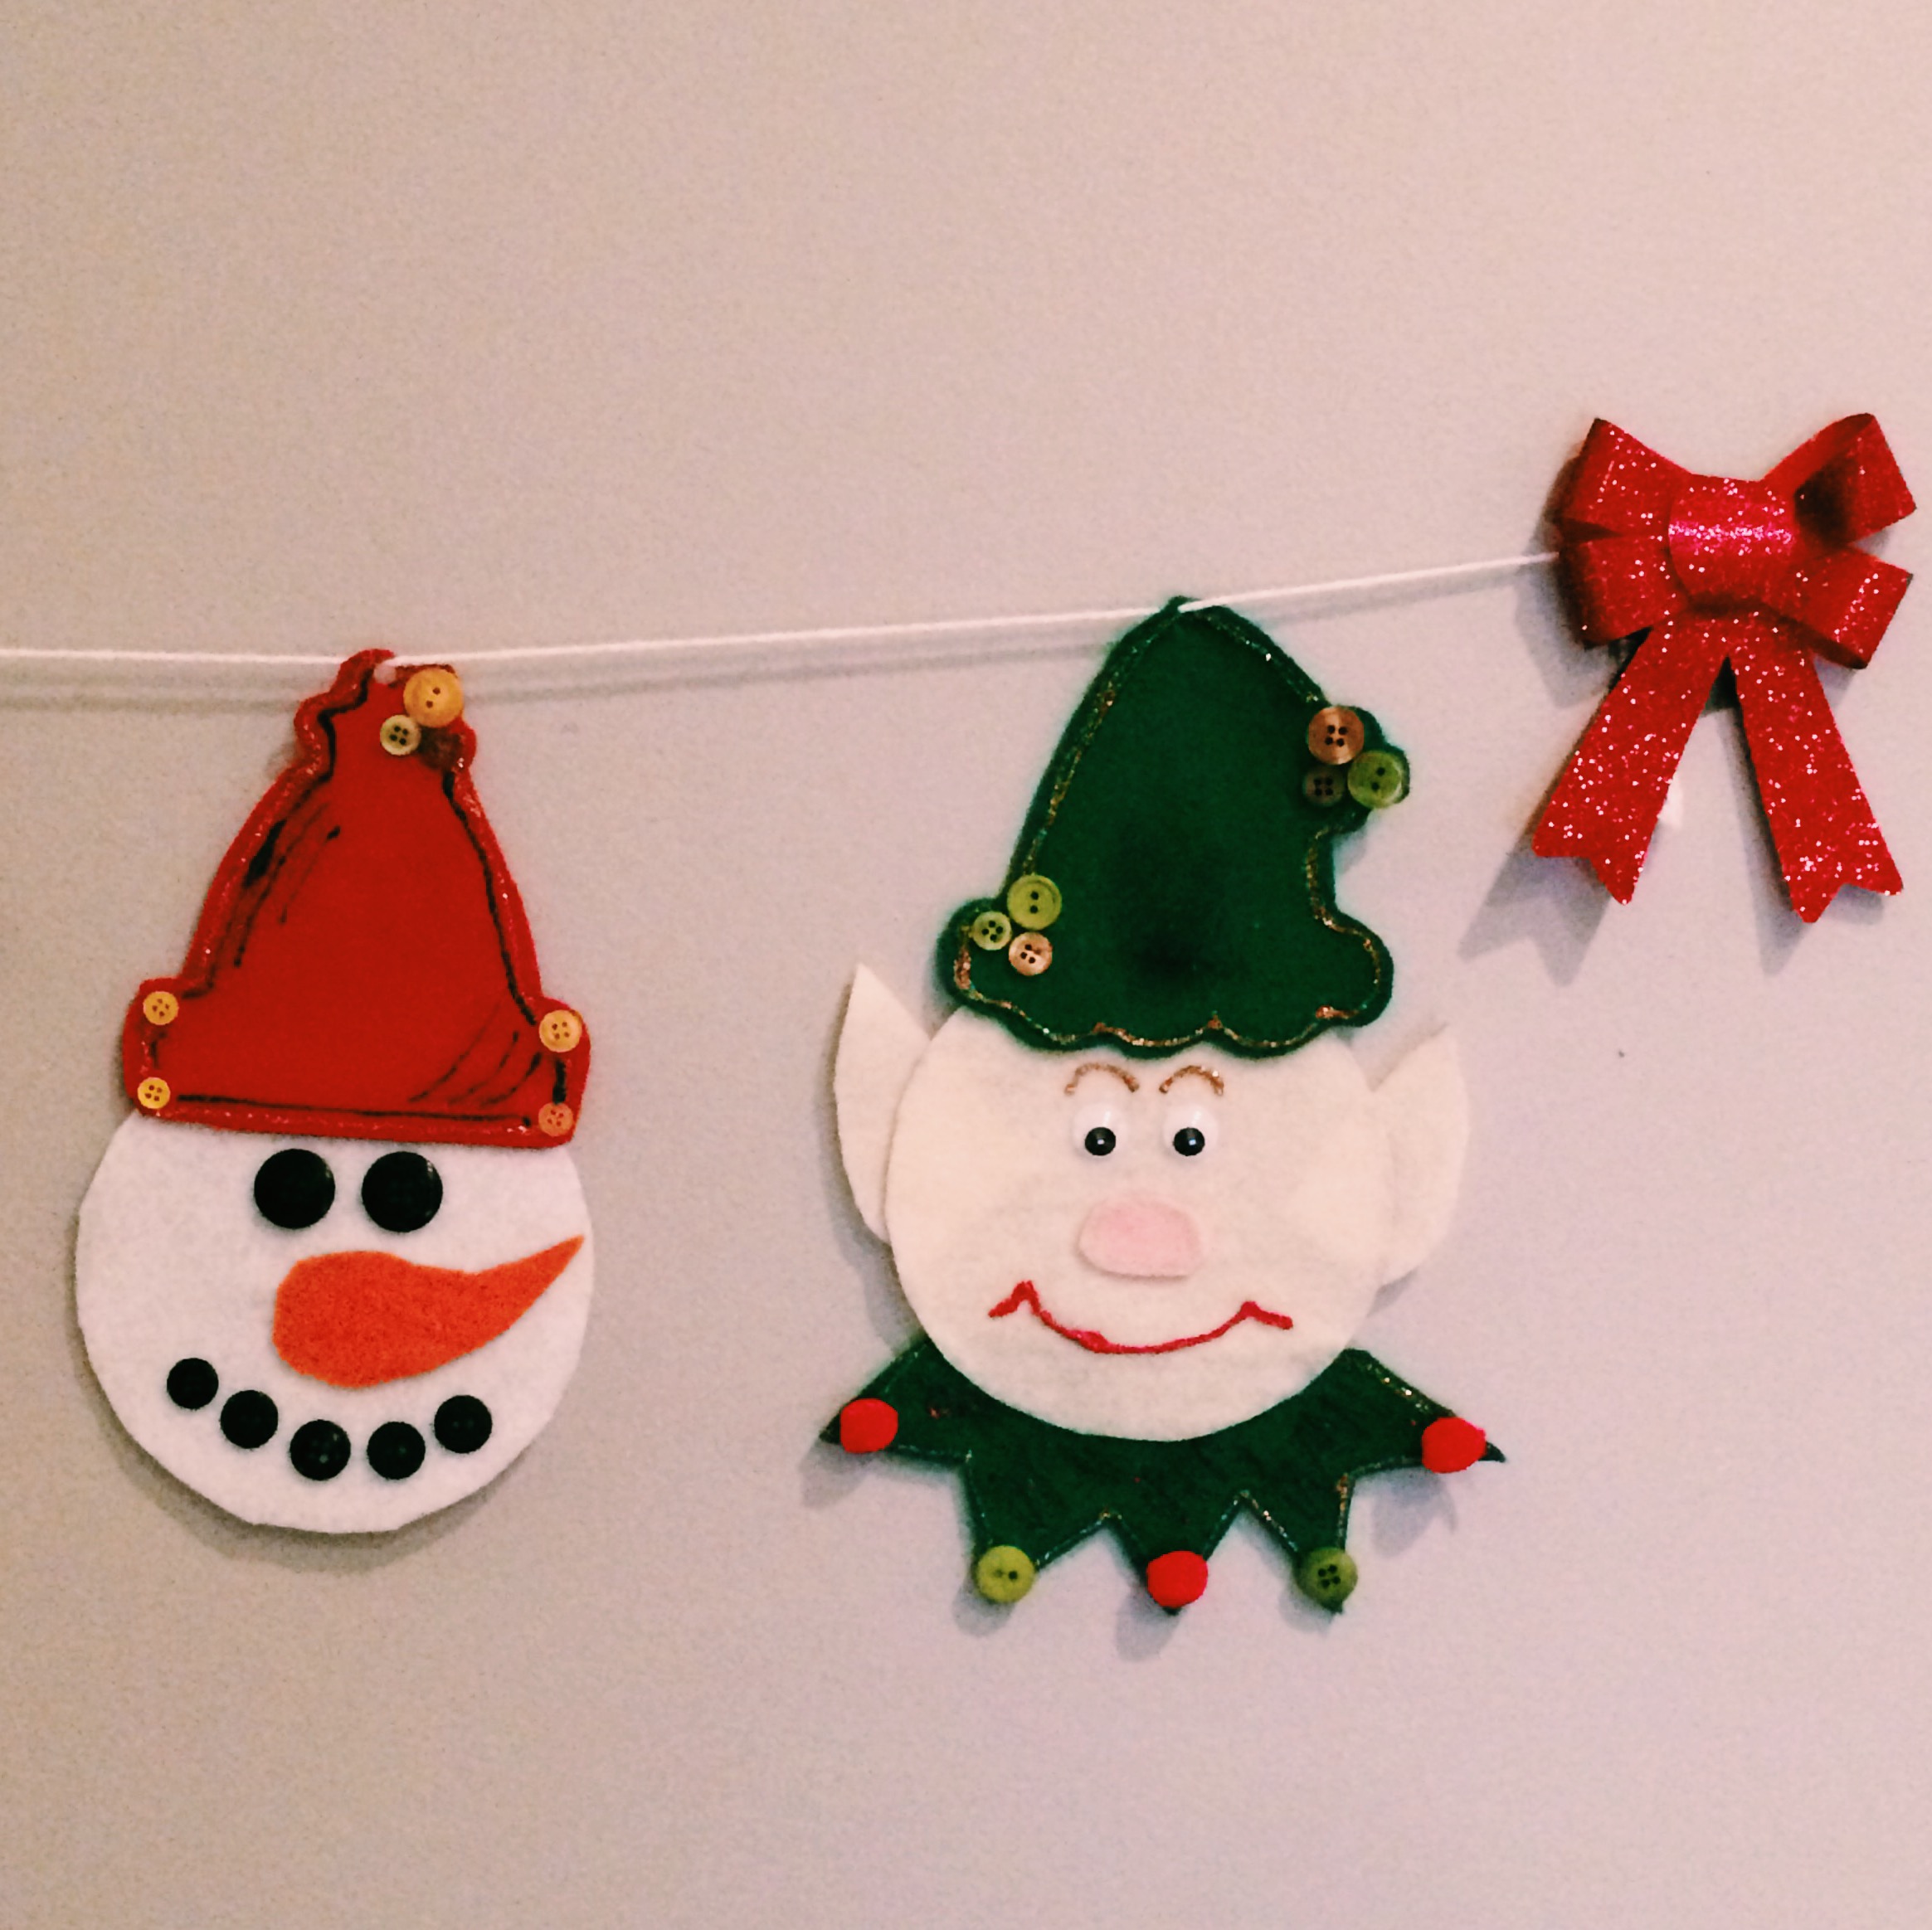 Snowman and elf close-ups!
 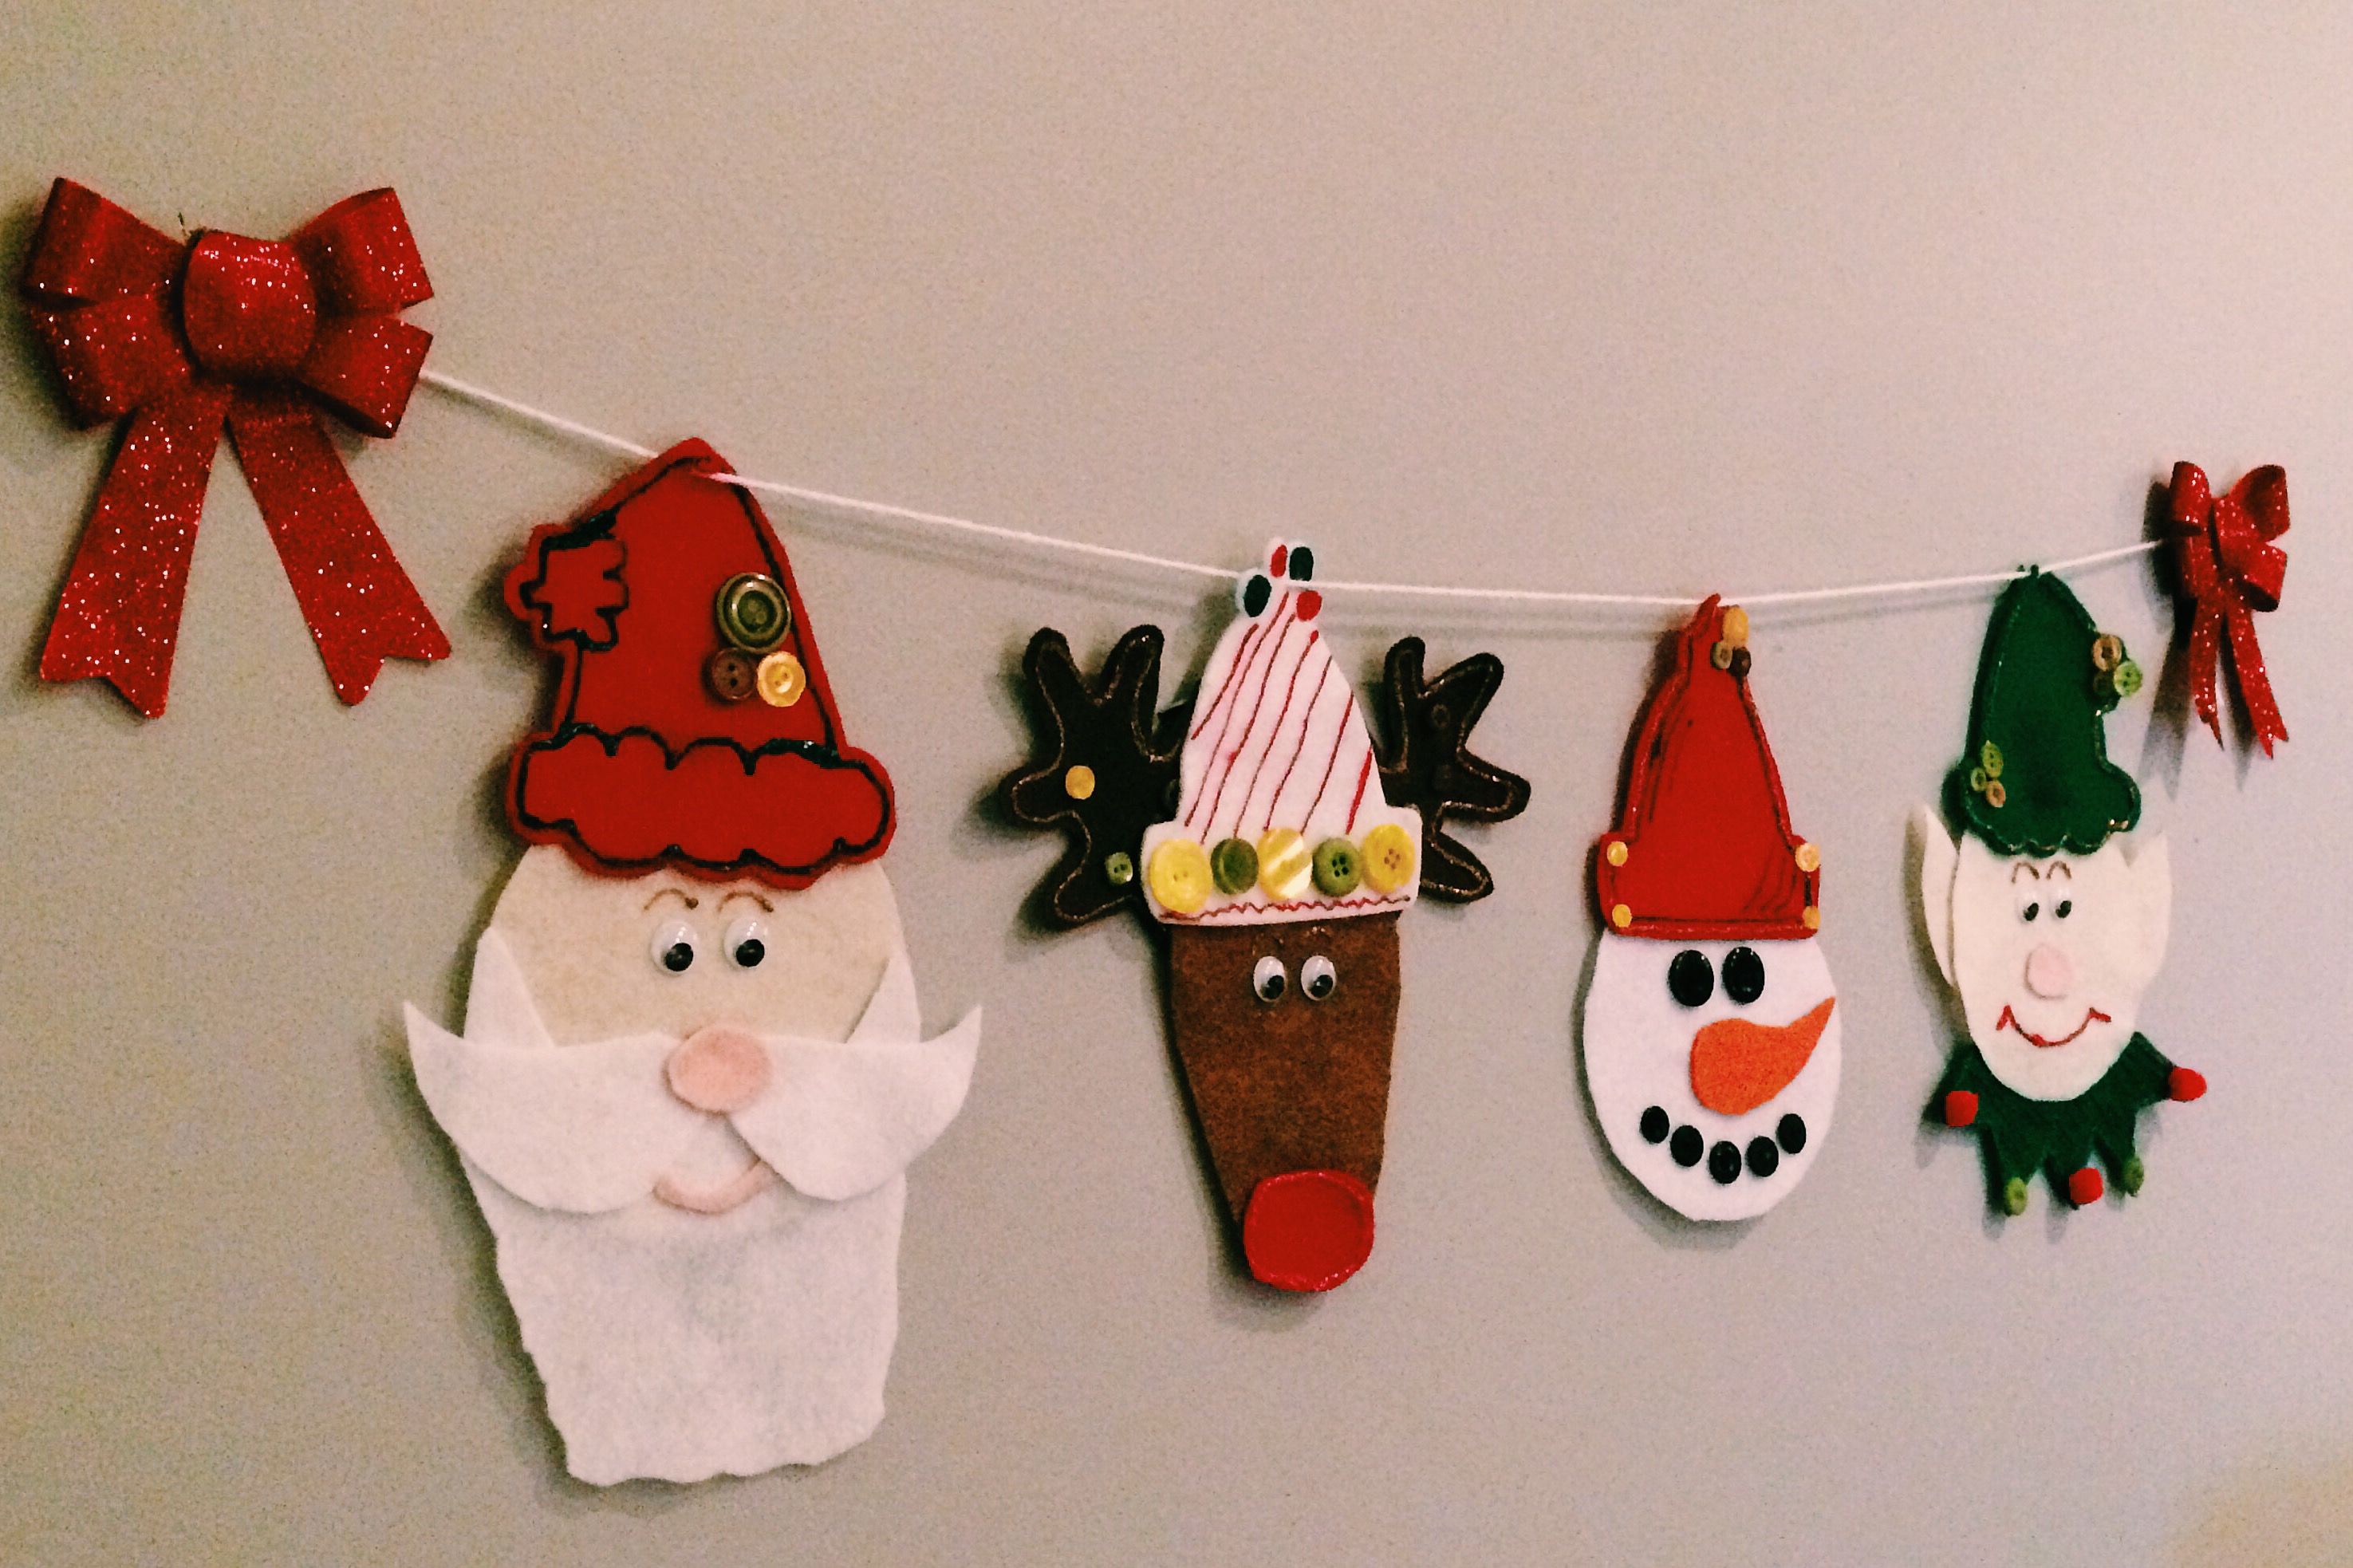 A perfect Christmas decoration to hang over the mantle!
Materials:
- Laura Kelly’s 2015 Ellison Release Die-Cuts Hats (note: the Winter Hat Di-Cuts from Ellison Education and Sizzix will be available in January 2015)
- Laura Kelly Buttons for Buttons Galore in Bumble Bee
- Laura Kelly Buttons for Buttons Galore in Going Green
- Tulip Slick Fabric Paint in Deep Red
- Tulip Slick Fabric Paint in Leaf Green
- Tulip Beads in a Bottle in Sunstone
- Aleene’s Tacky Glue
- Google-eyes
- Pom-Poms
- Felt squares, in your choice of colors from Kunin Group Felt.
- I purchased:
- 2 red, 2 green, 2 white, 2 black, 2 light brown, 2 dark brown, 2 flesh, 1 orange, 1 light pink
- I purchased:
- Scissors.
- String, ribbon, or yarn to hang the banner.
- 2 red bows.
Directions:
1. Using the Winter Die-Hard Hat Cut-Outs, trace and cut 4 different styles, using your choice of colored felt.
2. Trace circles for the faces on the white and flesh felt using your choice of size lid cover.
3. Trace other patterns, such as:
- The reindeer’s face, nose, and antlers.
- The Elf’s nose and ears.
- The snowman’s carrot nose.
- Santa Clauses beard, nose, and mouth.
4. Cut out all of the traced patterns.
5. Next, use the Aleene’s Tacky Glue and apply the felt cut-outs to the faces, creating each character’s profile.
6. Apply Laura Kelly buttons for Buttons Galore, googly-eyes, pom-pom’s, Tulip Slick Fabric Paint in Deep Red and Going green, Tulip Beads in a Bottle in Sandstone to decorate each character.
7. Allow enough time to dry (overnight).
8. Once dry, cut a hole in the top of each hat and apply a string, yarn, or ribbon, creating a banner.
9. Attach bows on the end of the string, and hang from a mantel or wall!
Visit:
Laura Kelly Designs
Laura Kelly Facebook 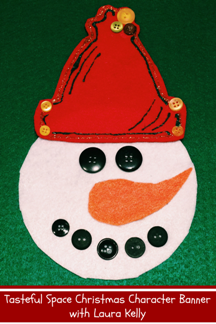 Link Up!